Audio For Film 101: A Vlogger's Guide to Better Sound
It has never been easier or more affordable for anyone to create high-quality video content. We are living in the golden era of vlogging, with more content being created about more topics by more people every day, and in the way that blogging democratised the written word some 15-odd years ago, vlogging is blasting the video format wide open.
When it comes to vlogging, audio is just as important as the video itself. No matter how beautiful or engaging your visual subject matter, if it sounds average, people will tune out right away. Thankfully, getting great sound for your vlog is easy with the right gear and a little technical know-how. Let’s take a look at some of the basics.
Investing in a Good Mic
Off the bat, you’ll need to get yourself a quality microphone. For the purposes of this article, we’re going to be talking about a compact rig based around a DLSR, smartphone, or portable cameras like a GoPro or DJI Osmo, as these are the weapons of choice for most vloggers. The onboard microphones on these cameras aren’t great; even in the most forgiving environments and circumstances, they will give you average audio at best.
A quality mic that delivers great audio doesn’t have to be expensive or obtrusive. Vlogging is all about being compact and unhindered, allowing you to be recording whenever inspiration strikes, so getting a mic that is discreet is important.
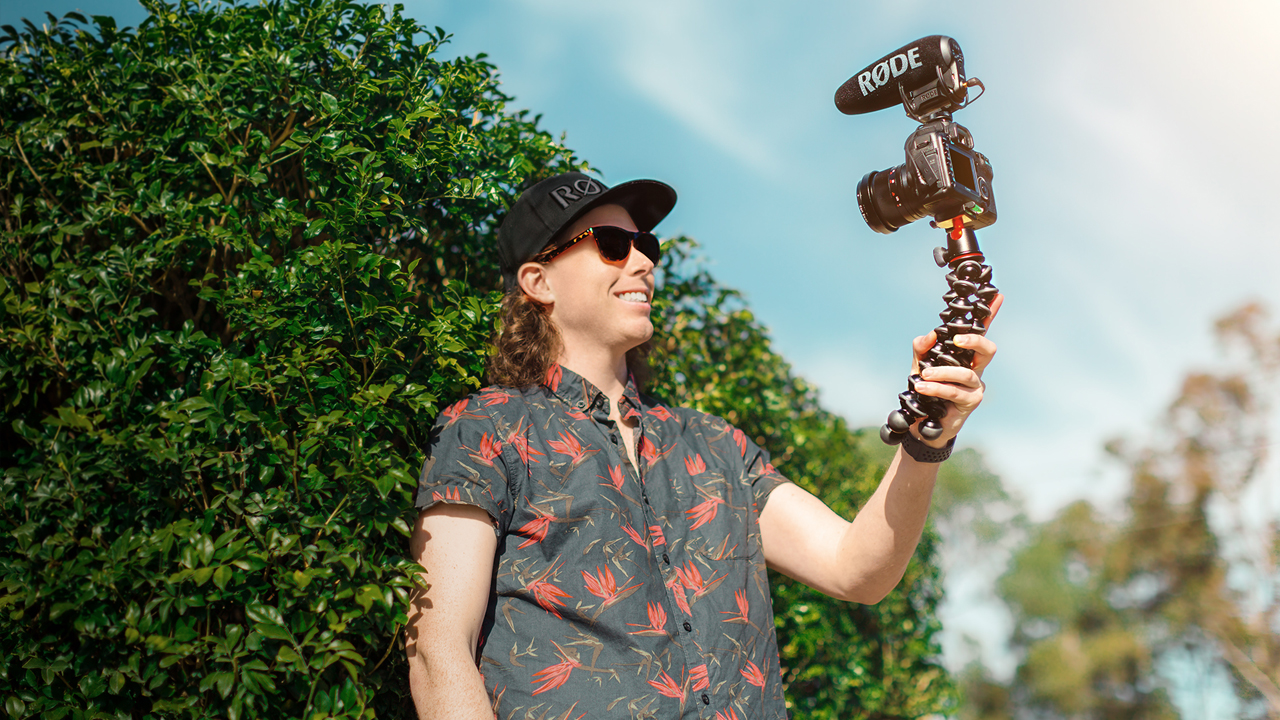
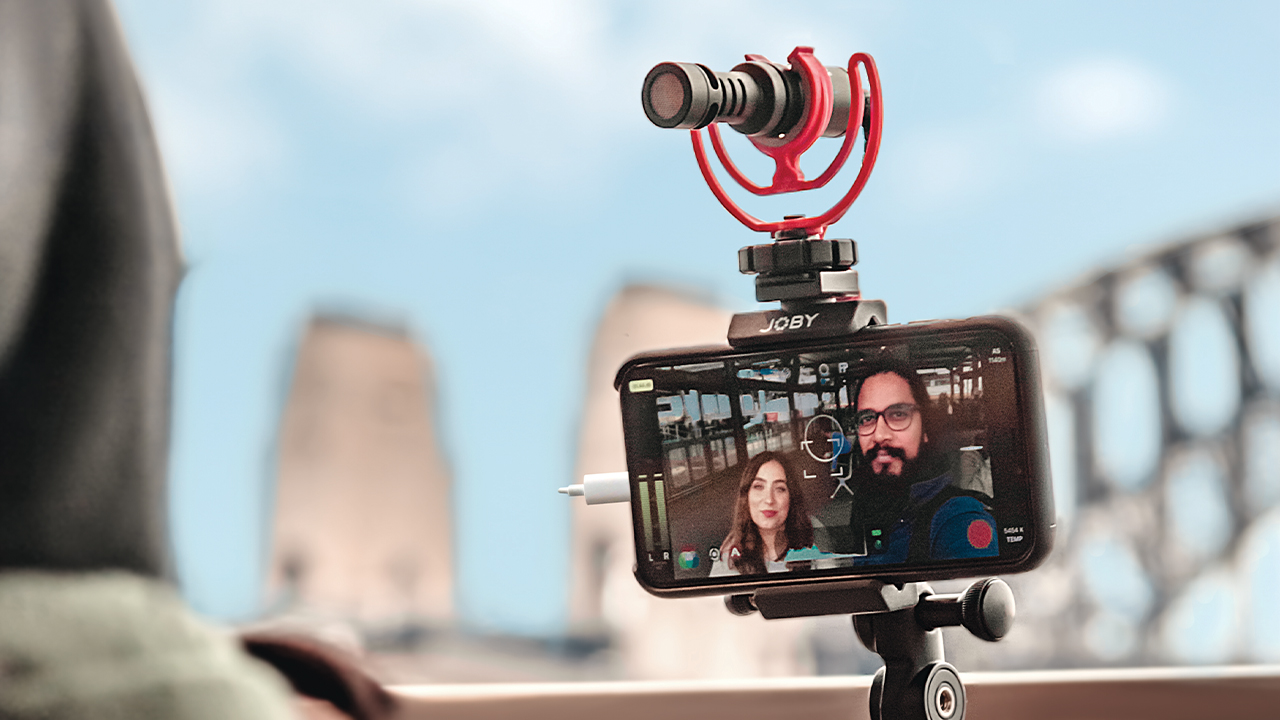
Shotgun mics are the way to go for on-camera audio capture at close range. Shotguns are long and cylindrical, hence name. They are directional microphones, meaning they are designed to pick up sound sources directly in front of them and reject sound from the rear and sides. Our VideoMic range are all directional mics and are excellent options for all kinds of vloggers.
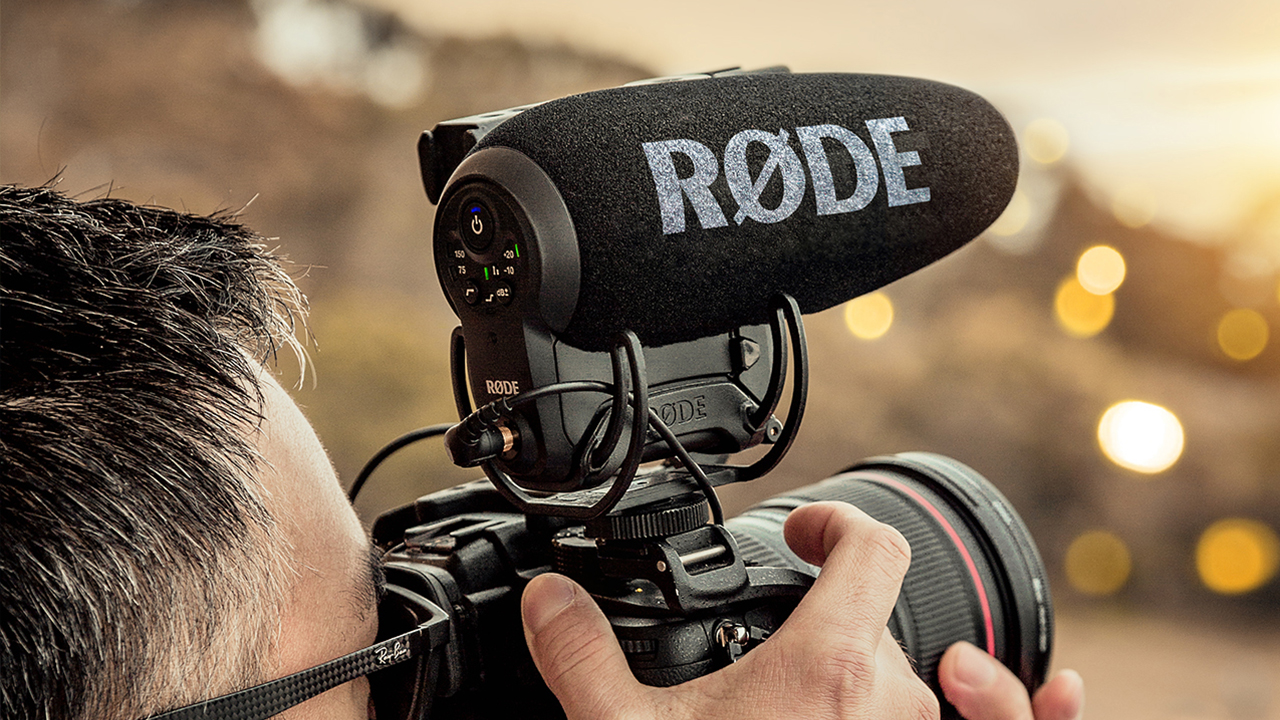
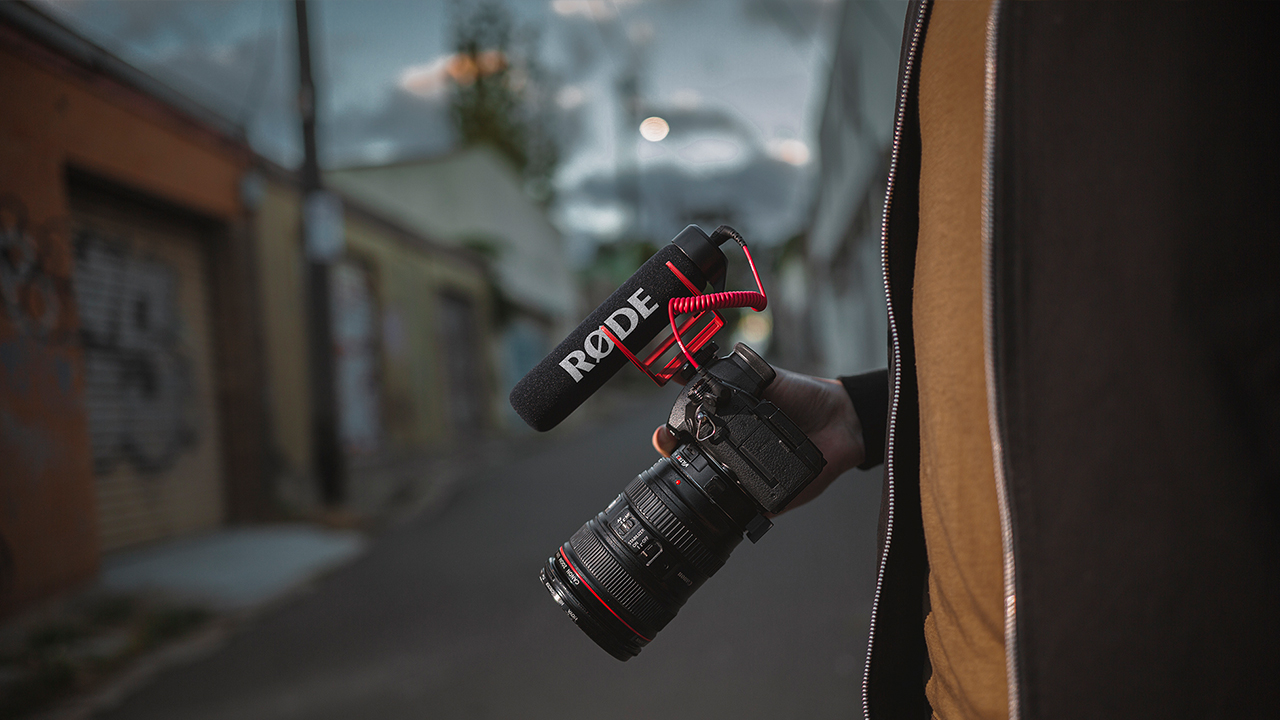
The RØDE VideoMic Pro+ is a high-quality on-camera shotgun mic, perfect for vloggers using DSLR-style cameras.
Pickup patterns are important to consider here. For vlogging purposes, you will want a microphone with a cardioid, super-cardioid, or hyper-cardioid or pickup pattern, as these are effective at picking up sound from in front while rejecting sound from the rear. Most shotguns will feature a variation of the cardioid pickup pattern. A microphone such as the VideoMic GO II has a supercardoid pattern, meaning it will pick up sounds that are directly in front of the microphone while rejecting sounds from the rear and sides. A smaller mic such as the VideoMicro has a cardioid pick-up pattern, which rejects sounds from the rear but will pick up sounds in a wider arc in front of the microphone. Different polar patterns will suit different scenarios, but all RØDE VideoMics will offer far better audio than from your camera’s built-in microphone.
A quick note on cabling. Make sure you are using the correct cable to connect your microphone to your camera. Different cameras have different input jacks that may not be compatible with the cable that came with your microphone. For example, the RØDE VideoMic features a standard a 3.5mm TRS minijack output and comes with a 3.5mm TRS to 3.5mm TRS patch cable. However, most smartphones have 3.5 TRRS inputs (note the extra ‘R’), meaning you will need a TRRS to TRS adapter (like our SC7) to connect the microphone. Check the specs of your camera, and make sure they match the type of cable you are using.
Going Wireless
In general, you want to be quite close to your microphone when speaking in order to get clear audio – say no more than two metres away. Whilst a camera-mounted mic such as a VideoMic will work well when you are in ‘selfie’ mode and close to the camera, if you want to shoot from further back the sound will become distant and less defined. This is where wireless mics come into play.
Wireless mics allow you to fit yourself, or your talent, with a lavalier mic to capture crystal clear audio from 50-plus metres away. Lavalier mics are small, discreet microphones that are plugged into a belt pack transmitter, which then beams the captured audio wirelessly to an on-camera receiver. There are many benefits of using wireless microphones, but for vloggers, the key is having the microphone close to the subject, even when the camera is far away. Our new Wireless GO even features a microphone built into the transmitter (which weights a minuscule 31g), meaning you don’t have to mess around with rigging up a lav mic and belt pack – truly wireless audio, perfect for run and gun vloggers!
Check out our range of wireless mics here.
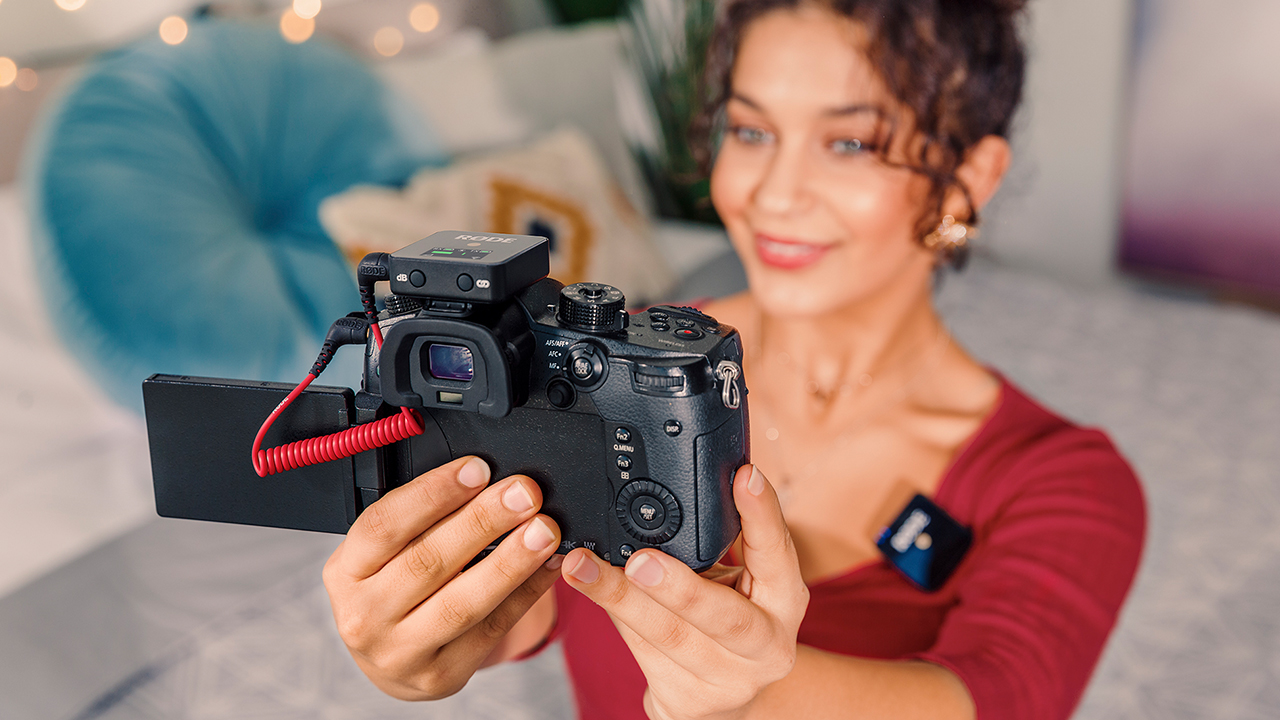
The Wireless GO - truly wireless vlogging.
Mic Placement
The key to capturing clean, clear audio when vlogging is proximity – your mic should be nice and close to your sound source, whether this means clipping a lav mic close to a subject’s mouth or getting in nice and close to the dripping faucet you are filming. When going through this process, pay attention to your audio levels – you don’t want to overload your mic or your camera’s preamp (more on this below).
Also think about where your mic is placed in relation to your environment. If you are in a noisy area, consider moving somewhere quieter; if you are shooting in a particularly windy tunnel, think about choosing another location. There is nothing more disappointing than pulling your day’s shoot into your editing software and discovering the audio is unusable because of a jackhammer in the background.
Thinking About Audio Levels When Recording
Making sure that your audio levels are set correctly on your microphone and on your camera when recording is hugely important for ensuring your audio is clean. Audio levels are measured in decibels (dB) and are usually a numbered minus scale, with zero being maximum volume. Your audio levels will be represented on a level meter found on your camera or recording device.
It is imperative that you never let your audio level hit 0db; it should always sit comfortably in the minus dB range. This will ensure your level does not ‘peak’, which will cause your signal to ‘clip’, resulting in distortion. This ‘distortion zone’ will often be marked in red on your level meter, and you never want to be ‘in the red’, right?
To be safe, always try to stay in the green zone on your level meter, giving yourself plenty of room (“headroom” as it’s called) before your levels start peaking, in case your sound source suddenly gets louder. Your level meter will most likely have a yellow zone to tell you that your audio is creeping up to 0db, and it is ok to hit this when your sound source is at its loudest. Otherwise, keep it safely in the green. That being said, if your levels are too low, your audio will be too quiet. Around -10db is a good level to aim for.
There are a few ways to adjust your audio levels while recording. Depending on your setup, you may have access to multiple level adjustments, or just one. Many microphones have a switch either boost or attenuate the signal by a set number of decibels, in case the sound you are recording is too loud, or very quiet.
The VideoMic Pro, for example, has a three-position gain control that allows you to cut your level by -10db, set it at 0, or boost it by +20db. Some wireless mics, like our Filmmaker Kit, have a gain control on both the transmitter and receiver.
The RØDE VideoMicro in a smartphone vlogging rig. Note the level meter on the left side of the screen for monitoring of audio levels.
If your mic doesn’t have a gain control, not to worry. Every camera or recording device has an internal preamp – this is what amplifies the signal captured by your microphone from ‘mic level’ to ‘line level’, preparing it for further processing and recording – and every camera will have a gain control for this preamp allowing you to tailor your levels according to what the microphone is delivering. Keep an eye on your camera’s level meter and make sure it stays out of the red!
Always do some test recording before you shoot to make sure your levels are set correctly – chat to your subject (or talk to the camera yourself) at the volume they will be speaking on-camera and even ask them to talk loudly to see where your levels are peaking and adjust your levels accordingly. If you are shooting outdoors, take into account gusts of wind and other environmental factors that may cause your levels to jump up.
Remember To Turn Off AGC
There’s one final (but very important) point to make regarding audio levels. Many cameras come with ‘Automatic Gain Control’ (AGC) switched on by default. This means the camera will automatically adjust the recording levels on the fly. This sounds like a great idea, but in reality, it will likely ruin your recording. Why? Because before you start speaking the camera will turn up the level, making the background noise seem really loud. Then, when you start speaking, it will quickly turn it down, making the first few words you speak uncomfortably loud and even distorted compared to the rest of your sentence. Check your camera manual for how to turn off any auto-gain settings, and then manually set the level so the meters are nicely towards the top of the green when you test your levels, and you’ll get great sound every time.
Battling the Elements
If your vlog takes you outdoors a lot, then this will pose an extra hurdle for your audio: the elements, mainly, the wind. Excess wind noise can wreak havoc on your audio. Thankfully, there are ways to combat wind noise and other elemental audio in the form of windshields, smart mic placement, and EQ’ing. Check out our Ways to Reduce Wind Noise When Recording Outside article for the full rundown.
The RØDE VideMic GO with its foam windshield.
Editing in Post
No matter what kind of format your vlog is, it’s likely that your videos will require some kind of editing in post-production before you release them into the world. And one thing you should be looking at is your audio.
As a rule of thumb, you’ll want to do everything you can during filming to ensure your audio sounds the best it can. There are some things you simply cannot fix in post-production – for example, distorted audio that was recorded too loud. A good way to look at post-production is rather than it being a way to ‘fix’ your audio, it should be a platform to take your audio to the next level. There is a lot to cover for this topic, so it’s something we will cover in more depth in a future article, but some of the ways you might like to edit your audio in post include:
Equalisation (EQ) – EQ’ing is the process of boosting or cutting certain frequencies in order to manipulate the tonal quality of a recording. For video, this is an effective way to give your audio a more professional quality by boosting the low-end, tame wind noise by adding a high-pass filter, cut higher frequencies to reduce the sibilance in dialogue, and much more
Adding compression – Compression effectively reduces the dynamic range of an audio signal by reducing the difference between the softest and loudest parts of a recording. This is an effective way to give your audio more punch and clarity, boost a particularly quiet recording, smooth out uneven dialogue, and more.
Noise gating – Applying a noise gate is a simple way to curtail unwanted noise in a recording, such as traffic noise or a plane flying overhead. This is achieved by setting a threshold (‘gate’) at which anything underneath it is removed or reduced in volume.
Adding Foley music, sound effects, voiceover, and other secondary audio – This is pretty self-explanatory, and also a huge topic in itself, but if your vlog needs a little spicing up with music, sounds effects etc, post-production is the time to do it.
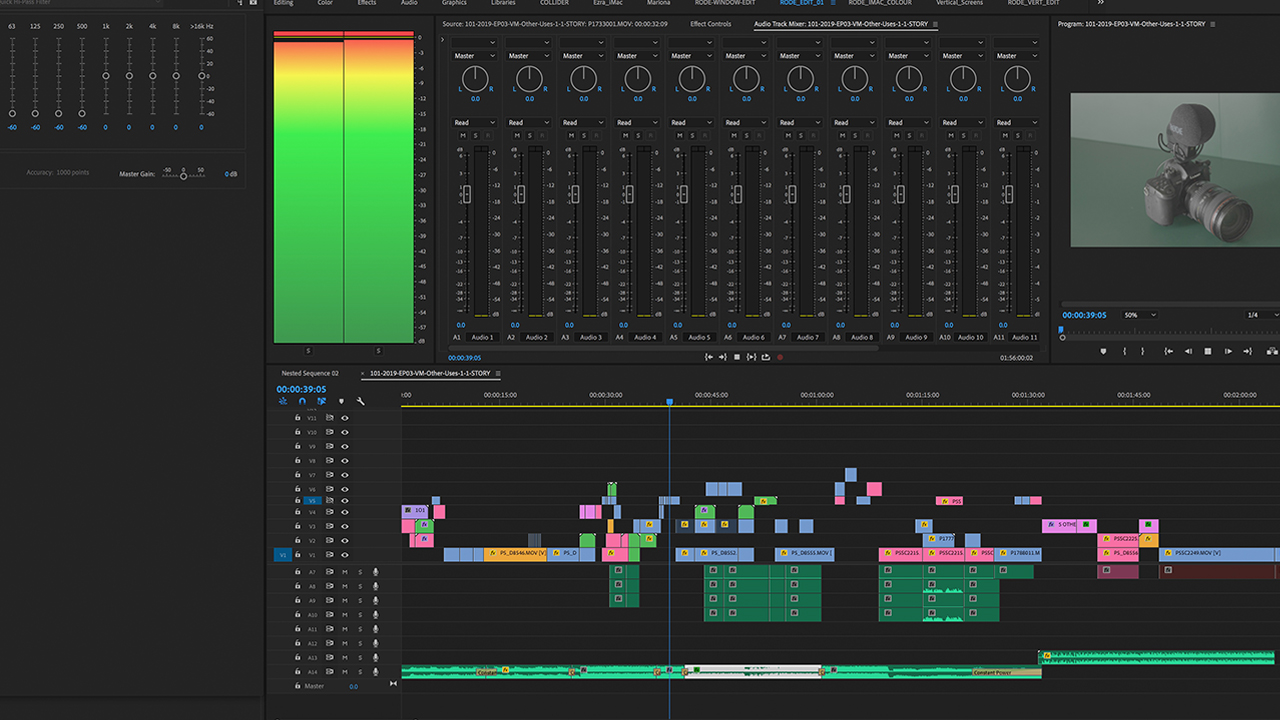
A high-pass filter being applied to audio in Premiere Pro (see top left).
If you’re looking to up your audio game for your vlogs, you need to start at the source: a great mic. Our range of video mics and wireless mics are the industry standard for on-camera audio. No matter what kind of vlogs you’re making, or what you need to get out of your audio, there’s a mic for you. Find out more about the RØDE video mic range here.