我们使用必要的cookie来使我们的网站正常运行。经您同意,我们还可能使用非必要的cookie来改善用户体验和分析网站流量。 点击“允许全部”,即表示您同意我们网站按照 Cookie政策.
您可以随时点击“偏好设置”来更改您的cookie设置。
偏好设置
允许我们使用所有 Cookie
RØDE Central is a companion app for range of compatible RØDE products, including the RØDECaster Pro II. It’s free to download for Mac and Windows (RØDE Central Mobile is not compatible with the RØDECaster Pro II).

OS Requirements – MacOS 10.15 or later; Windows 10 Version 1803 or later
After downloading RØDE Central, open the application, then connect your RØDECaster Pro II using the supplied USB-C to USB-C cable (if your computer only has USB-A inputs, use a USB-C to USB-A cable like the RØDE SC18). Once connected, your RØDECaster Pro II will appear as a device on the left. Click it to access the different configuration and setup options and device information, including available storage and current firmware version. If new firmware is available, you will be prompted to update.
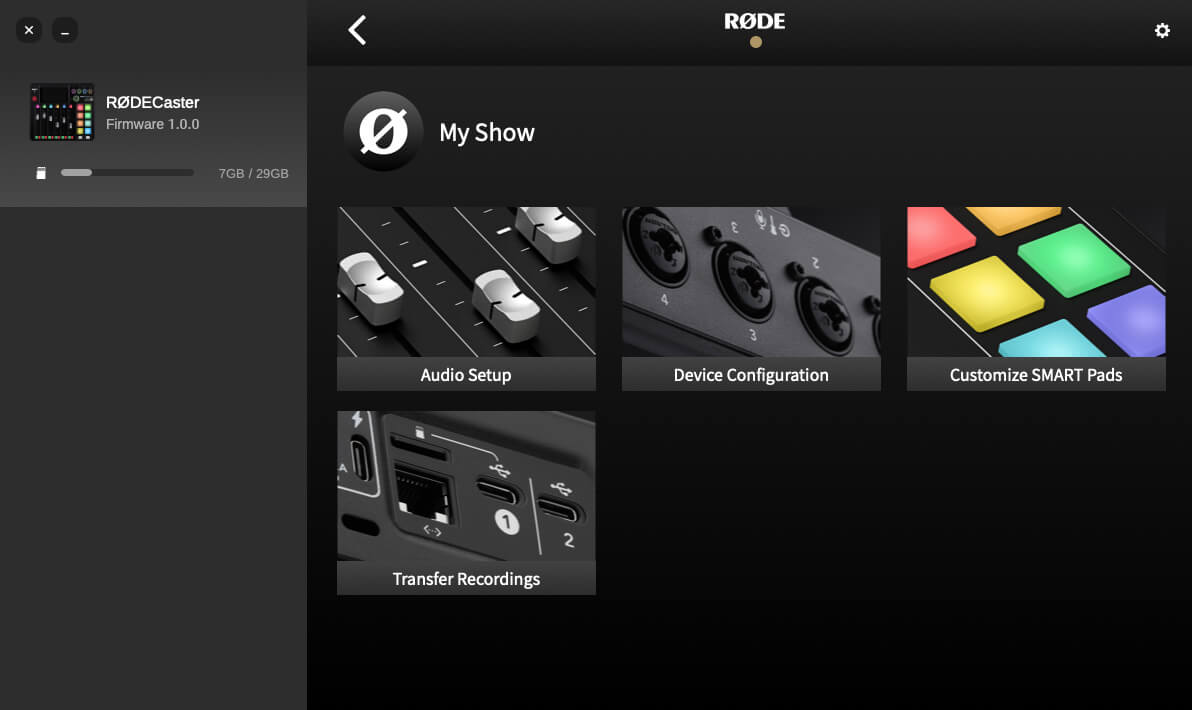
‘Audio Setup’ allows you assign channels to your faders using an easy drag-and-drop interface. The physical faders are represented by the six icons on the top left; the virtual faders are represented by the three icons on the top right. The nine audio channels can be found below, with the four analog inputs on the top row and the Bluetooth, USB and SMART pads on the bottom row. Simply drag-and-drop the input sources to assign them to a fader. You can also change to channel colours, unassign inputs from a fader, stereo link channels, and clear all fader assignments from this page.
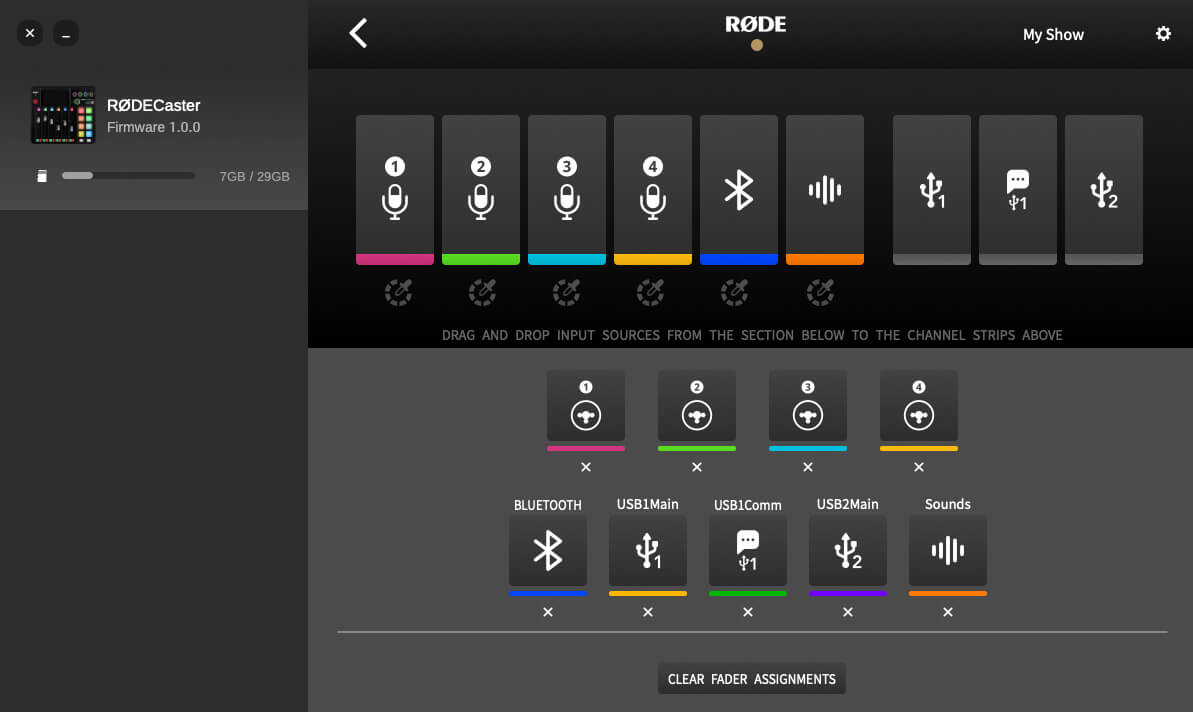
‘Device Configuration’ allows you to adjust a number of important settings. These are categorised into three sections: ‘Outputs’, including changing your headphone type, monitor output and multitrack settings; ‘Display’, including changing brightness and metering settings; and ‘System’, including MIDI, language, date and time, and network settings.
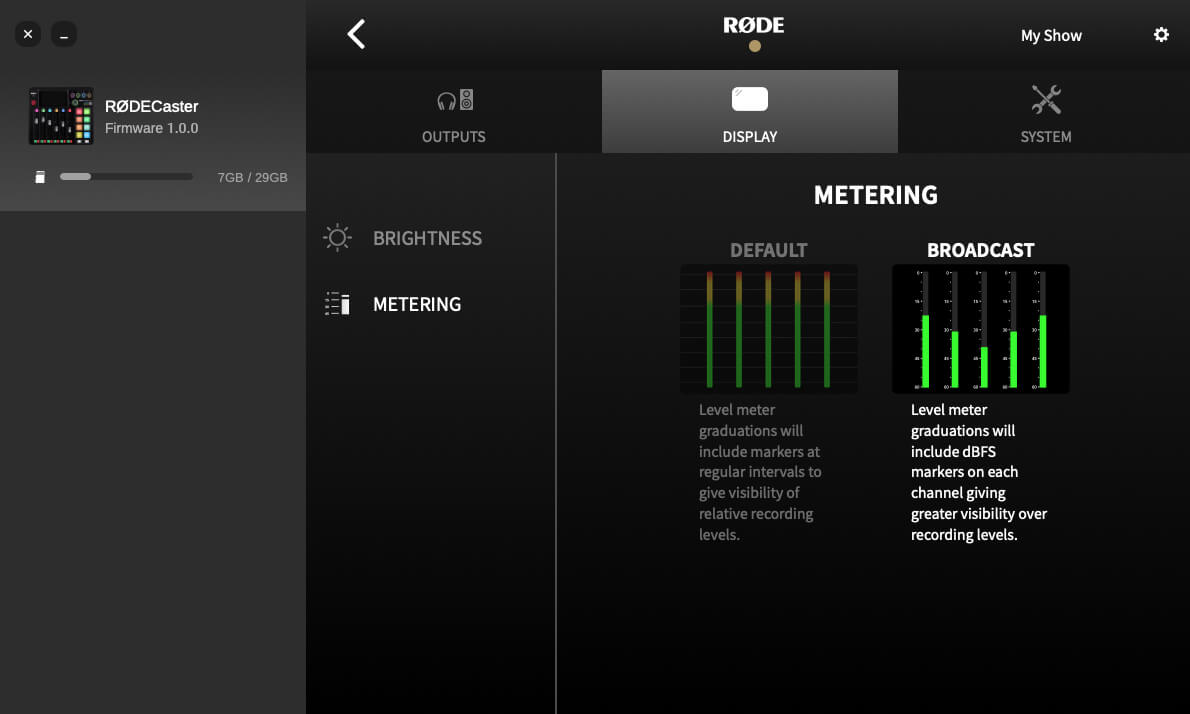
RØDE Central allows you to load and export sounds directly from your computer, change playback modes, rename pads, and more. To find out more, refer to ‘Using the SMART Pads’ section of the user guide.
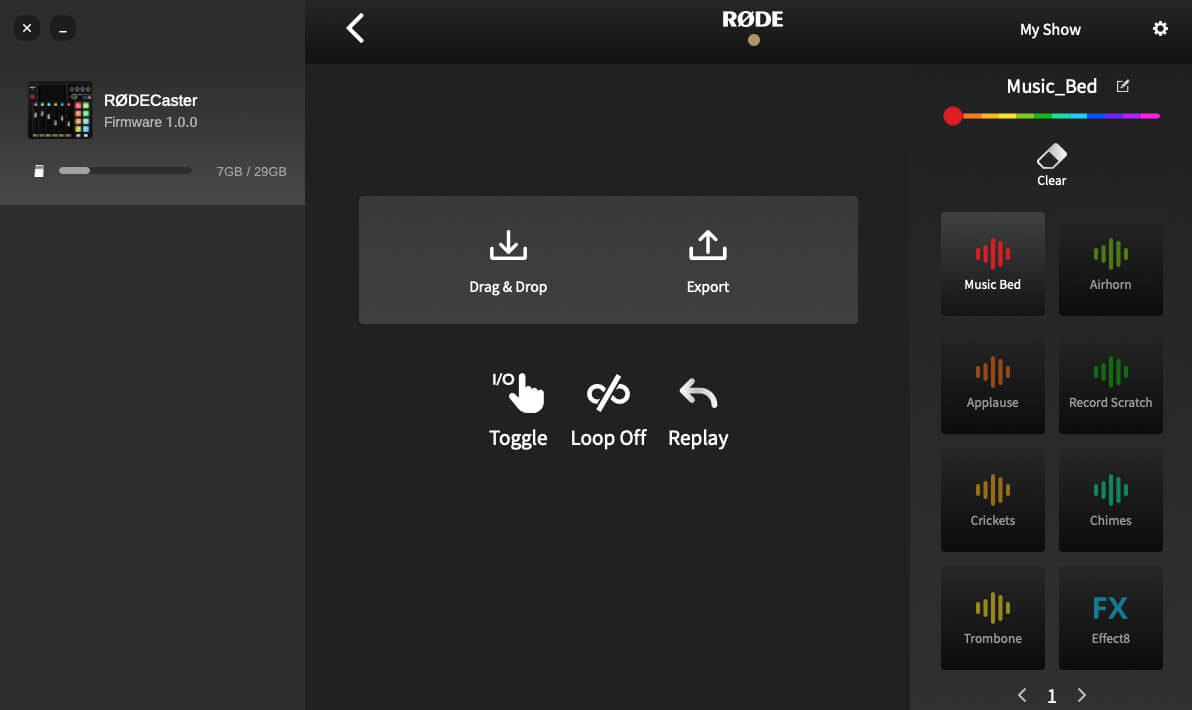
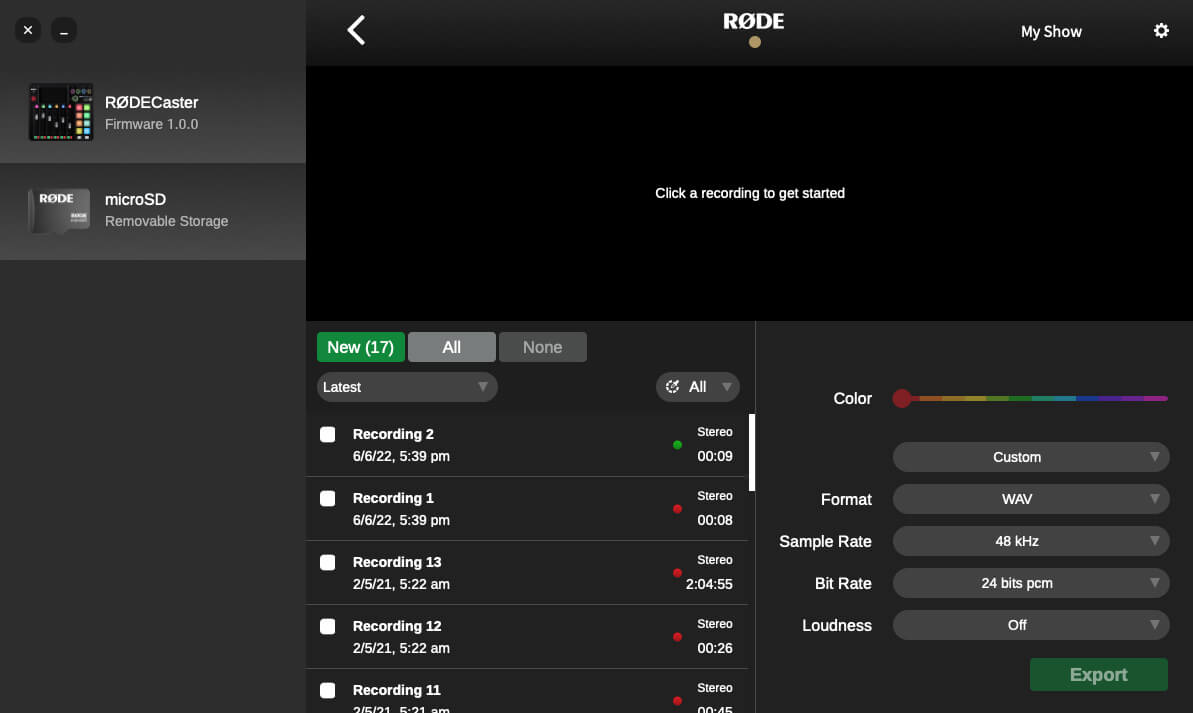
To transfer recordings saved on an external microSD to your computer, click ‘Transfer Recordings’. You will then be prompted to place your RØDECaster Pro II into ‘Transfer Mode’. Click ‘Continue’ to proceed.
Your recordings will be listed below from latest to earliest. You can change the order from the drop-down menu. Once a recording has been selected, you will be able to play back the audio. Click the arrow and marker buttons to skip through the audio file. There is a mini-nav bar above the main waveform. Use this to quickly navigate through longer recordings. You can also use the magnifying glass icons in the top right corner to zoom in and out of your recording.
To trim a recording, click and drag the start and end markers to the desired location (both the real-time and elapsed recording time can be found under the waveform).
In the bottom-right corner, you have the option to choose from a number of popular podcast distribution platforms, which will select the optimal export settings for that platform. You can also choose ‘Custom’ and select your own export settings, including format, sample rate, bit rate and loudness.
When you’re ready to export, click the ‘Export’ button, which will prompt you to select a save destination for your exported files. To export multiple files simultaneously, click the check box the each of the files you want to save, then click ‘Export’.
You can delete recordings by clicking the ‘Delete’ button (this will permanently delete the file from your SD card). To delete multiple recordings simultaneously, click the check box for the files you would like to remove, then click ‘Delete.
You can also delete recordings on-board via the ‘recordings’ list (accessible by tapping the Show icon in the top right of the screen).