How to Record Better Vocals at Home
Capturing the energy and emotion of a vocal performance is one of the most exciting parts of producing music, but you don’t need to record in a professional studio to get the best out of your voice. You can capture a great performance anywhere – in your bedroom, your garage, loungeroom, wherever!
In this article, we’ll take you through five things you can do to record better vocals at home.
Best Microphone for Recording Vocals at Home
Gone are the days where you need a giant mixing console and a room full of expensive outboard gear to get a great vocal sound. The main thing you need is a good microphone.
The NT1 Signature Series is a super versatile tool that every home studio should have in its arsenal. It’s a large-diaphragm condenser microphone that excels in a huge range of recording applications, especially vocals. It’s affordable and also comes with a shock mount and pop filter to help you keep your recordings clean and professional.
Condenser microphones are more sensitive, making them great for capturing the subtle detail of a performance, and larger diaphragms are more capable of capturing lower frequencies, which helps provide a better overall balance for the voice you’re recording.
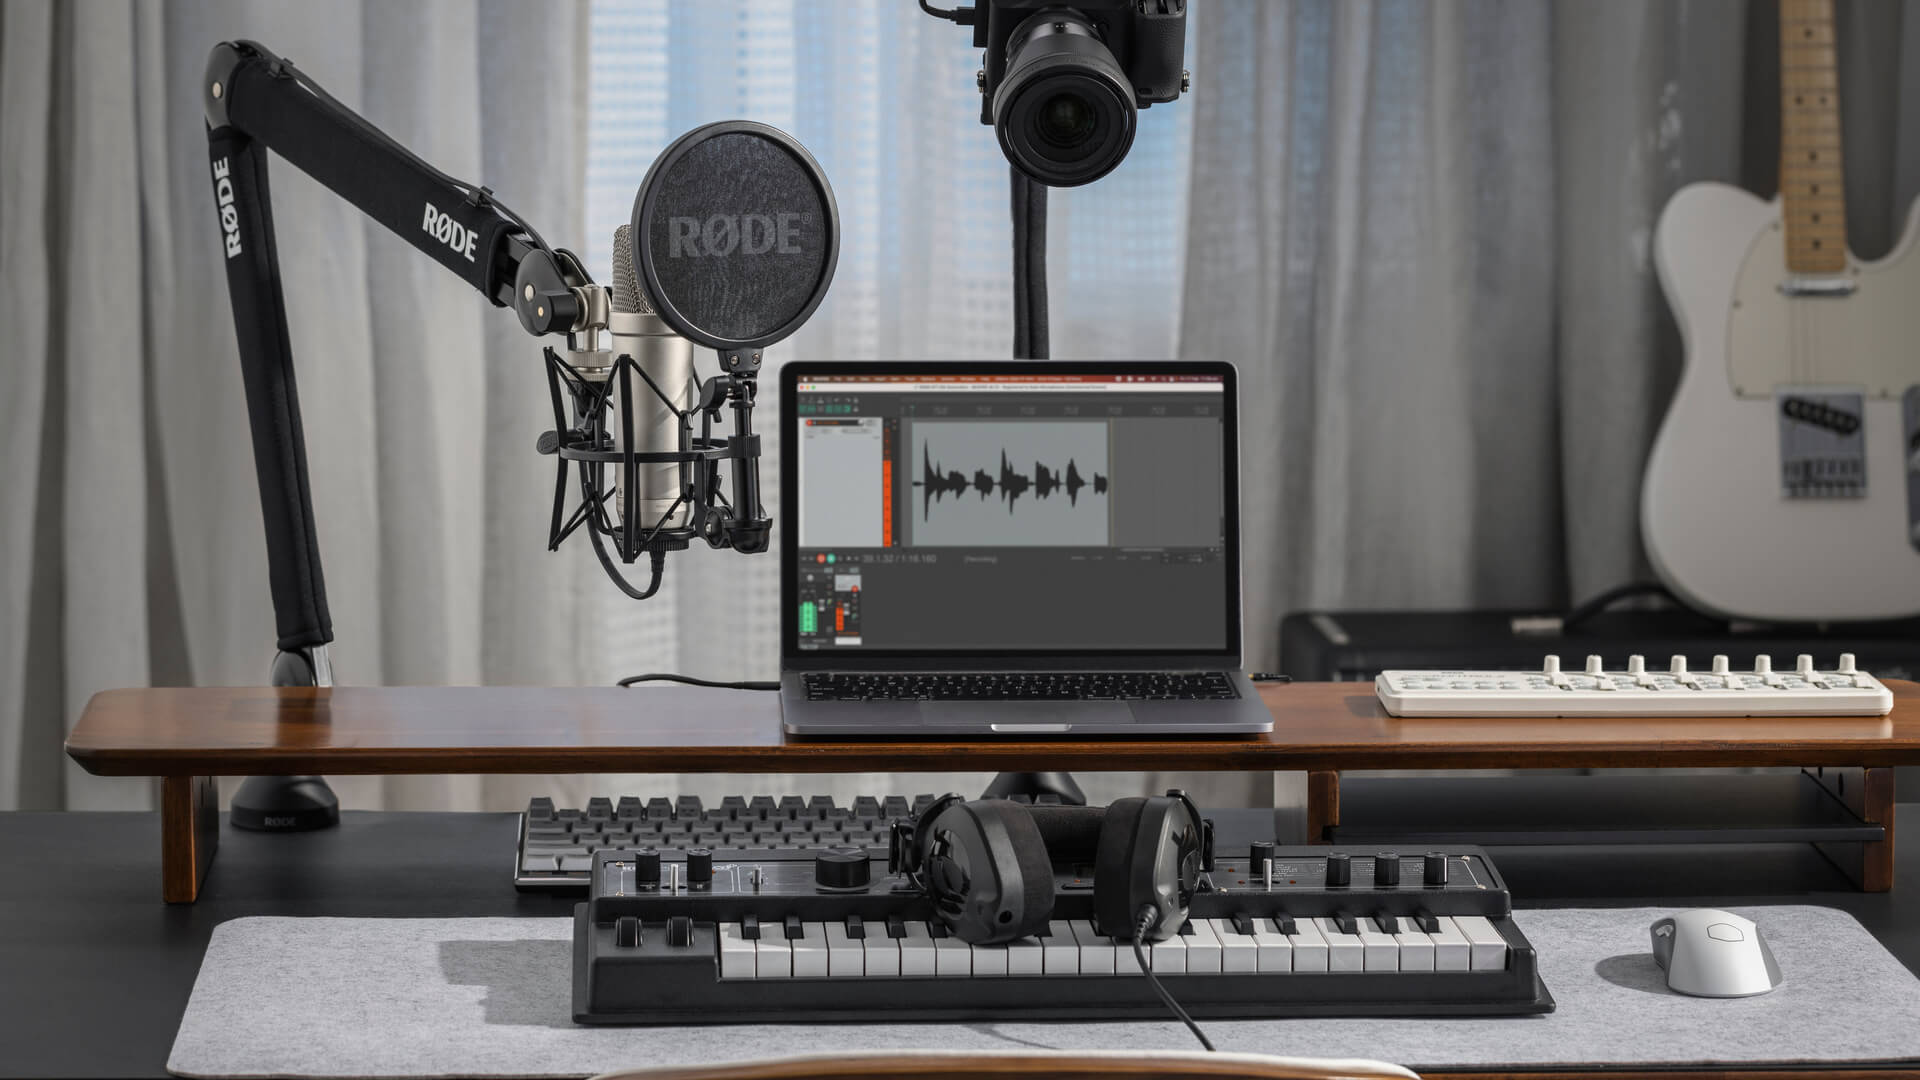
With your microphone chosen, the only other thing you’ll need is a simple audio interface, like the AI-1, and a computer with a Digital Audio Workstation (DAW) that you can record into and perform some basic processing.
The NT1 Signature Series studio condenser microphone features sparkling top end, highly detailed midrange, and rich, warm bass that excel at capturing powerful vocal performances.
Setting Up a Recording Space at Home
Obviously when it comes to recording at home, you can't always choose the shape of the room or the materials that make up your walls and floor, but there are still some steps you can take to minimise unwanted noise and reflections.
Firstly, try to pick a room that has the least amount of echo possible. You can test this out by simply clapping or singing in the space and listening for the sound bouncing off any flat hard surfaces.
With your room picked, you can reduce reflections further by treating the space. Use any soft, dense material that you can on the walls, floor and ceiling – while acoustic panels will obviously be the best option, rugs, blankets, curtains and even just soft furniture in the room can make a huge difference.
You also need to be aware of any external noises – it’s very common to stop noticing sounds such as traffic and air conditioning once you get accustomed to them, but you’ll certainly hear them when it’s picked up and recorded by your microphone.
If you can, try and pick a space that’s furthest away from both outside and inside noise and record when you’re home alone or let others know that you need quiet while you’re recording. Close as many windows and doors as you possible can and turn off any unnecessary appliance – anything you can do to get the cleanest recording possible.
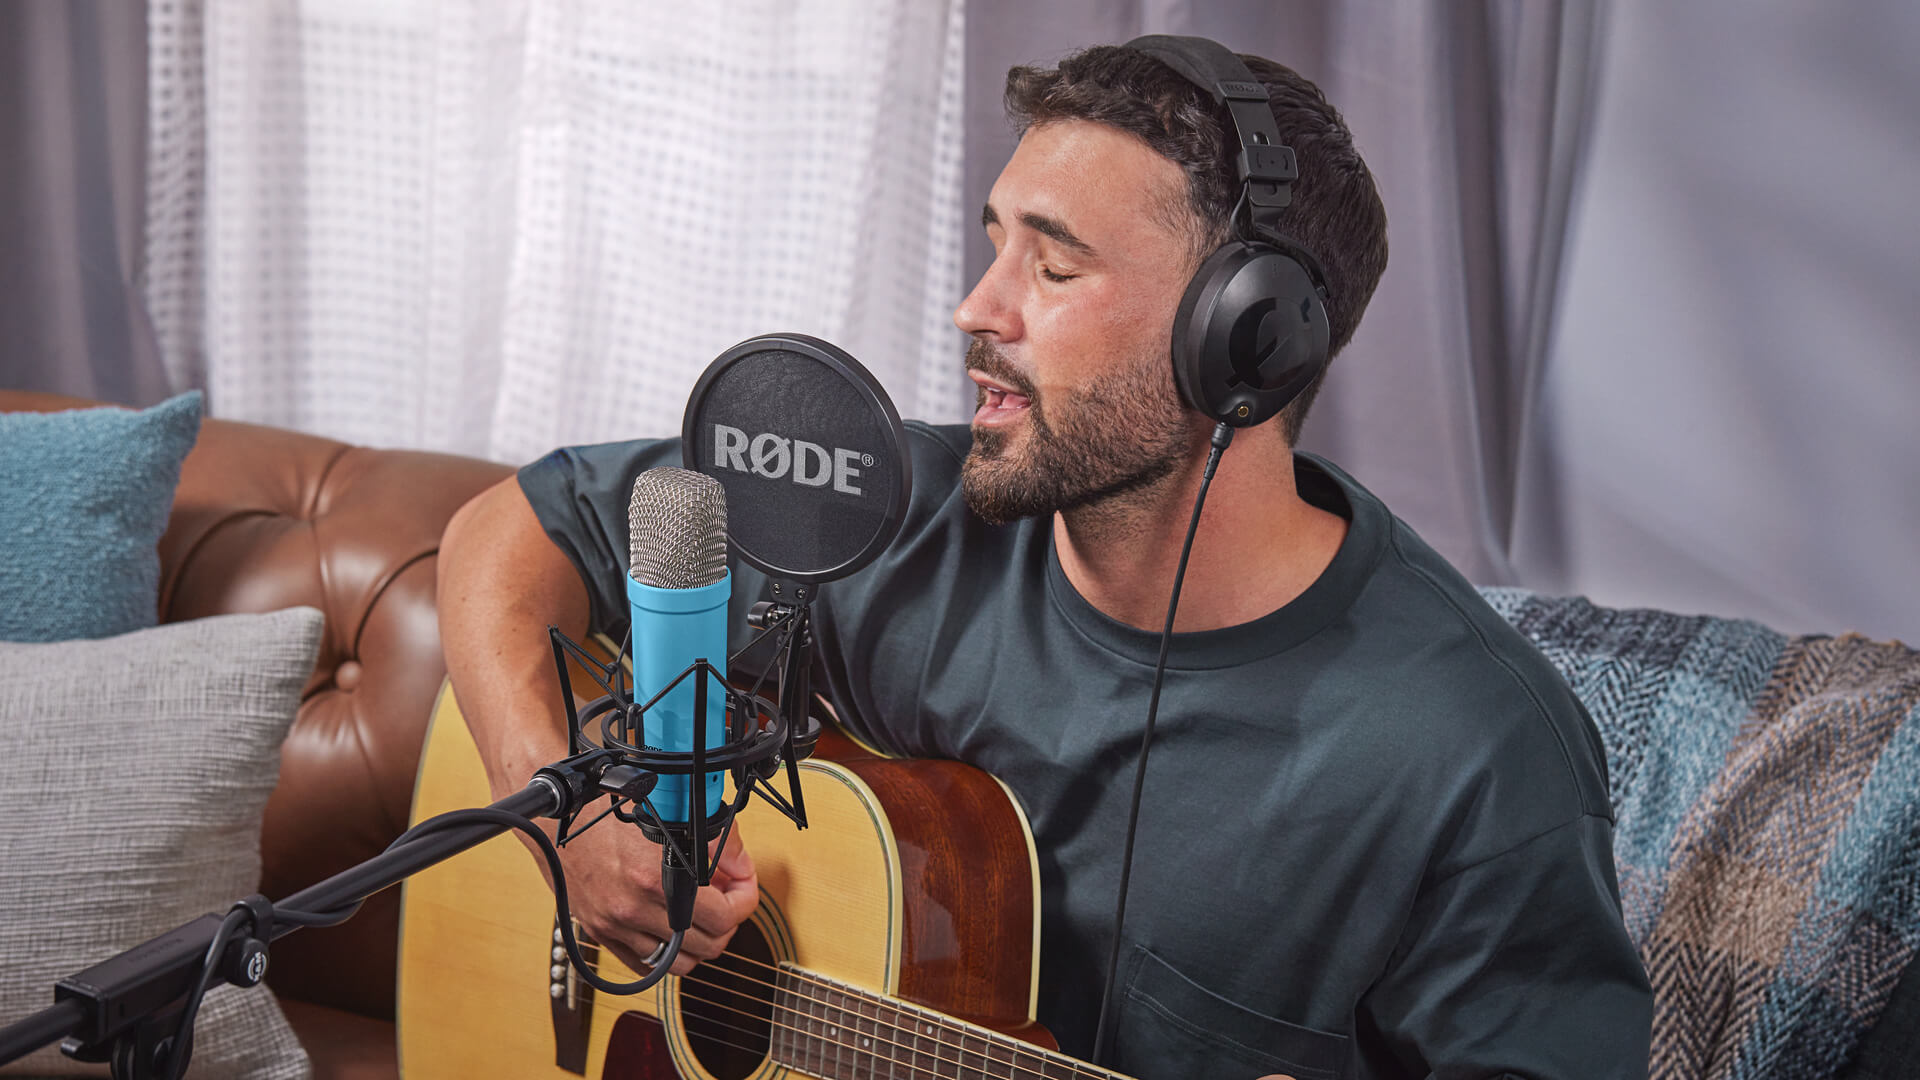
The NT1 Signature Series shines in almost any recording application – from vocals, piano and acoustic guitar to drums, percussion and electric guitar.
Microphone Technique
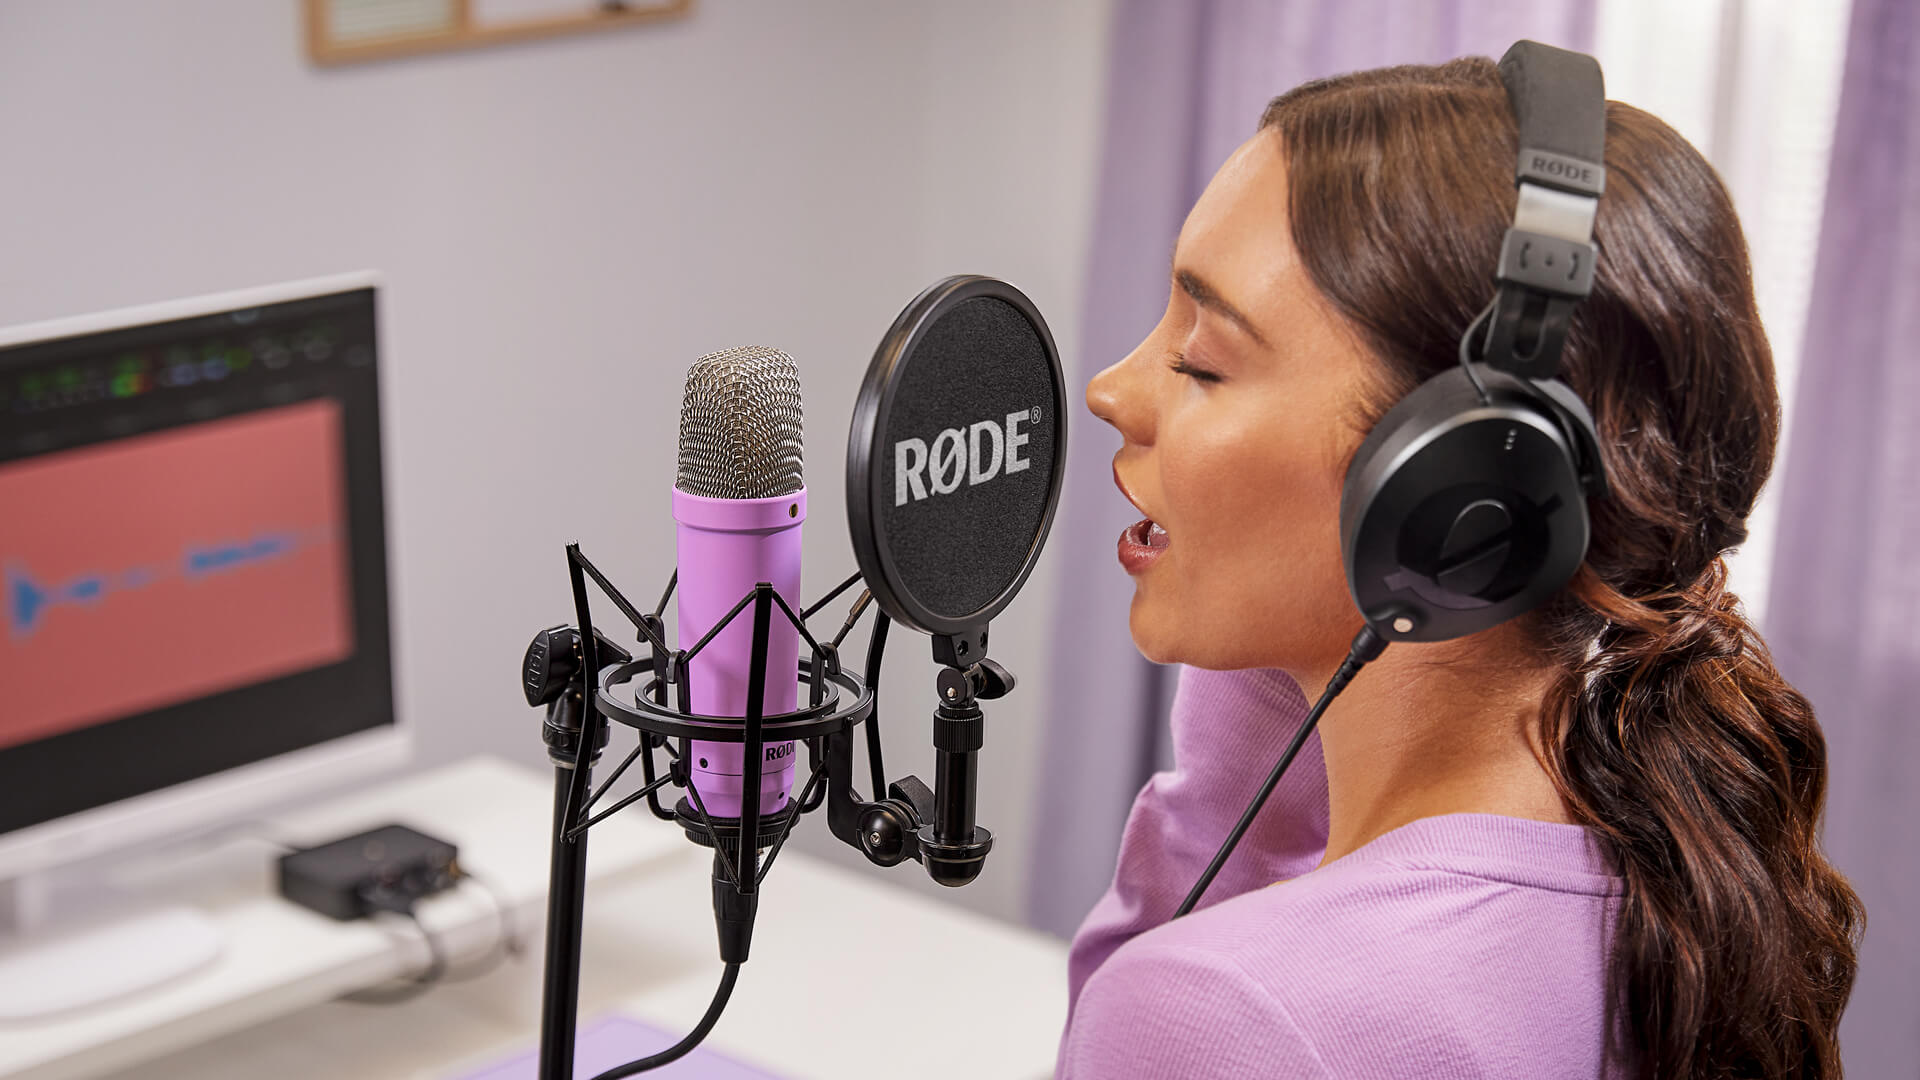
Once you’ve chosen your microphone and a space to record in, it’s time to think about mic technique. Most large-diaphragm condenser microphones like the NT1 Signature Series are side-address, meaning that the capsule (the membrane that picks up your voice) is facing out to the side.
These types of microphone typically have a cardioid pickup pattern, which means they will pick up the clearest signal in front of the capsule rather than behind it. The NT1 series of microphones feature a gold dot that indicate the front of the microphone – just be sure it’s facing you when you sing!
As we mentioned earlier, large-diaphragm condensers are very sensitive, so you’ll want to position the microphone within 6-12 inches of your mouth to capture the best sound. Anything further than this will capture more of the room, which makes your vocals sound distant and also makes it difficult to process later on.
If you position the mic closer than six inches from your mouth, you’ll start noticing something called the proximity effect – the closer you are, the more bass you introduce into the sound. This can be used to your advantage in shaping the tone of your vocals, but the added bass response can increase the risk of plosives, so experiment with what works best for you.
One trick for avoiding plosives is to sing on a slight angle to the microphone. This means that the excessive air from certain words is directed off to the side, rather than straight into the capsule.
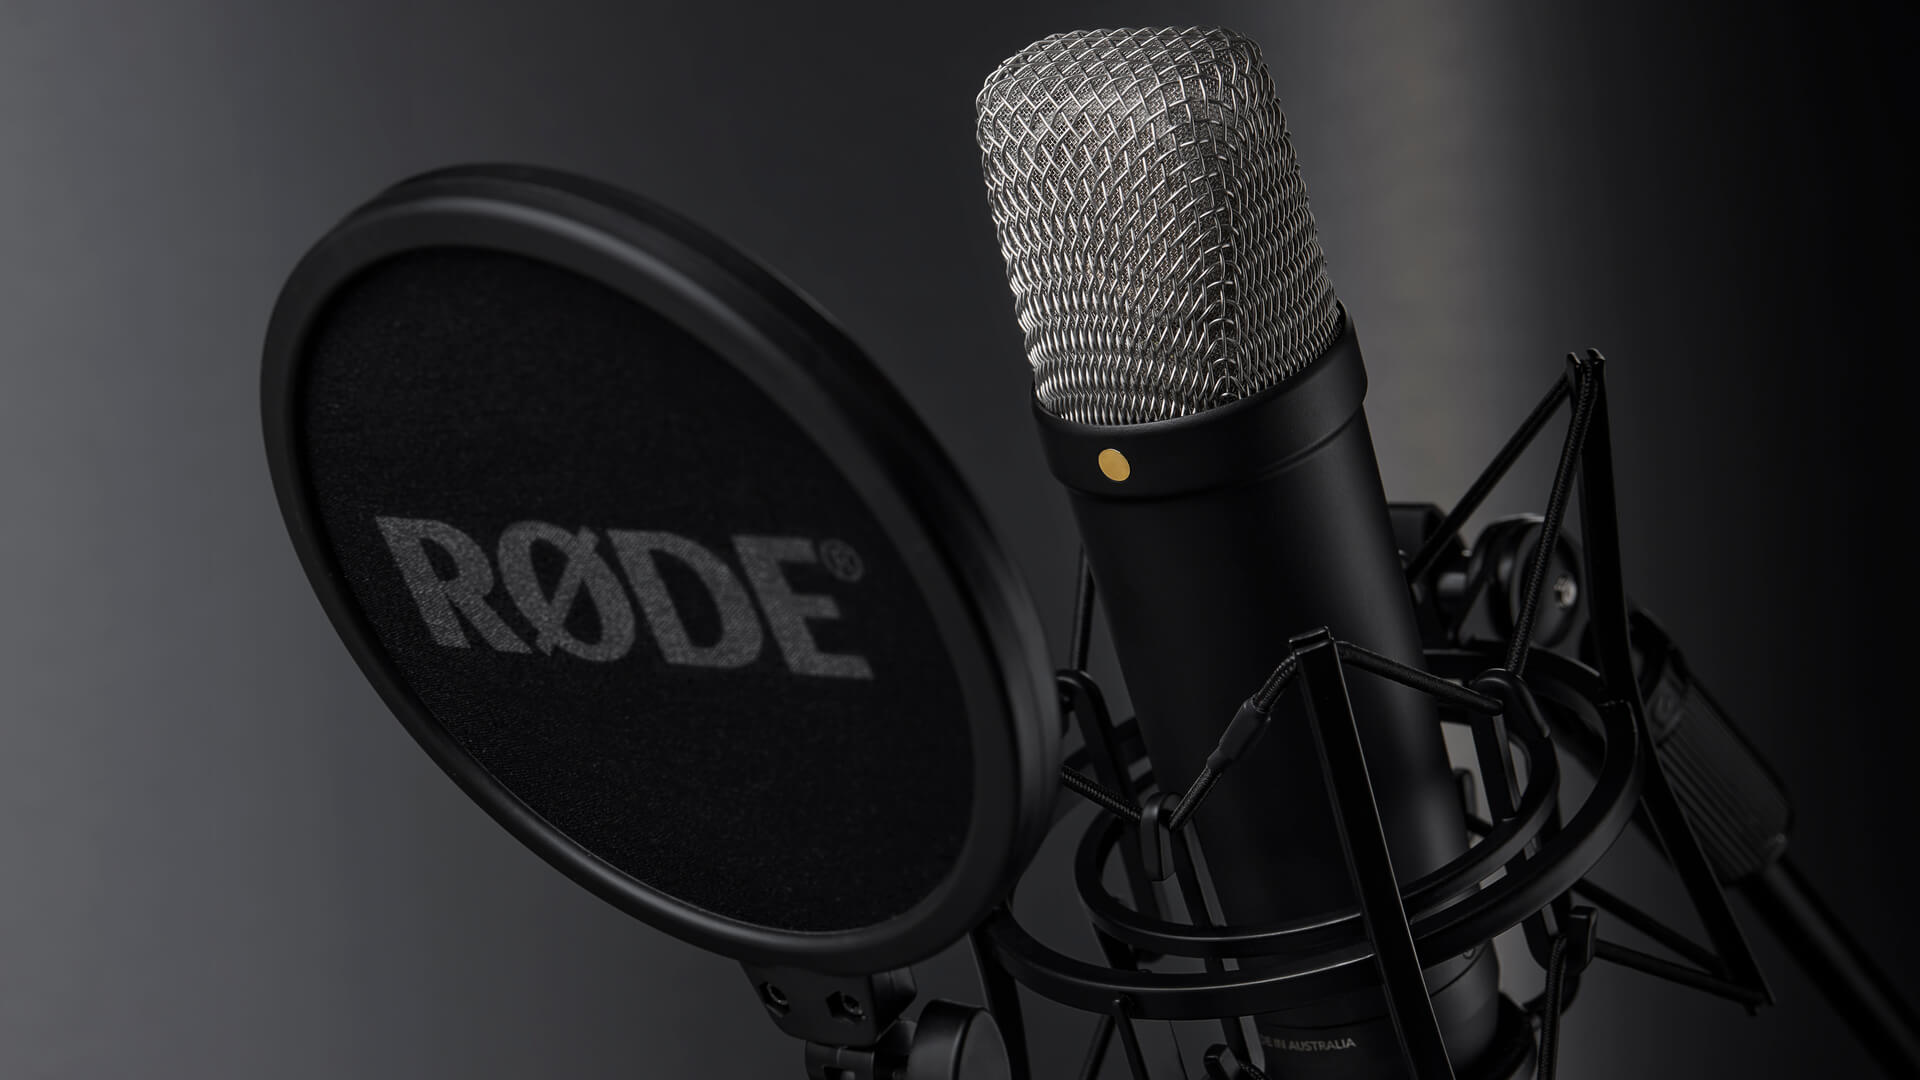
Large-diaphragm condenser microphones are typically side-address – the gold dot generally indicates the direction in which RØDE microphones pick up audio.
Basic Processing
Once you've recorded your vocals into your DAW, you can use some basic processing tools to help your vocals sound even more professional. We’ll take a look at how you can equalisation (EQ), compression and de-essing.
EQ helps shape the tone of your vocals by allowing you to boost or cut certain frequencies. Generally speaking, the human voice doesn’t contain any very low frequencies, so it can help to cut these with an EQ to reduce muddiness. More than likely, any low-end content in a vocal recording is made up from rumbles, plosives or background noise.
To give your vocal take more clarity and help it stand out more in a mix, you can boost certain mid frequencies. If you notice certain mid frequencies are already quite loud, just be careful not to boost them while you’re raising other frequencies around it. Lifting the treble frequencies with a high-shelf is a great trick to giving your performance a little more ‘air’ and brightness.
Compression helps maintain consistent vocal levels by automatically reducing loud signals and boosting lower signals in a recording. Overall, this gives your vocals a smoother, more professional sound that will blend better in the mix. To get started, adjust your compressor’s threshold setting until you start seeing ‘gain reduction’ occurring, this is how you know the compressor’s working.
A “de-esser”, as its name may suggest, is designed to reduce the harsh sibilant sounds like “s” and “sh” that can sometimes be quite prominent in vocal recordings. It does this by using a clever combination of EQ and compression, but most de-esser effects will be quite simple to operate.
These basic processing steps are the foundation for a clean, professional-sounding vocal track. You don’t need loads of expensive plug-ins to get a good sound – the stock plugins that come with your DAW will do the trick just fine.
Using a DAW to apply basic processing and creative effects to your vocal performance can have a massive impact on the quality of your sound.
Creative Effects
After you’ve done some basic processing to clean up your vocals, adding subtle effects can take them to the next level. We’ll cover some of the most commonly used effects on vocals: reverb, delay, and double tracking.
Reverb adds space and depth to your vocals, creating an ambience that can make the singer sound like they’re in a small room, large hall, or infinite cosmic void. While it’s tempting to go over the top with reverb, if used in moderation, it can make your vocals stand out more in the mix.
Delay is an effect that adds an ‘echo’ or repetition of your vocals at set intervals, (typically synchronised to the tempo of the song) to fill the spaces in-between lines and add richness and texture to the overall vocal sound. Like reverb, it’s tempting to go all out with delay, but a small amount with low repeats can add a lot of character to your vocals without losing their punch and clarity.
Double-tracking is an effect that can give your vocals a fuller, wider and more dynamic sound by taking advantage of the stereo field. One way to achieve this effect is to record multiple takes of your vocal performance and layer them in your DAW, panning each take more to the left or right. This creates a chorus effect that can add richness and depth to your vocal mix – this is especially powerful on backing vocal arrangements.
Of course all of these effects are open to personal taste and will vary a lot with the style and genre of the music you’re producing, so feel free to experiment with them to find the right blend that enhances your vocal performance without overdoing it.
There you go! With the right gear, recording space, technique, and with some basic processing and effects, you can record studio-quality vocals at home.
Check out our range of studio condenser microphones, audio interfaces and mixers to start kitting out your home recording setup.