Routing Audio
UNIFY uses flexible routing options and, sub-mixing, which will allow you to control and monitor all your audio through one intuitive software interface
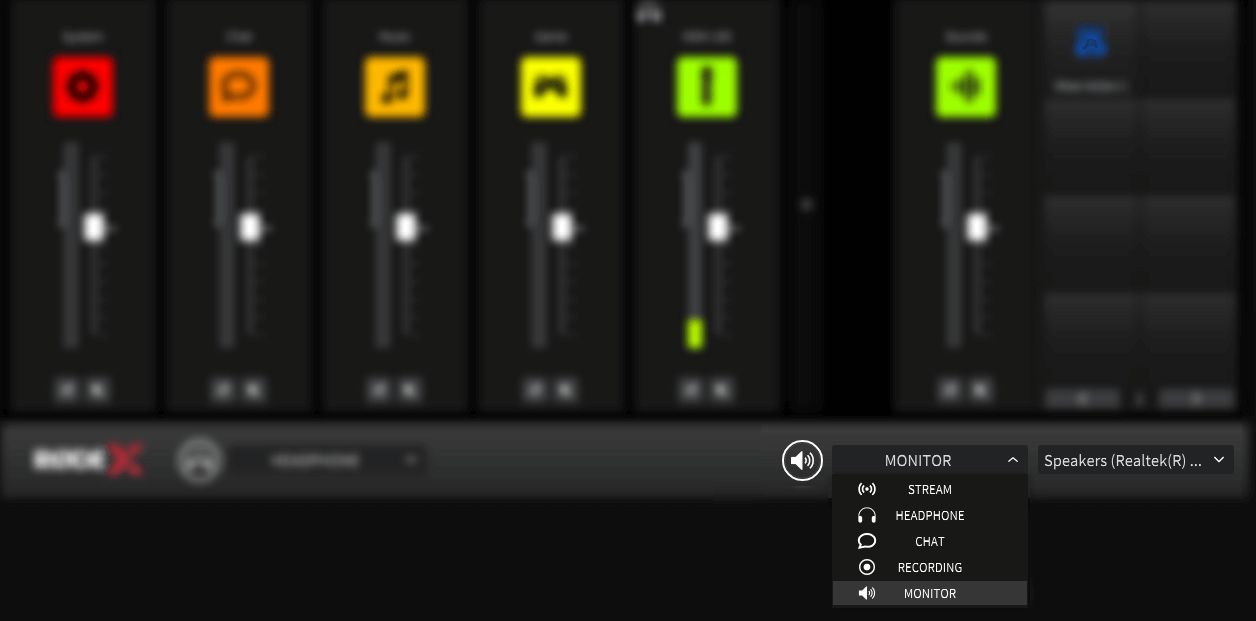
Selecting the Monitor Source
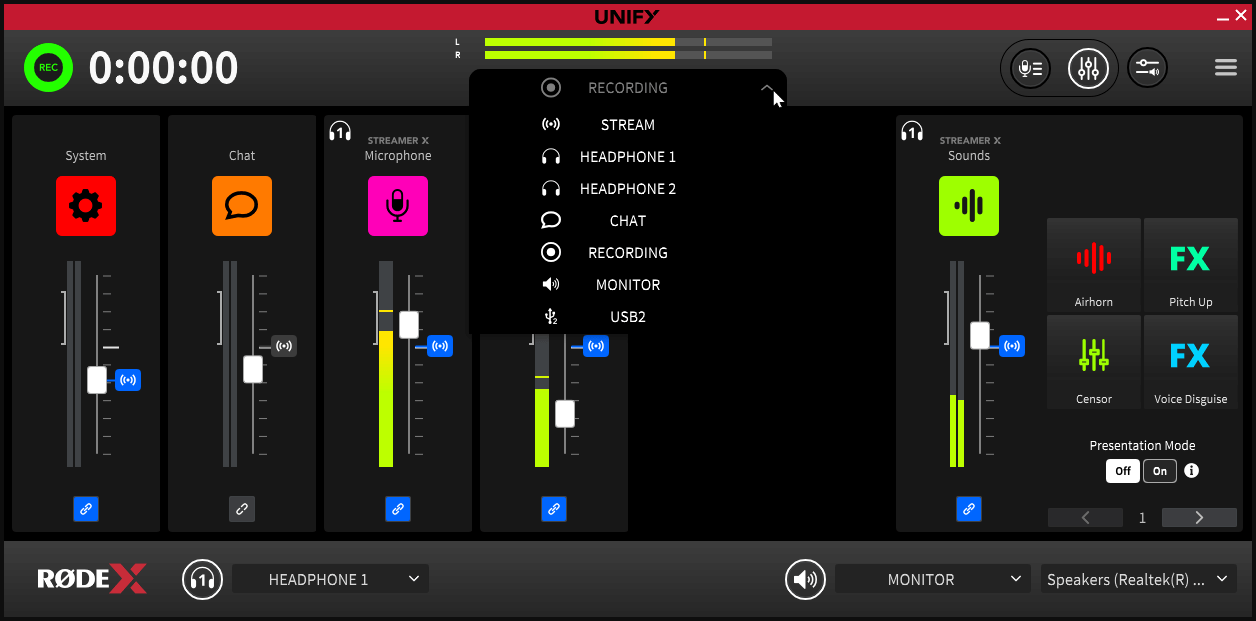
You can select which output of UNIFY is sent to the monitor output using the dropdown next to the monitor selector. You can select to send the stream mix or any of the submixes to the monitoring as required.
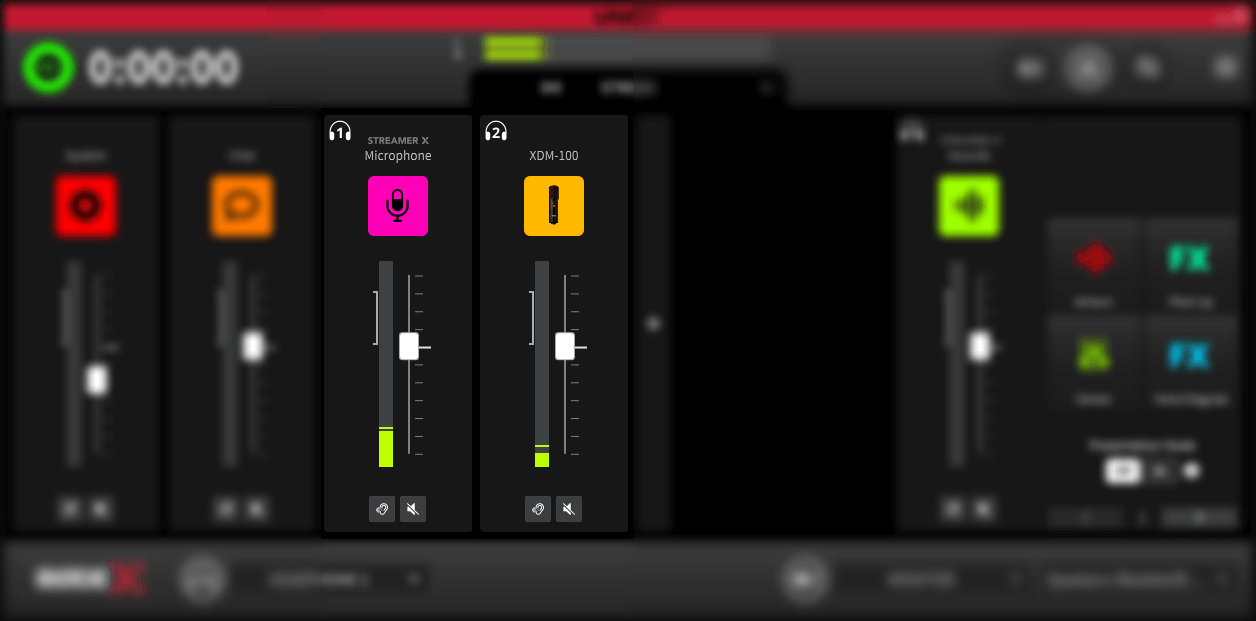
By default, the microphone output(s) are muted to the monitor output, to prevent feedback. They can be re-enabled by clicking on the warning symbol above the channel icon.
Pro Tip
There is a specific submix called ‘Monitor’ that you can set up in the same way as other submixes. This allows you to set a specific mix for eg a live audience whilst maintaining all of your other mixes and submixes.
Using External Monitoring
It is possible to send the output of UNIFY to an audio output device on your computer. This allows you to connect either speakers or headphones as a separate monitor for your stream. This could be used by a producer to monitor the output, for example, or fed to speakers for an audience. You can also use this as the headphone output if you are using a device that does not have a built-in headphone output (for example an NT1 5th Generation or a Wireless GO II).
You can choose the audio device that the monitor output is sent to using the dropdown at the bottom left of the UNIFY main window.

Note
This cannot be a device that is available to UNIFY. Typically it would be your computer’s built in headphone output, or another audio interface connected to your computer
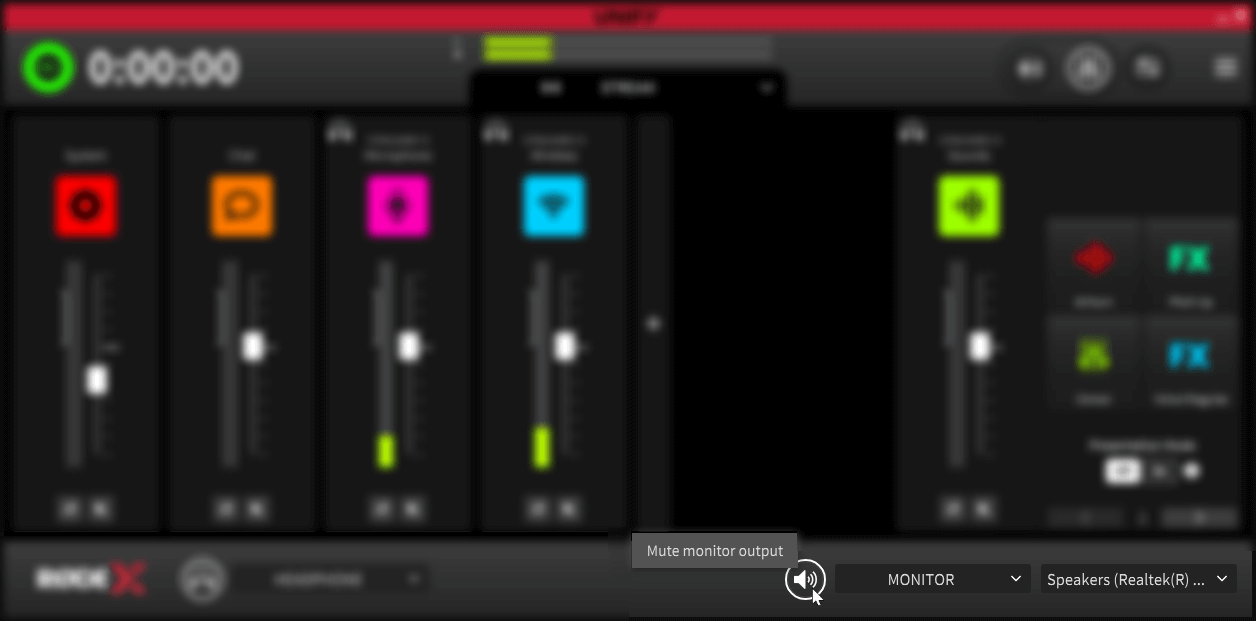
Muting the Monitor Output
You can easily mute and unmute the monitor output by clicking on the speaker icon to the left of the monitor selector. It is highlighted white when the monitor output is active.
Submixes
What are Submixes?
Submixes unlock one of the most powerful features of UNIFY – the ability to create different mixes for different devices or audiences. So for example you can turn down the level of your own voice in your headphones without affecting your stream. Of you can choose to only send your own voice and the sound pad sounds to your Discord channel, whilst still outputting a full mix to your stream.
Whilst this is very flexible, it can also be complex to set up, so it is worth reading through this section as you set up your submixes.
The Headphone Submix
You can create a custom mix for your headphones by selecting the ‘Headphone 1’ submix from the submix dropdown, and adjusting the sources as described above. For example, you might want to listen to music in your headphones that is not being sent to your stream for copyright reasons. You can do this by sliding the music audio source to zero in your Stream mix, then unlinking it in the headphone 1 mix by clicking the ‘link’ icon under the music slider until it turns grey. You can then turn up the music in your headphones without sending it to your stream.
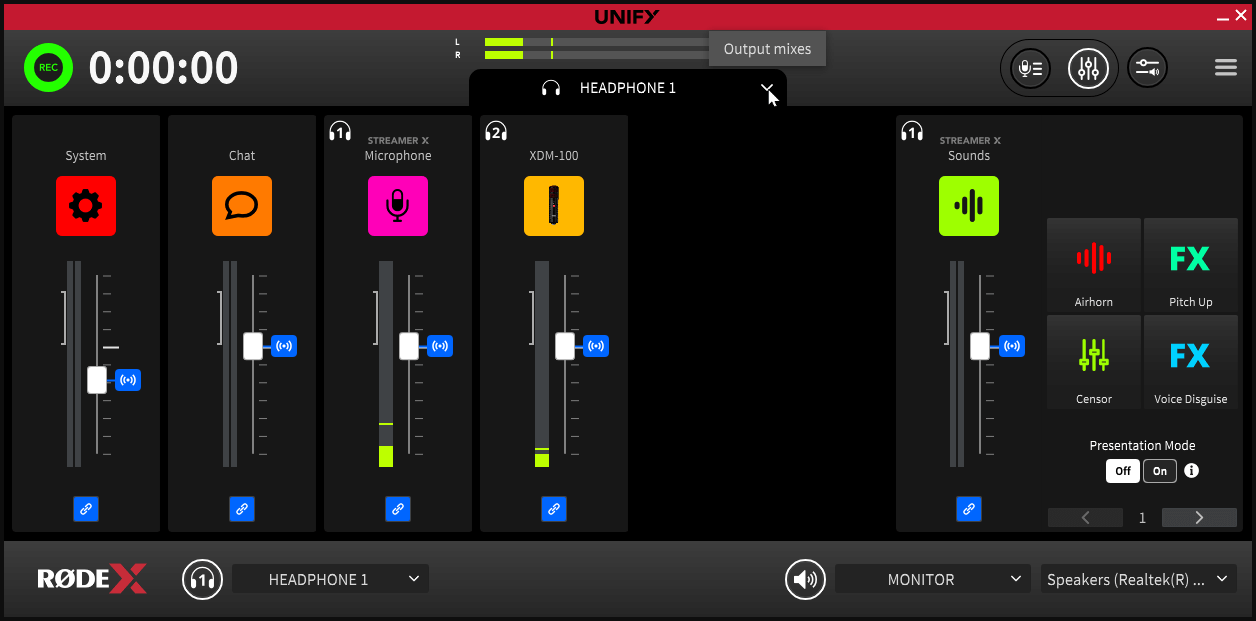
Monitoring Different Submixes
You can monitor any of the submixes from your headphones. If you have multiple mics connected to UNIFY, the monitoring is only available on headphone 1 (see above for details), so you should assign your devices accordingly. Note that the microphone that is in the leftmost position will default to being headphone 1. You can rearrange the order of the microphones and other sources using the Channel Assignment screen.
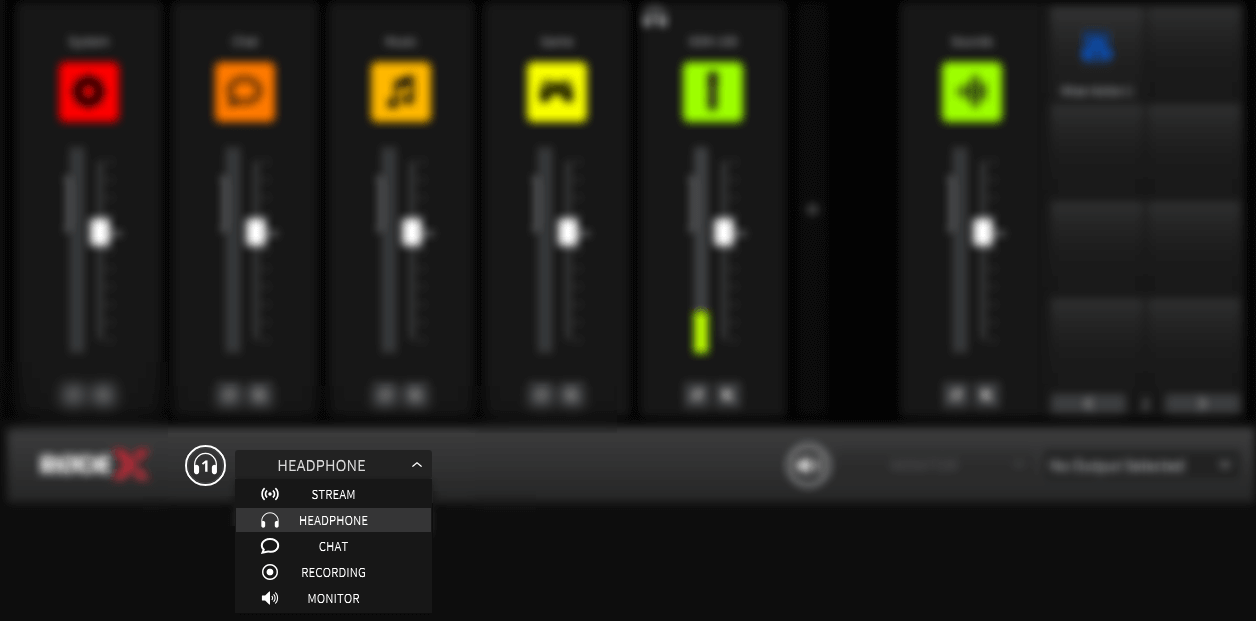
To monitor a specific submix, select it in the headphone monitor dropdown on the bottom left of the main UNIFY screen. This will allow you to check any of the submixes during your stream, and / or listen to them when you are setting them up.
Multiple Headphone Mixes
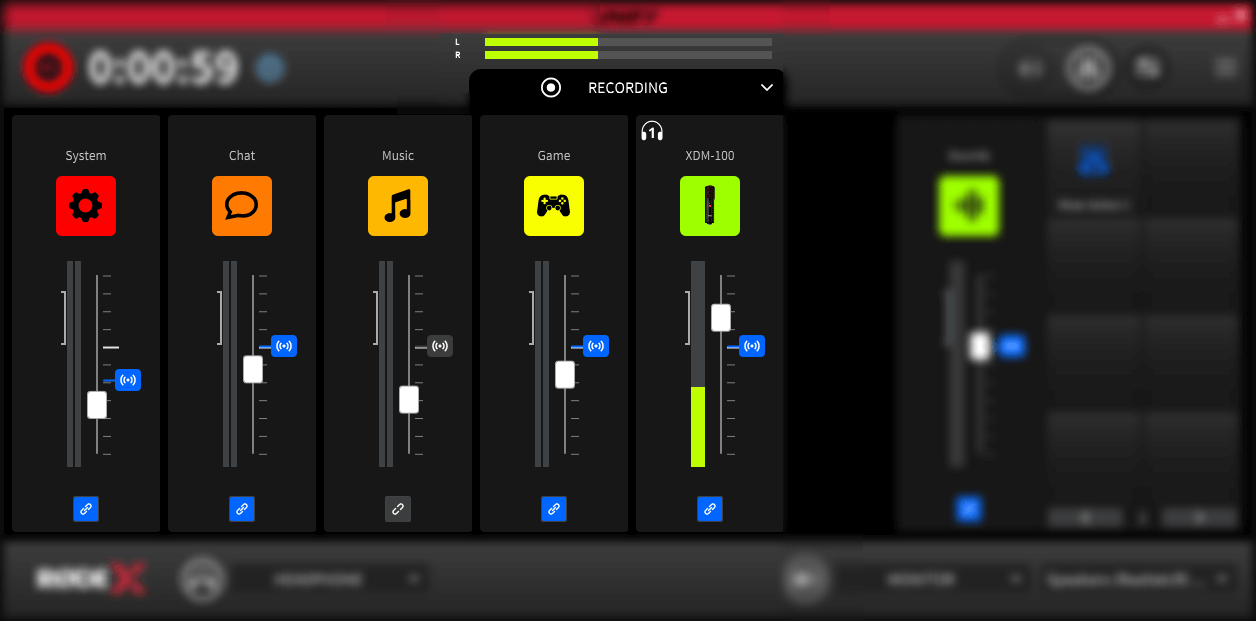
If you have more than one compatible USB microphone (or device) connected to your computer, each device can have a separate headphone submix. Note that the headphone output from the microphone (or device) will carry the headphone submix for that device.
You can see which device is which by looking at the ‘headphone’ symbols above and to the left of the audio source name. Each microphone is numbered so you can keep track of which submix is associated with which device.
Creating a Custom Submix
You can create a submix by selecting the destination you want to affect in the submix dropdown, and then simply adjusting the sliders until you have the desired mix. However, there are three different modes to do this which operate slightly differently.
Linked Sliders
By default, when you adjust a slider for a submix, it will remain linked to the slider for the main mix. An offset will be created between the level of that source in the submix, and the level in the main stream output. This means if you adjust the level in the stream mix, it will also change in the submix, but with the offset. For example, if you set your voice level in your headphone submix to half the level in the stream mix, but then also lower your voice level in the stream mix it will further lowered in the headphone submix, so it remains at half the volume. This linked status is indicated by a blue ‘chain’ symbol underneath the slider.
Unlinked Sliders
You can decouple the submix level from the stream mix completely by clicking the icon underneath the slider so it shows a grey ‘unlinked’ status. This means that you can set the level of that source in the submix completely independently of the stream mix.
Removing a Source
You can remove an audio source completely from a submix by hovering the mouse over the slider, and then clicking the ‘cancel’ icon that appears above the source name. You can reinstate it to the mix by clicking in the same place.
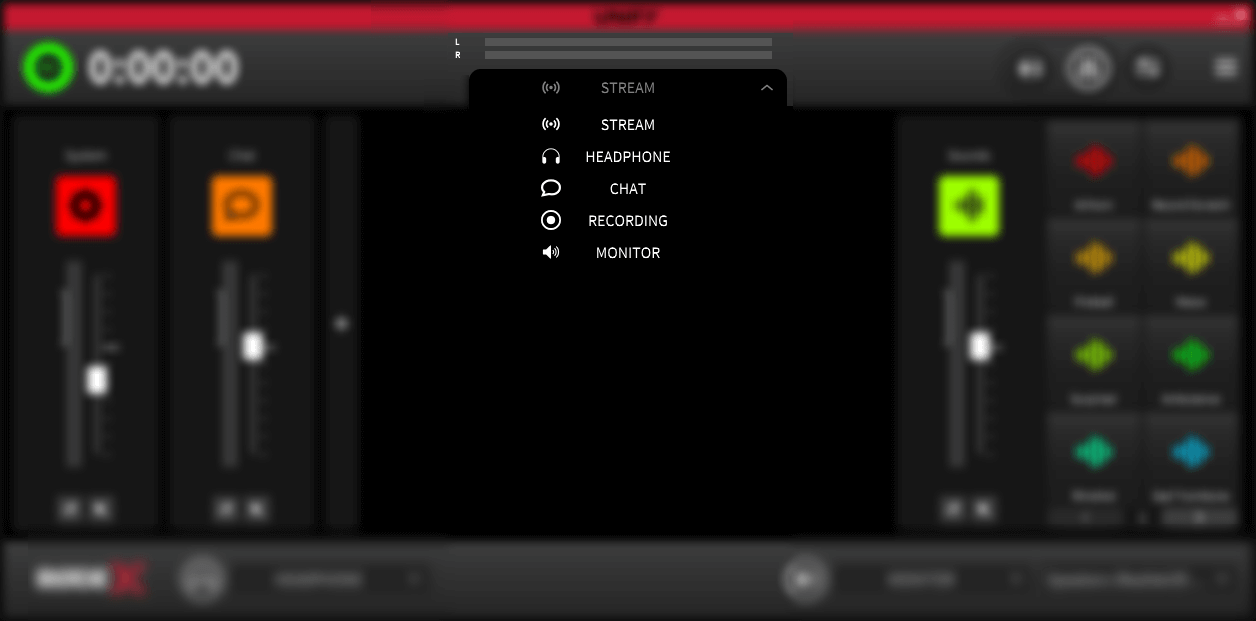
Stream Mix Indicators
When creating a submix, a symbol to the right of the slider indicates the level of that source in the main stream mix.
If the slider is linked to the stream mix (see above), the icon will be blue. If the slider is unlinked, it will be grey.
You can reset the level of an individual source in the submix to match the stream mix by clicking on this blue icon (if the icon is grey, simple enable the ‘link’ icon underneath the fader prior to clicking on the stream mix level symbol)
Using a Submix For Clean Chat Audio
One of the most common reasons to set up a submix is to send clean audio to your communications apps such as Discord or Zoom, as sending the complete mix is distracting for your chat participants to listen to.
As an example, you might only want to send your own voice and the soundpad sounds to Discord. To do this, select the ‘Chat’ submix from the submix dropdown under the main meter.
If you want your voice to always go to the chat, regardless of whether you have faded it down in the stream mix, you can unlink it from the stream mix by clicking on the blue ‘link’ icon under the slider so it turns grey. Otherwise you can leave it linked.
Now disable all the other audio sources except the SMART pads. The easiest way to do this is to hover over them, and click the ‘disable’ icon that appears above the source name (you can also unlink the sliders and turn them down to zero).
(Note that for the Chat submix, UNIFY will by default disable the Chat audio. Whatever audio you choose to send to the chat, you should keep the Chat source disabled to prevent echo and feedback.)

Getting Audio to Your Stream
Assigning UNIFY Output to Your Stream
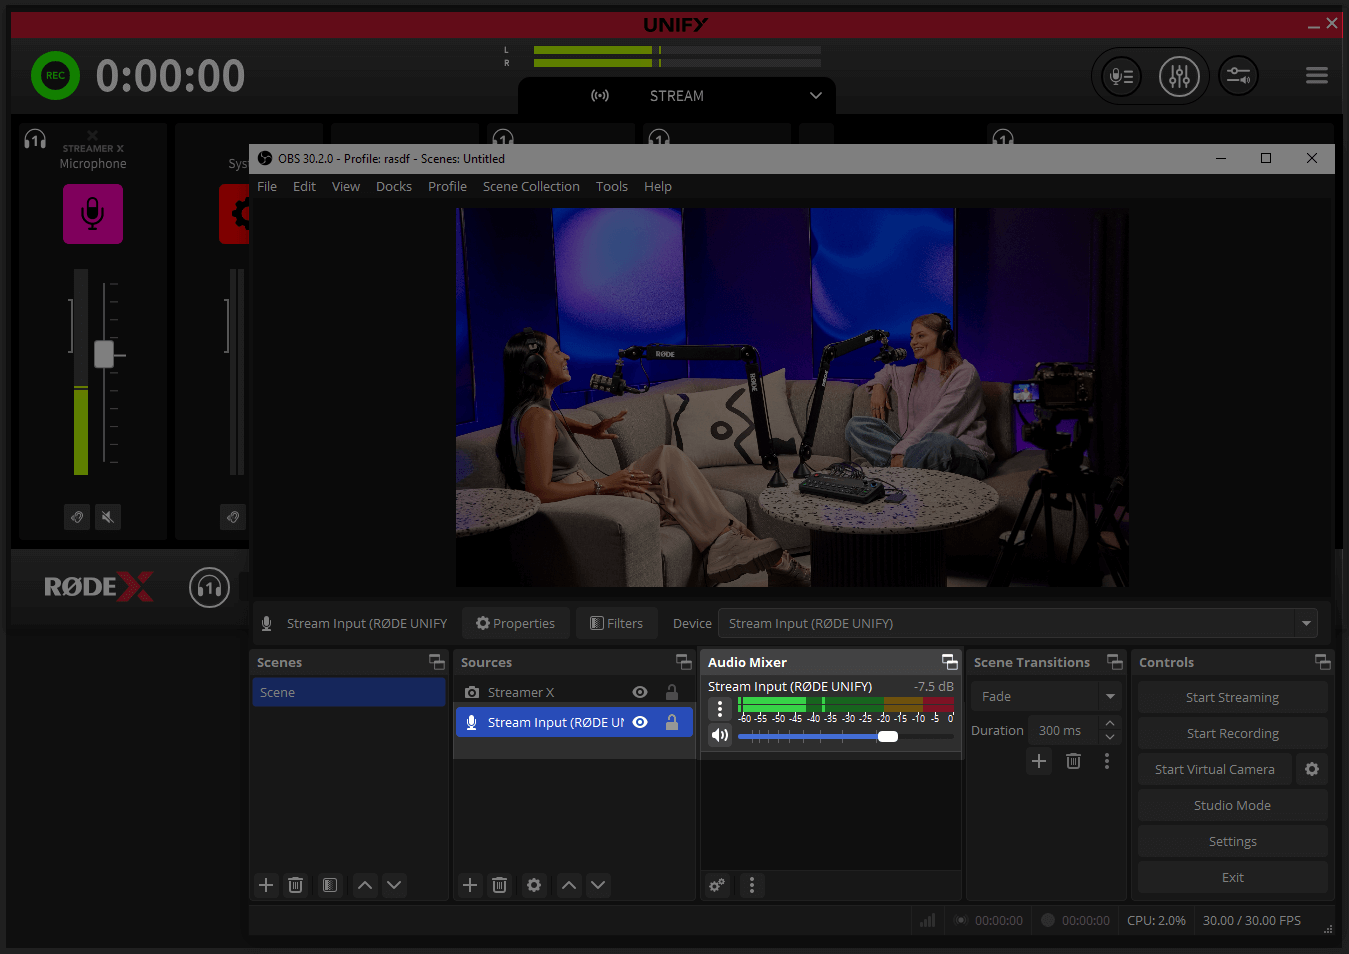
Now you have all the audio sources routed to UNIFY, you need to ensure the output of UNIFY is feeding your stream. To do this, go to the audio settings of your streaming software. Each software has very different settings for this, but you need to ensure that the only audio device that is feeding audio to your stream is ‘Stream Input (RØDE UNIFY)’. If you can see there are other sources also selected you should remove them. Remember, it is UNIFY that will control your audio levels, not your streaming software.
Troubleshooting Tip
If you have your RØDE microphone directly selected as an audio source in your streaming software, it can prevent UNIFY from accessing it. This can make it seem as if the microphone is not working. Ensure that the only audio source your streaming software is using is the ‘Stream Input (RØDE UNIFY)’ device.
Manually Configuring Audio Sources to Use Virtual Channels
To assign a program to the correct virtual channel, you need to navigate to the ‘audio’ or ‘device’ settings in your program. There you will find a setting where you can select the ‘speaker’ or ‘audio output’ settings.
You need to set these to the name of the virtual device you want that program to send audio to. So if you want to have Discord appear on the ‘Chat’ channel in UNIFY, go to the audio settings in Discord, and select ‘Chat output (RØDE UNIFY)’ for the audio options.
You then need to do the same for other programs, setting them to the correct virtual channel.

Using Windows to Assign Virtual Channels
Some programs (eg browsers) may not have their own audio settings. But it is still possible to assign them to a specific virtual device using the Windows control panel. To do this:
- Ensure the application you want to assign (eg the browser, music player etc) is running
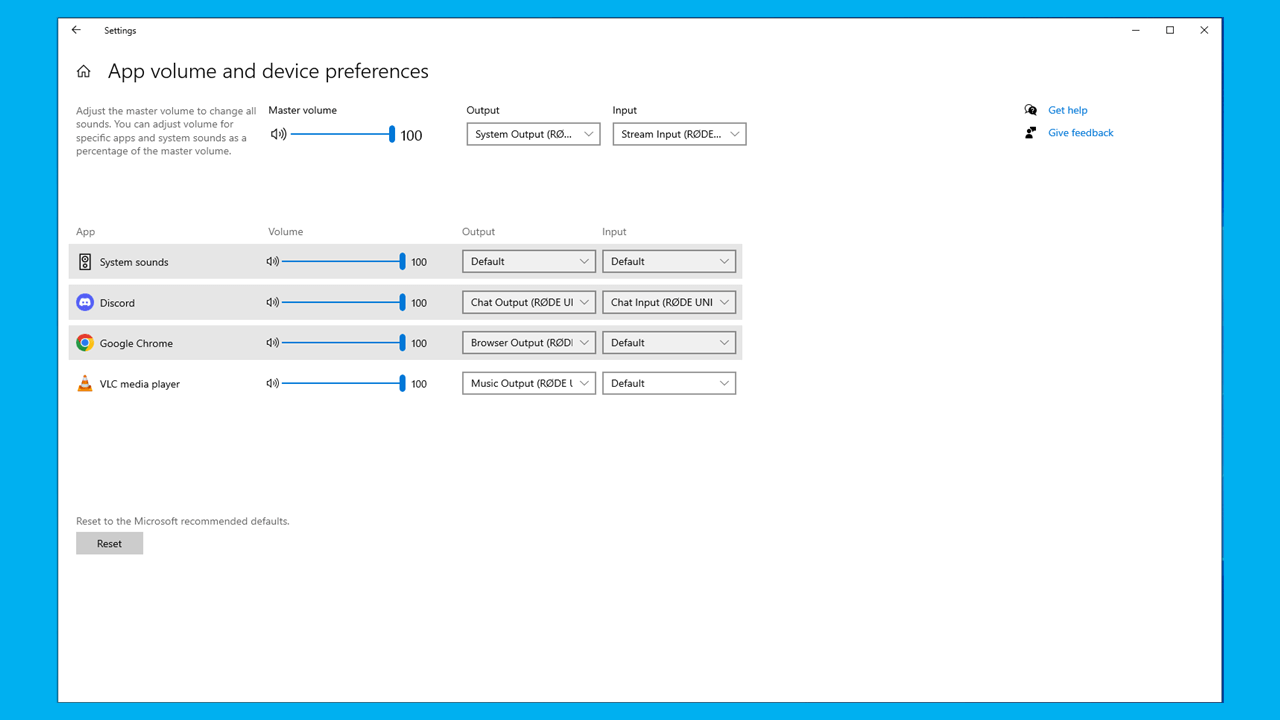
- Click the ‘Launch windows settings’ button in UNIFY – it’s the top left button next to the menu. This will show the Windows audio control panel. Every program on your computer that is open and has audio capability is listed.
- Look for the specific program you want to assign, and set the ‘output’ settings to the desired UNIFY virtual device.
- If the program is going to be used for comms, then you will also need to set the input to the ‘Chat’ device.
Pro Tip
If you have more than one communications app (eg Discord and Zoom), you can still assign the output of them to different virtual devices, but you will need to choose the ‘Chat’ device as the input (‘microphone’) device for all of them. You can configure exactly what audio is send to your chat audience – but note that with multiple comms apps you will have to send the same audio mix to all of them.
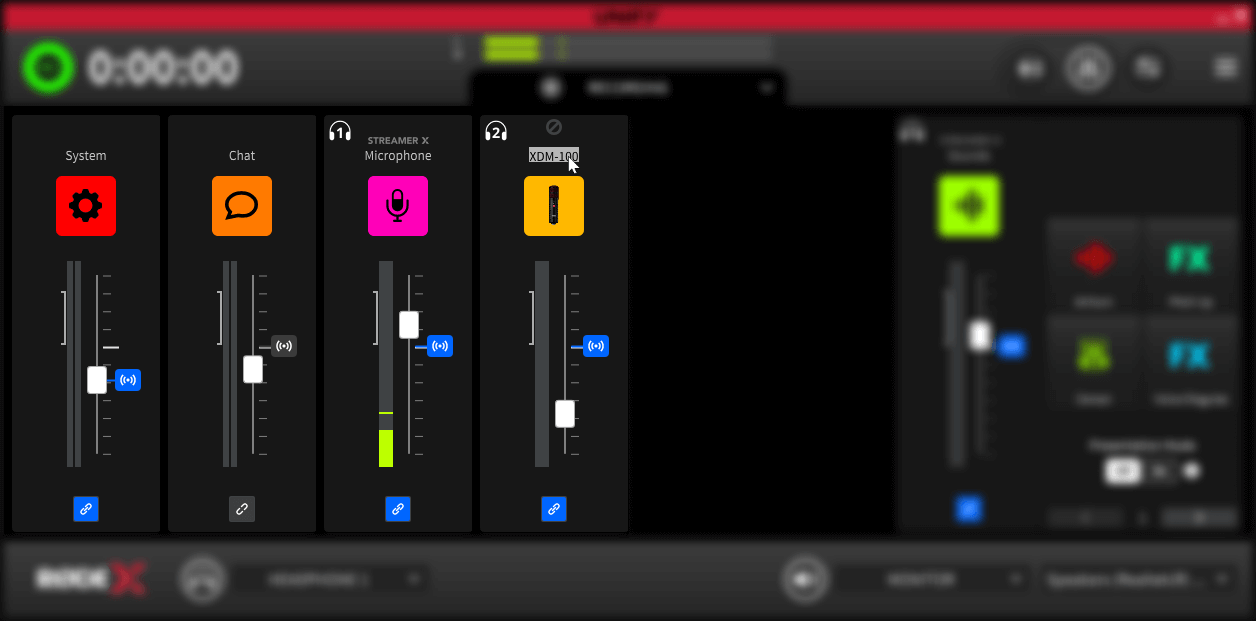
Renaming Channels
You can rename the channels in the UNIFY mixer to make it easier to identify your sources. To do this, simply double click on the name label at the top of the channel, and type your preferred label.
Note that changing the labels will not change the names of the USB Virtual Devices that appear when selecting audio devices on your computer.