How To Improve Your Audio When Presenting a Class From Home
Video is a powerful medium for sharing classes and other presentations. More and more businesses and education institutions are relying on video as a way to share information remotely – from yoga classes to university lectures. For those watching, audio is as much a part of the experience as the video, if not more. In fact, people are far more likely to tune out of a video with poor quality audio than poor quality video.
Tools like smartphones and DSLR cameras can produce really great videos, even when used in the most basic way. However, the microphones built into these devices don’t produce great quality audio, and if you rely on these to record your voice for your videos, it’s likely your audience will quickly lose interest. Below we’re going to be looking at how to improve your audio when presenting a class from home.

Use an External Microphone
The best way to vastly improve your audio is to use an external microphone to capture your voice. For videos where you are sitting close to the camera, vlog-style, an on-camera microphone like one from the RØDE VideoMic range will work great.
However, if you need more room to move around, or you need to show more than just your head and shoulders, a wireless mic is the ideal solution.
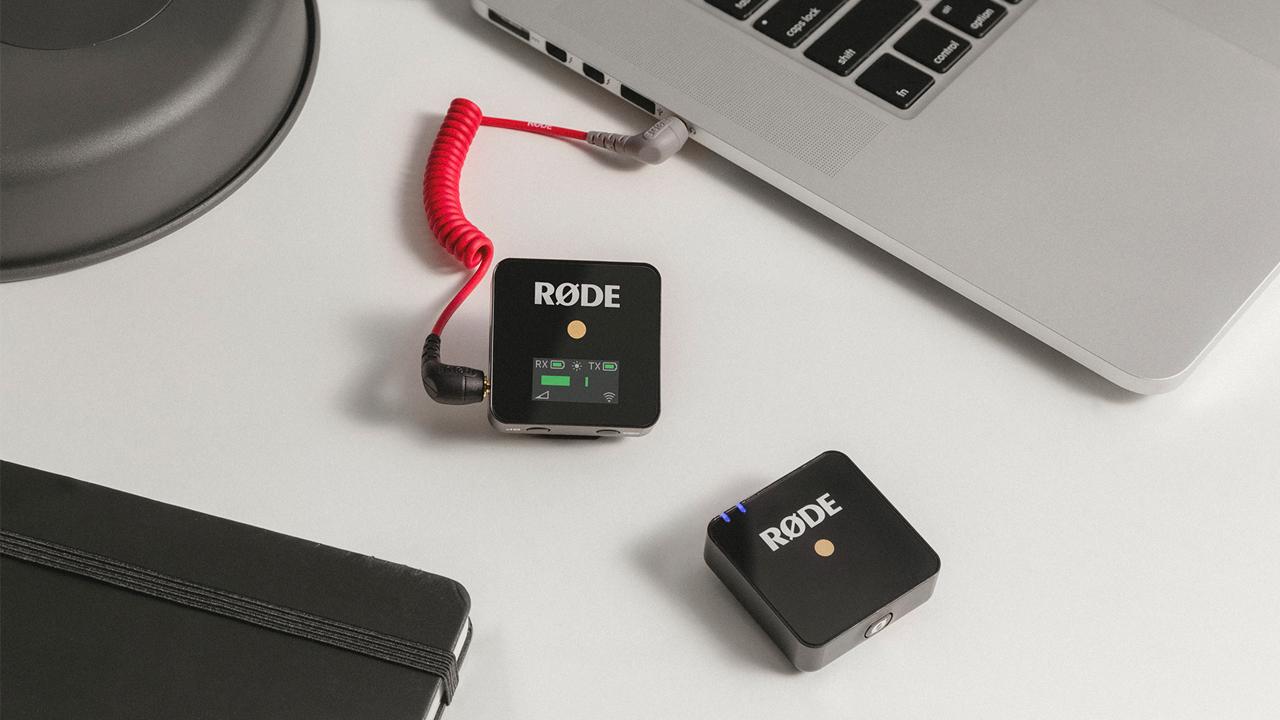
Wireless systems are comprised of two main components: a transmitter pack, which is attached to the subject and captures the audio, and a receiver pack, which receives the audio from the transmitter wirelessly; this is plugged into the recording device, whether that’s a camera, mobile device, computer or audio recorder.
If you’re looking for something that’s affordable, easy to set up and use, and delivers pristine audio quality, the RØDE Wireless GO is the perfect choice. This compact wireless system is unique in that it features a microphone built into the transmitter, meaning you don’t need to mess around with attached a lavalier mic (also known as a lapel mic or ‘clip-on’ mic), as with most wireless systems.
Simply clip the transmitter pack to your shirt, jacket lapel, or tie, pair it with the receiver, plug the receiver into your camera, and you’re ready to record. Of course, you can also plug a lavalier mic into the Wireless GO if you prefer using one – the Lavalier GO is an ideal choice.
Think About Microphone Placement
When setting up to record your class, it’s really important that you position the mic so that it will be able to pick up your voice clearly. Make sure it’s not too close to your chin as this can make your audio sound muffled. On the chest, roughly a handspan (20-30cm) away from your mouth, is the ideal position for a lavalier microphone.
Connecting Your Microphone to Your Device
If you are recording your video with a DSLR, mirrorless or compact camera like a GoPro, plug the Wireless GO directly into the camera’ microphone input using the supplied cable. Now when you hit record, the audio will record simultaneously with your video.
If you are recording your video with a computer or mobile device, you will need to use an adaptor cable to connect the Wireless GO. This is because computers and mobile devices have TRRS inputs, whereas the Wireless GO has a TRS output. These two types of connectors are incompatible, so you will need to use an adaptor to plug it in – the RØDE SC4 or SC7 are what you need.

Choose the Best Recording Environment
The environment that you’re recording in will have a big impact on the quality of your sound. For example, if you’re outdoors and there is lots of wind or traffic noise, or if you’re indoors and with lots of hard surfaces and echo, your audio will suffer and may even be unusable when it comes to editing your video. This can be very frustrating!
Make sure you record in a controlled environment. If you need to record outdoors, find a quiet place with minimal traffic or pedestrians and that is out of the wind. When recording indoors, pick a room with soft surfaces like carpet, curtains, or bookshelves. Choosing a smaller room will also help reduce echo.
Make Sure Your Audio Levels Are Right
It’s very important that you pay close attention to your audio levels on your recording device. If your levels are too high, it may cause your audio to distort, which will be unpleasant to listen to. Most cameras have an audio level meter on the screen – avoid hitting the red section of this meter. Ideally, you want your meter sitting around 2/3 of the way up.
There are things you can do to ensure your audio levels are just right. Start by doing some audio tests, talking into your mic at the volume you will be talking in your video. If your audio is too ‘hot’ – if it is hitting red, lower the audio level in your camera’s settings. You may need to bring it down quite low.
There is also a three-position level control on the Wireless GO’s receiver – use this to control your volume rather than the camera’s level control. Start on the lowest setting, then bring it up if your audio is too low.
Be sure to speak evenly and in a quiet place!
It's always better to have audio that is too quiet rather than too loud. You can always boost the level of your audio in the post-production stage, whereas distorted audio can’t be fixed. There’s nothing more frustrating than sitting down to edit your video, only to realise your audio is unusable.
Following these steps will help vastly improve the audio of your video presentations. For more info on a wide variety of topics around recording audio for film, check out our Audio For Film 101 series.