Wireless Micro
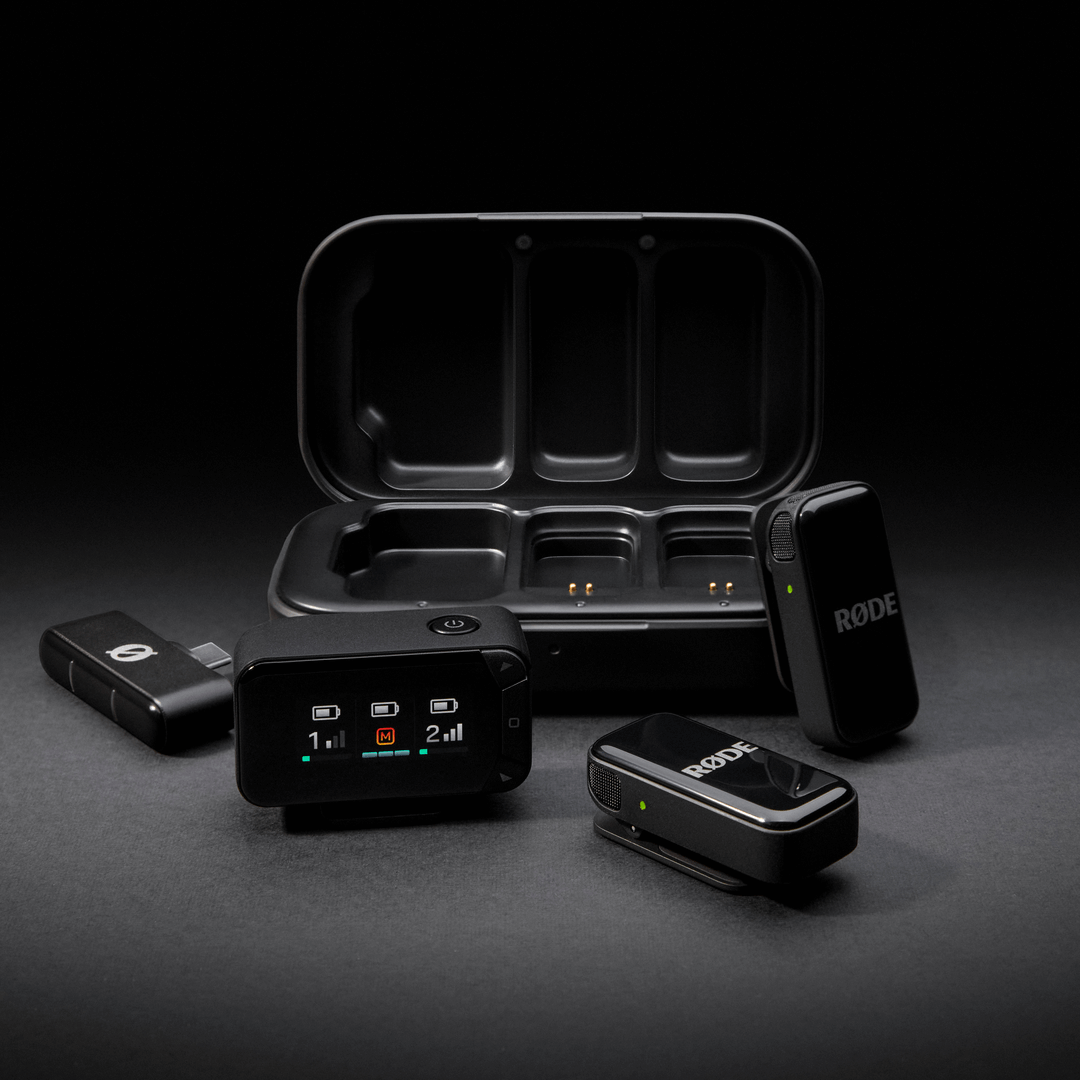
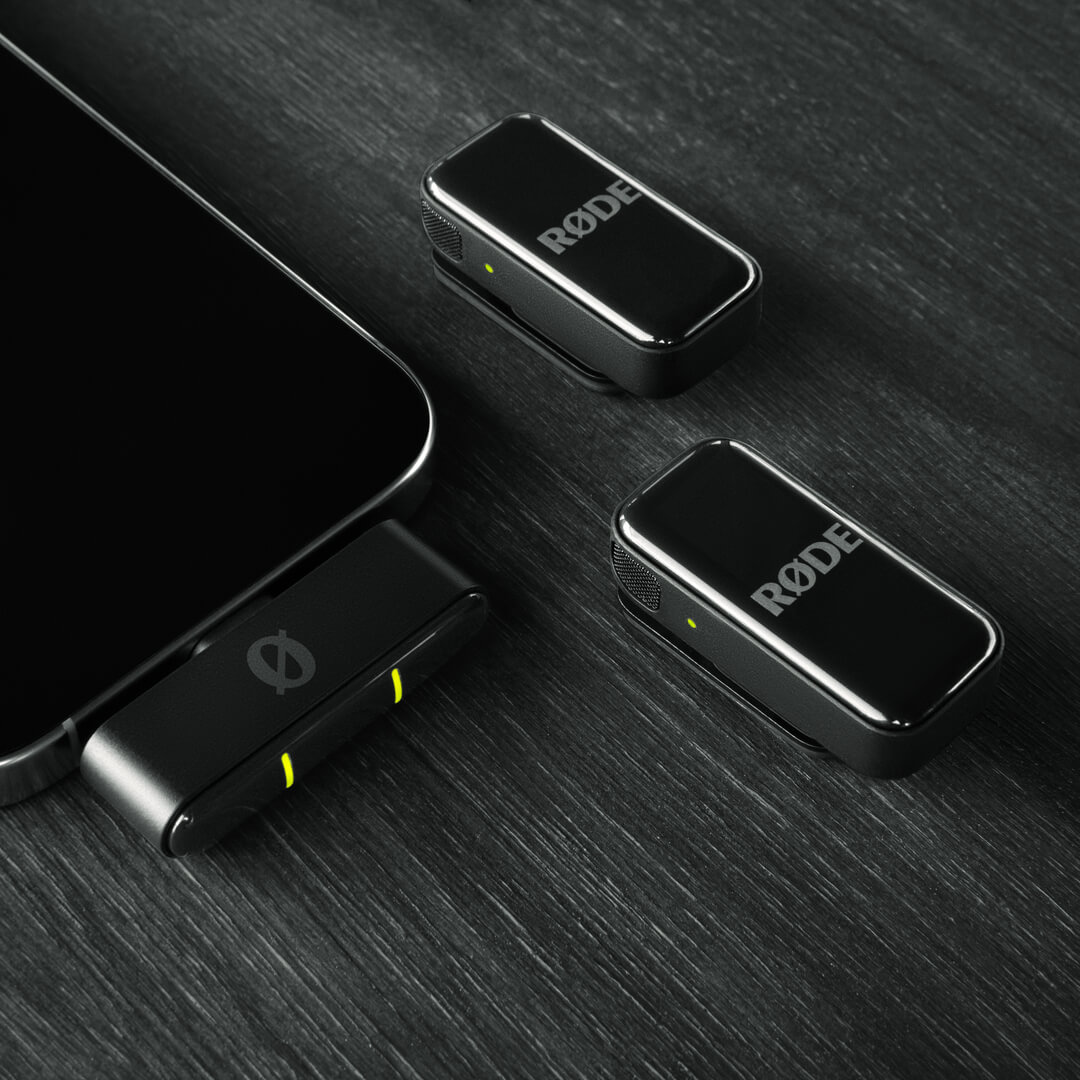
The Wireless Micro consists of two transmitters (TX) and a receiver (RX). The transmitters pick up audio with their built-in microphones and then transmit it wirelessly to the receiver. The receiver connects directly to your phone and lets you use your Wireless Micro with any video or audio recording app that accepts USB audio.
The Wireless Micro Camera Kit consists of two transmitters and interchangeable on-camera and smartphone receivers. The transmitters capture audio with their built-in microphones and transmit it wirelessly to the camera receiver. The camera receiver connects directly to your camera or other recording device via its 3.5mm TRS or USB-C output, allowing you to record crystal-clear wireless audio with any compatible setup.
Getting Started
Wireless Micro
- Take both transmitters from the charging case, remove the stickers covering their charging pins, and then place them back in the case
- Take both transmitters from the case again – their LEDs will now flash
- Connect the receiver directly to your smartphone – its LEDs will flash and then turn solid when paired to the transmitters
Your Wireless Micro is now powered on, paired and ready to record wireless audio to your phone.
Camera Kit
- Take both transmitters and the receiver out of the charging case, remove the stickers covering their charging pins, then return them to their case to charge.
- Remove the receiver from the case – it will power on and display the home screen.
- Mount the receiver to your camera using the cold shoe mount and connect it with the included 3.5mm TRS cable.
- Remove the transmitters from the case – their LEDs will flash until paired to the receiver.
You are now ready to record.
Using the Clips and Magnets
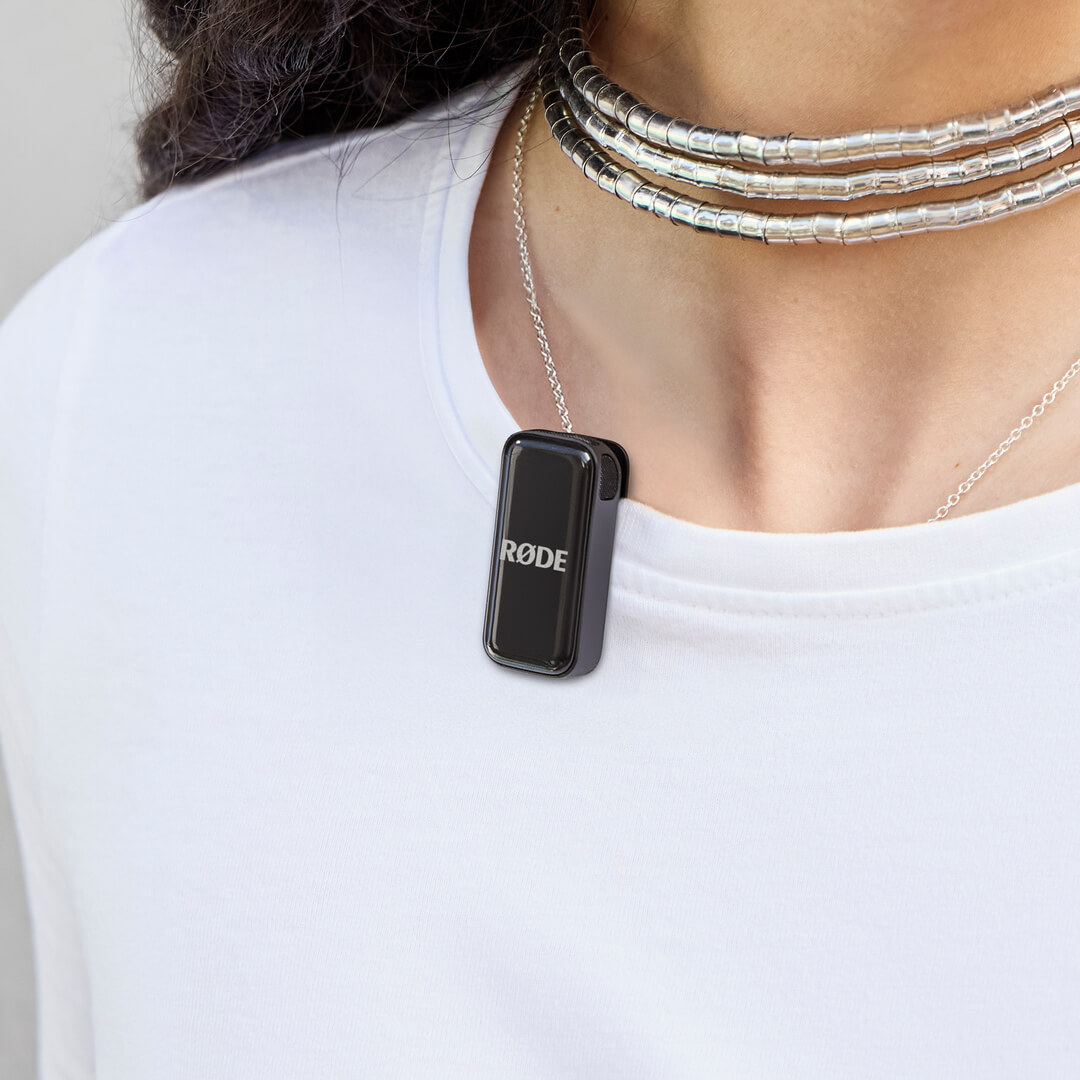
The Wireless Micro’s transmitters feature integrated clips designed to attach directly to the edge of clothing or other items, like your shirt or jacket collar.
Each transmitter also comes with a magnetic attachment that you can use to mount anywhere on your clothing – simply sandwich your clothing between the magnetic attachment and transmitter. You can store the magnetic attachments in the charging case when not being used.
Pro Tip
Try to mount the Wireless Micro transmitter as close to your subject’s mouth as possible, without obstructing the microphones with too much clothing or hair. You can even use the magnetic attachments to mount the transmitter inside clothing for additional protection from wind noise.
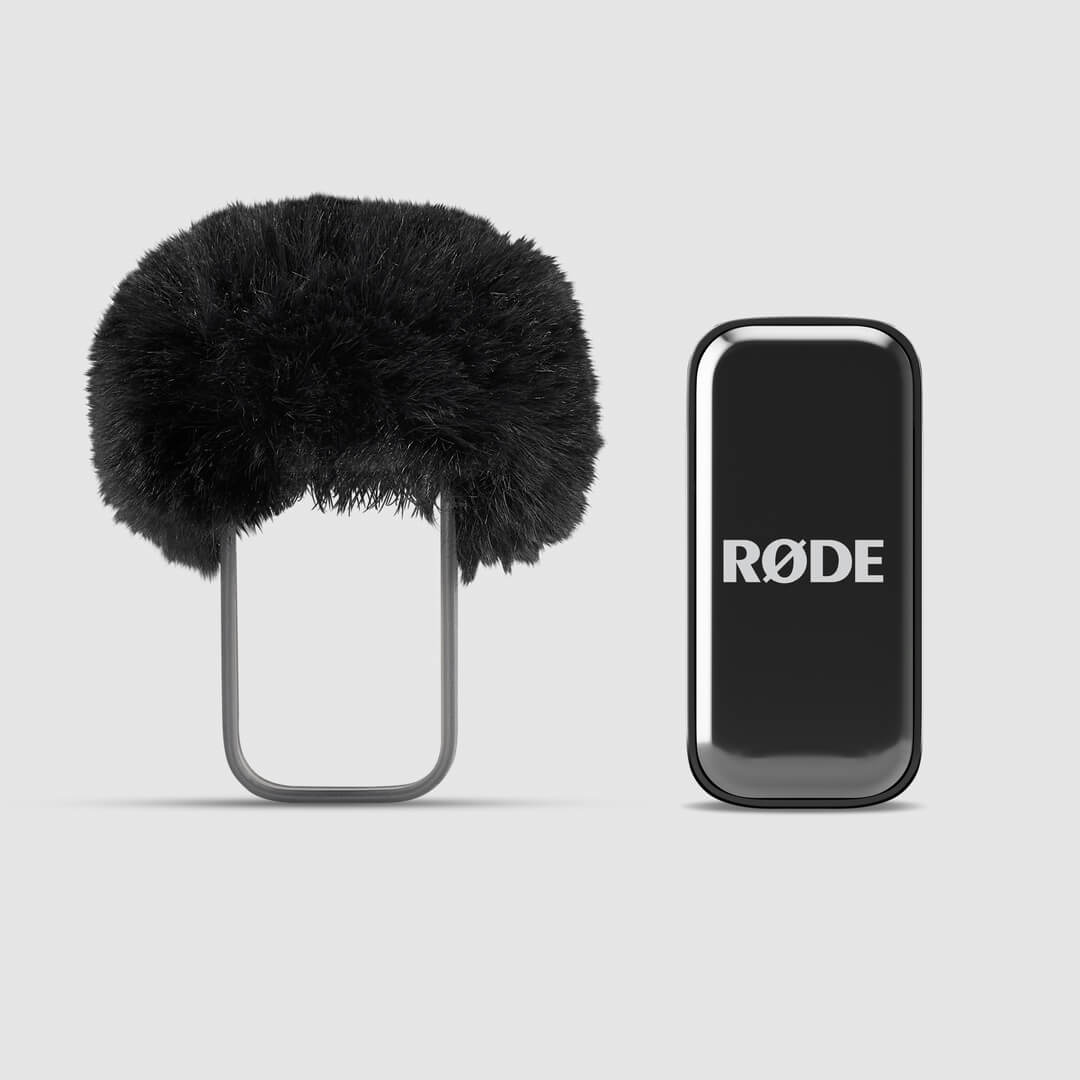
Using the Windshields
The built-in microphones in the transmitters are housed in a patent-pending acoustic chamber that's tailor-made to reduce the impact of wind noise and plosives on your audio. If you’re outdoors, you can use the additional furry windshields to reduce the effects even further, especially in windier conditions.
Simply slide the windshield harness over the transmitter so that the furry windshield lines up with the microphone on the transmitter.
Using the Camera Kit Receiver
The Camera Kit receiver automatically pairs with your transmitters straight out of the box – simply remove the receiver and transmitters from the charging case, and you’re ready to record.
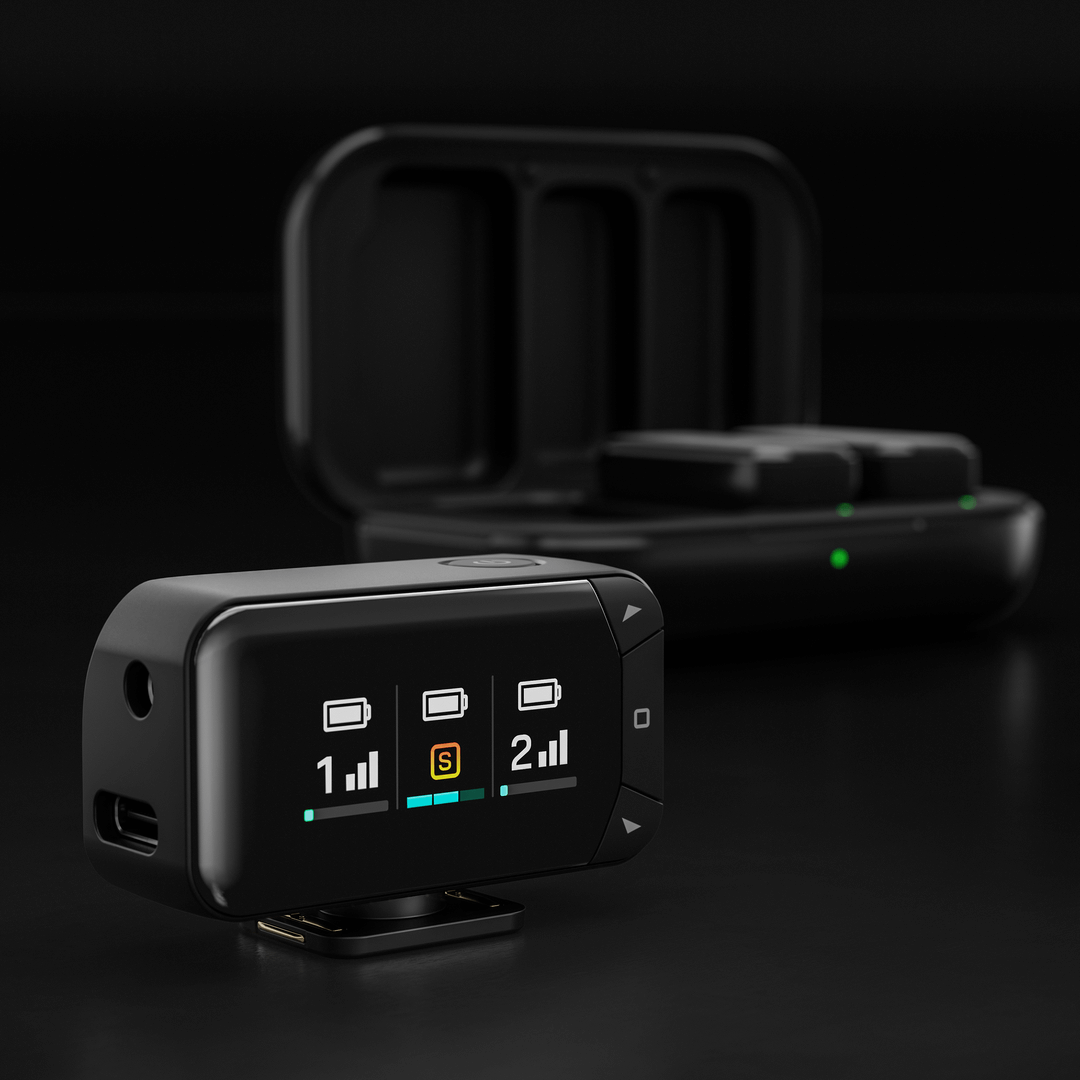
Featuring a bright AMOLED display, the receiver makes setup and monitoring quick and easy. With both 3.5mm TRS and USB-C outputs, it offers universal camera connectivity, making it compatible with a wide range of devices, from DSLRs and mirrorless cameras to other recording equipment.
You can adjust key settings directly on the receiver, including output mode, output gain, and display brightness.
Output Mode: Merge both transmitters into a single combined signal or record them separately to the left and right channels for greater control in post-production.
Output Gain: Choose from low, medium, or high gain settings to match your recording setup.
Display Brightness: Adjust the brightness of the AMOLED display to suit your environment.
To access these settings, press the Home button (square icon), navigate to your desired option using the arrow keys, and adjust as needed. Press the Home button again to confirm your selection.
Transmitters
When the transmitters are connected to the camera receiver, a display column for each transmitter will illuminate on the receiver’s screen. The vertical bars indicate the strength of the wireless signal, while the horizontal bar at the bottom shows the input level. The input meter moves from green to red, with red indicating clipping.
For even greater control, all settings – including output mode, gain, and transmitter noise reduction – can also be adjusted via the free RØDE Central app (more details below).
Recharging the Transmitters and Charging Case
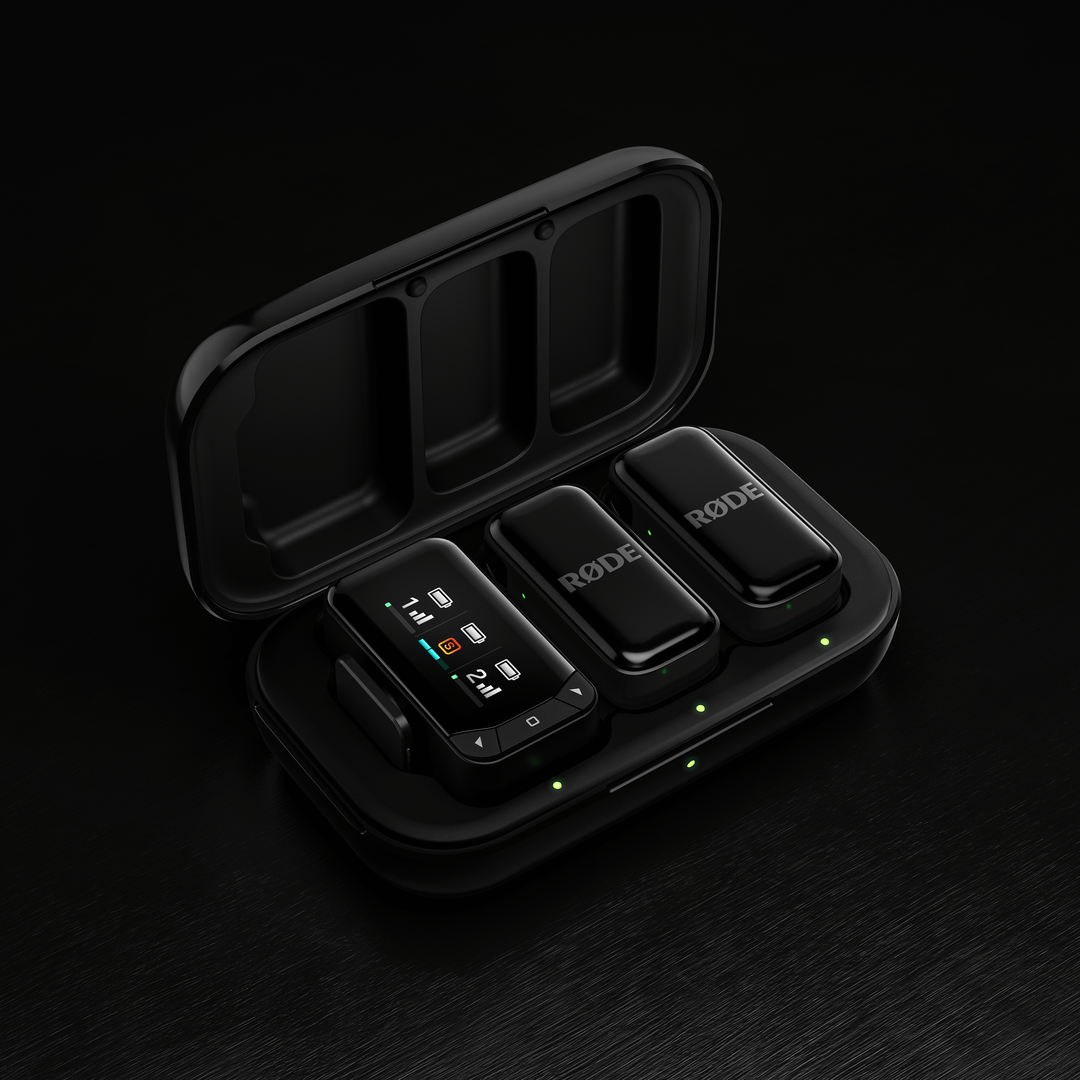
The Wireless Micro transmitters have 7 hours of battery life, and you can use the included charging case to top up them up with two additional charges (an extra 14 hours). To charge them, simply place the transmitters in the charging case, lining up the gold charging pins.
To recharge the charging case, connect it to a power source using the included USB-C cable. The LED on the front of the charging case will flash amber while charging and turn solid green when fully charged.
Battery Levels and LEDs
There are multiple LEDs on the Wireless Micro that help indicate battery levels of the transmitters and charging case, and they all follow this system.
Green = Above 20%
Amber = 10-20%
Red = Below 10%
You can check transmitter battery level with the two LEDs on the receiver (when connected to a phone), the LEDs on the transmitters themselves, or the two LEDs inside the charging case (when the transmitters are in the case – these LEDS will flash when charging and remain solid green when fully charged).
The LED on the outside of the charging case represents the battery level of the charging case itself.
For the Wireless Micro Camera Kit, transmitter battery levels can be checked in the same way as the standard Wireless Micro. The camera receiver’s charge level is shown on the AMOLED display when it’s in the charging case — three bars indicate a full charge. When the receiver is out of the case, a battery bar at the top of the receiver’s display column shows the remaining power level. Transmitter battery levels are displayed in the same way.
The LED on the outside of the charging case represents the battery level of the charging case itself.
Adjusting Settings Using RØDE Companion Apps
The Wireless Micro offers several features and settings adjustable via RØDE companion apps. There are two main ways to connect and adjust settings:
Using the Receiver (RX):
Connect the receiver to your computer or phone. Ensure the transmitters are out of their case, powered on, and paired to the receiver. You can then use RØDE Central (on computer or mobile) or RØDE Capture (mobile) to access and adjust various system and transmitter settings.
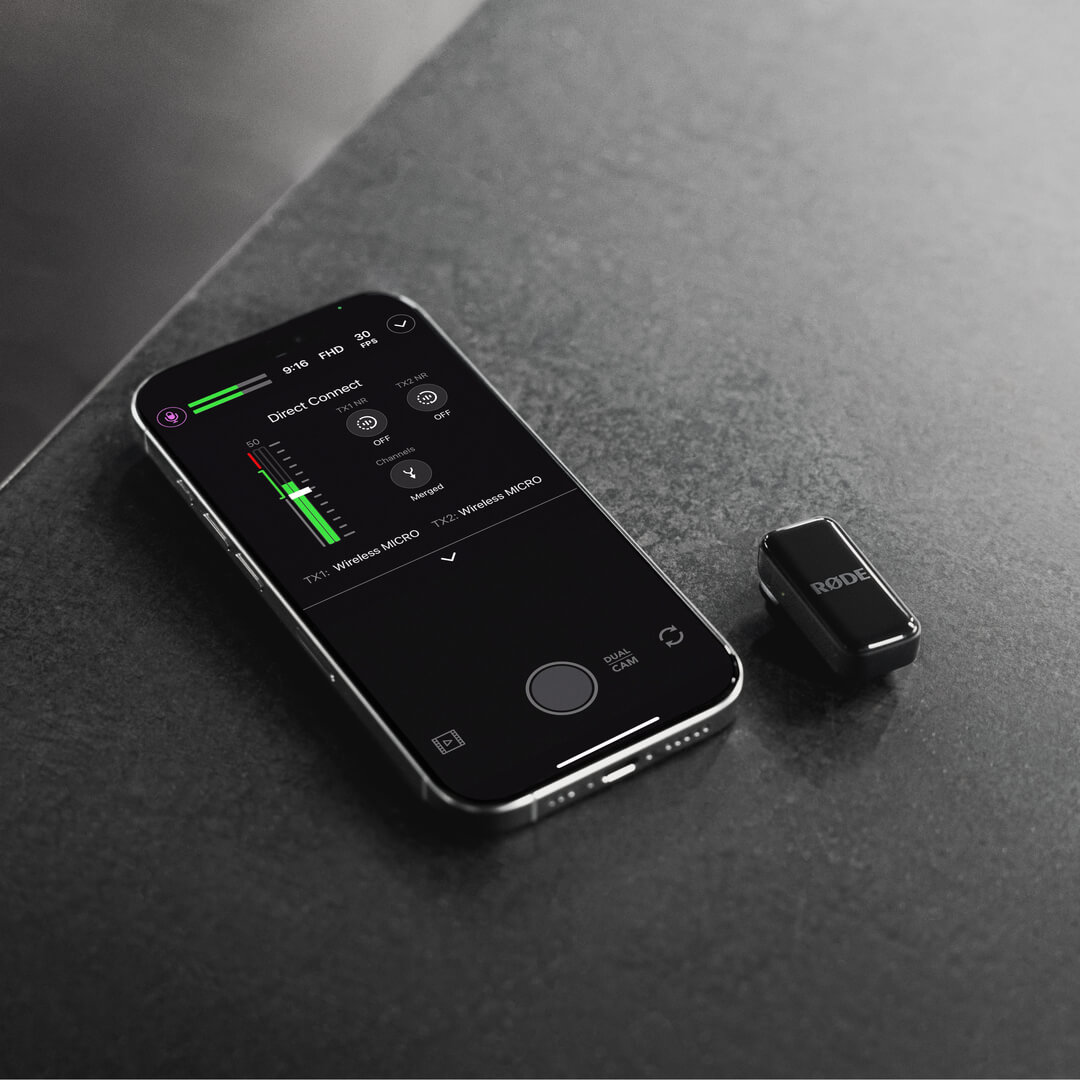
Direct Connect (RØDE Capture Only):
A new feature called Direct Connect allows you to pair up to two transmitters directly to your phone via Bluetooth® connectivity using the RØDE Capture app. Simply open the app and follow the on-screen prompts to pair your transmitters. Once connected, you can record directly into the app without a receiver, and access key settings like Noise Reduction and Gain Control for each transmitter.
Output Gain: Adjusts the volume level of the Wireless Micro.
Split and Merged Modes: In Merged mode (default), the audio from both transmitters is combined and recorded to both the left and right channels. Merged mode is ideal for recording polished, ready-to-publish videos. In Split mode, you can send one transmitter’s audio to the left channel, and the other to the right. Use Split mode if you plan on editing your audio after recording, as it will allow you to adjust the volume levels of each microphone separately.
Noise Reduction: This feature which can be accessed through RØDE Capture, helps minimise background noise, enhancing audio clarity depending on the recording environment. It can be toggled individually for each transmitter and has three levels: OFF (no noise reduction), LOW (minimal noise reduction), and HIGH (concentrated noise reduction). This setting is adjustable via RØDE Central or RØDE Capture when the receiver is connected, or via RØDE Capture when a transmitter is directly paired.
LED Brightness: Adjusts whether LED lights are bright or dim (individually adjustable for each transmitter and receiver).
Updating Firmware: If your Wireless Micro needs a firmware update, you will receive a pop-up message when opening RØDE Central or RØDE Capture walking you through the process. Ensure that both your transmitters are out of the case, powered on and paired to your receiver so they can all be updated.