Audio Control and Processing
In this RØDECaster App menu, you can adjust many of your audio settings for your Streamer X, including software control over the volume levels for each of the audio input channels, APHEX® processing and audio configuration profiles.
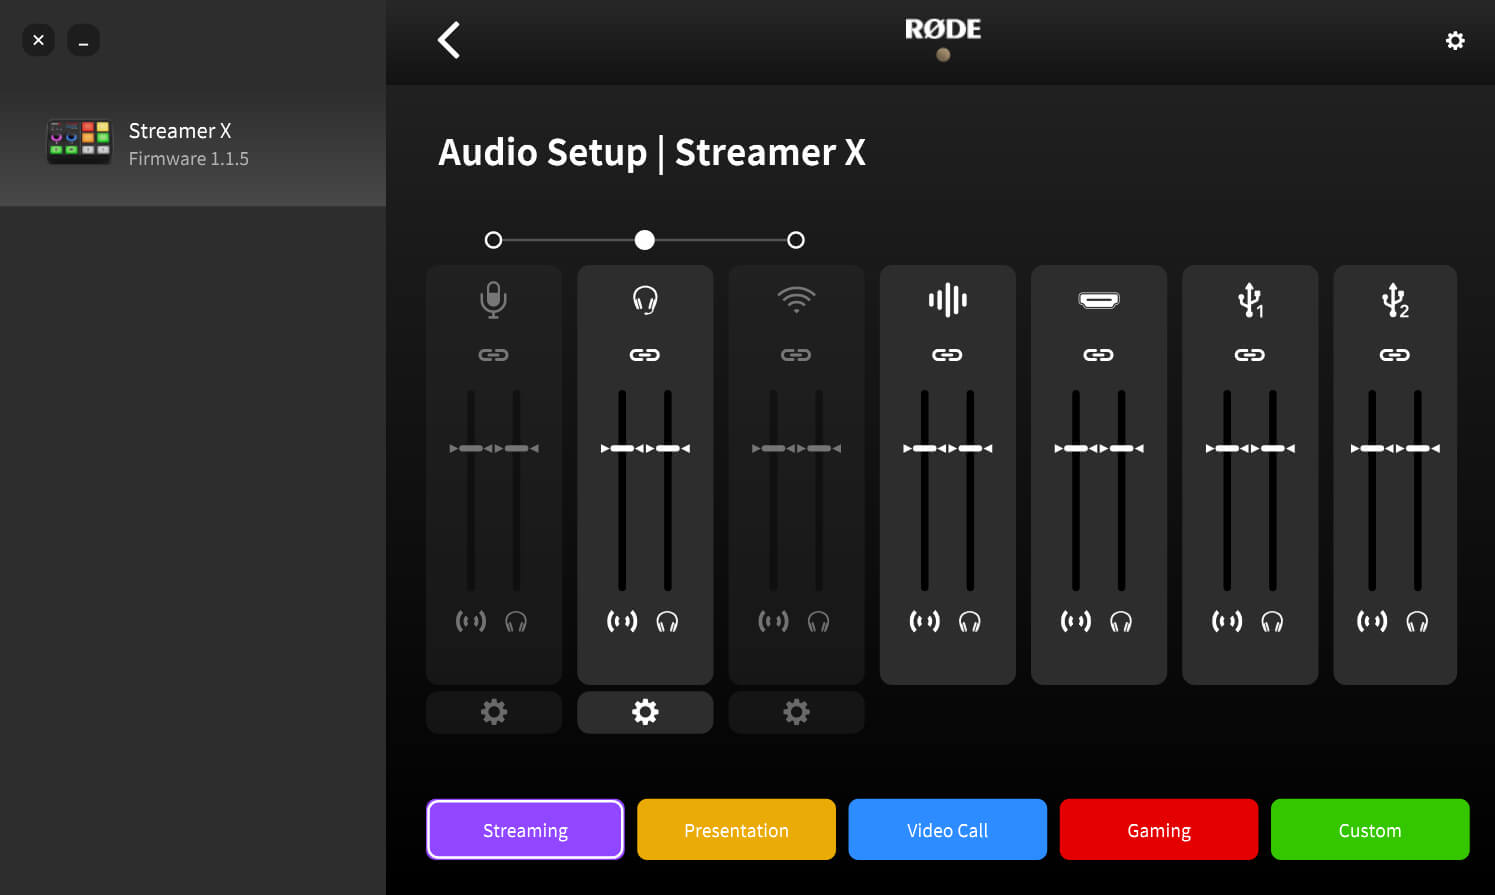
Audio Mixer
Each of the Streamer X’s audio channels feature two volume control faders – the stream mix and the monitor mix – allowing you to configure custom levels for your microphone/instrument, headset, wireless microphone, SMART pads, HDMI audio, and both USB channels.
Stream Mix: The fader on the left-hand side of each audio channel is the stream mix for that input. Adjusting this fader will let you customise the level of each audio input sent to the “Streamer X Primary” audio device. This allows you to set the perfect levels for your livestream, video call or recording.
Monitor Mix: The fader on the right-hand side of each audio channel is the monitor mix for that input. Adjusting this fader will let you customise the level of each audio input sent to the Streamer X’s 1/4-inch headphone output and 3.5mm headset output. This allows you to set up an entirely different mix for yourself and for your audience.
Note
If you’ve configured a custom mix in this screen, the Streamer X’s physical encoders will still adjust the microphone input gain and headset/headphone output volume as per usual, alongside any adjustments you’ve made to stream and monitor mixes.
Audio Configuration Profiles
At the bottom of the Audio Setup page, there are a number of preset configuration profiles to help quickly configure your Streamer X in a way that is commonly used for that function, such as streaming, gaming or video calls.
Streaming: This profile features all mix and monitor faders up so, by default, your stream audio is exactly the same as what you hear in your headphones. From here, you can adjust certain levels up or down to taste.
Presentation: This profile lowers the SMART pad volume so you can instead use them for navigating your slideshow when in Presentation Mode, which you can also turn on in this menu (click here for more information on Presentation Mode).
Video Call: This profile lowers the stream and monitor mix of the HDMI input so your camera doesn’t send any audio to your headphones or the call itself – this is because you'll be using your connected microphone for your voice instead. The stream mix of USB 1 is lowered to avoid feedback on the call, while the monitor mix is up so you can still hear the call. USB 2 stream mix and monitor mix are both down
Gaming: This profile is perfect for when you’re gaming online and want to chat with your friends. Both HDMI and USB 1 are turned down in the stream mix so you don’t send your game audio to everyone you’re chatting with, but you’ll still be able to hear the game audio yourself, along with the chat audio.
Custom: This profile allows you to configure your own custom mix that is saved in the RØDECaster App.

Using the APHEX® Processing
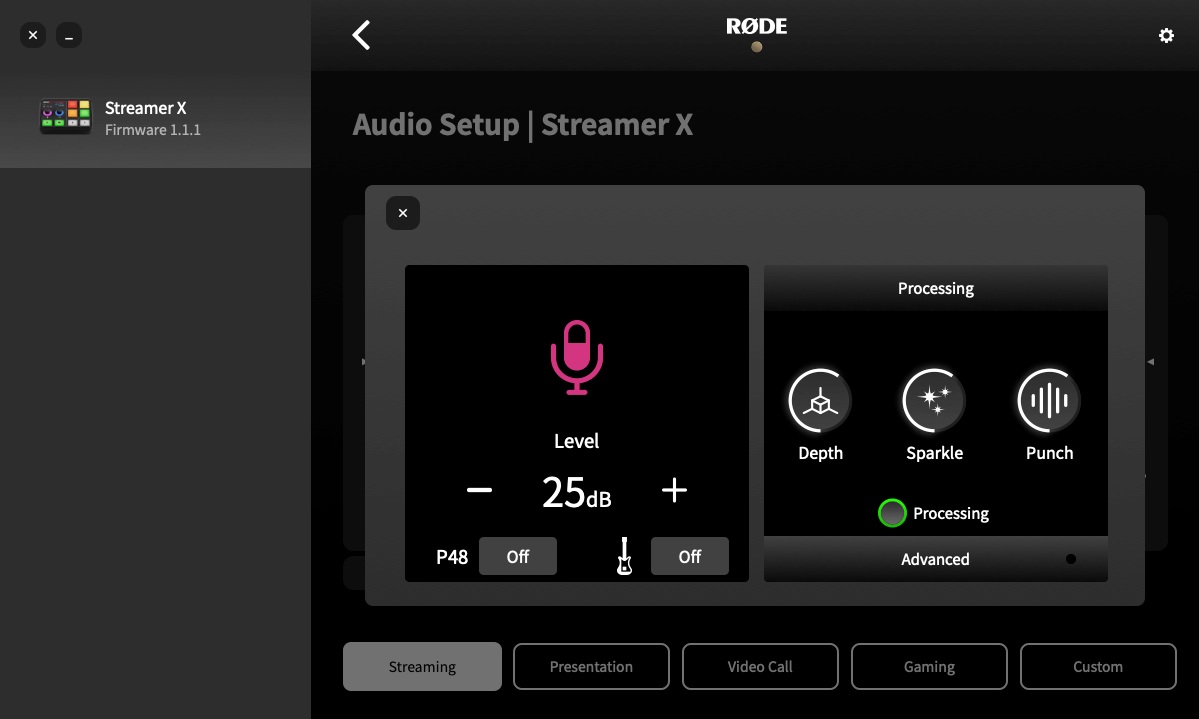
Clicking on the settings cog beneath the microphone, headset and wireless input channels will give you access to a suite of APHEX® processing and effects as well as some other input-specific settings.
You can enable or disable the processing using the Processing button, as well as switch between the intuitive VoxLab™ editor or the ‘Advanced’ controls for more granular configuration over the processing.
You can also engage phantom power (P48), instrument mode (indicated by the guitar icon) as well as pair and unpair your wireless device within these screens.
Adjusting Audio Processing Using VoxLab™
VoxLab™ is a simple three-knob interface that's incredibly intuitive and allows you to achieve professional sound quality with ease. The three controls each adjust multiple parameters on multiple processors for a perfectly balanced sound.
Depth: Use this to subtly enhance the low end of your signal, giving it more richness and tighter bass articulation.
Sparkle: Use this to add brightness and detail to your signal, which is perfect for giving your voice more presence and clarity.
Punch: Use this to add subtle compression to your signal, making your voice sound more intelligible and natural. It will also adjust the noise gate to help reduce background noise.
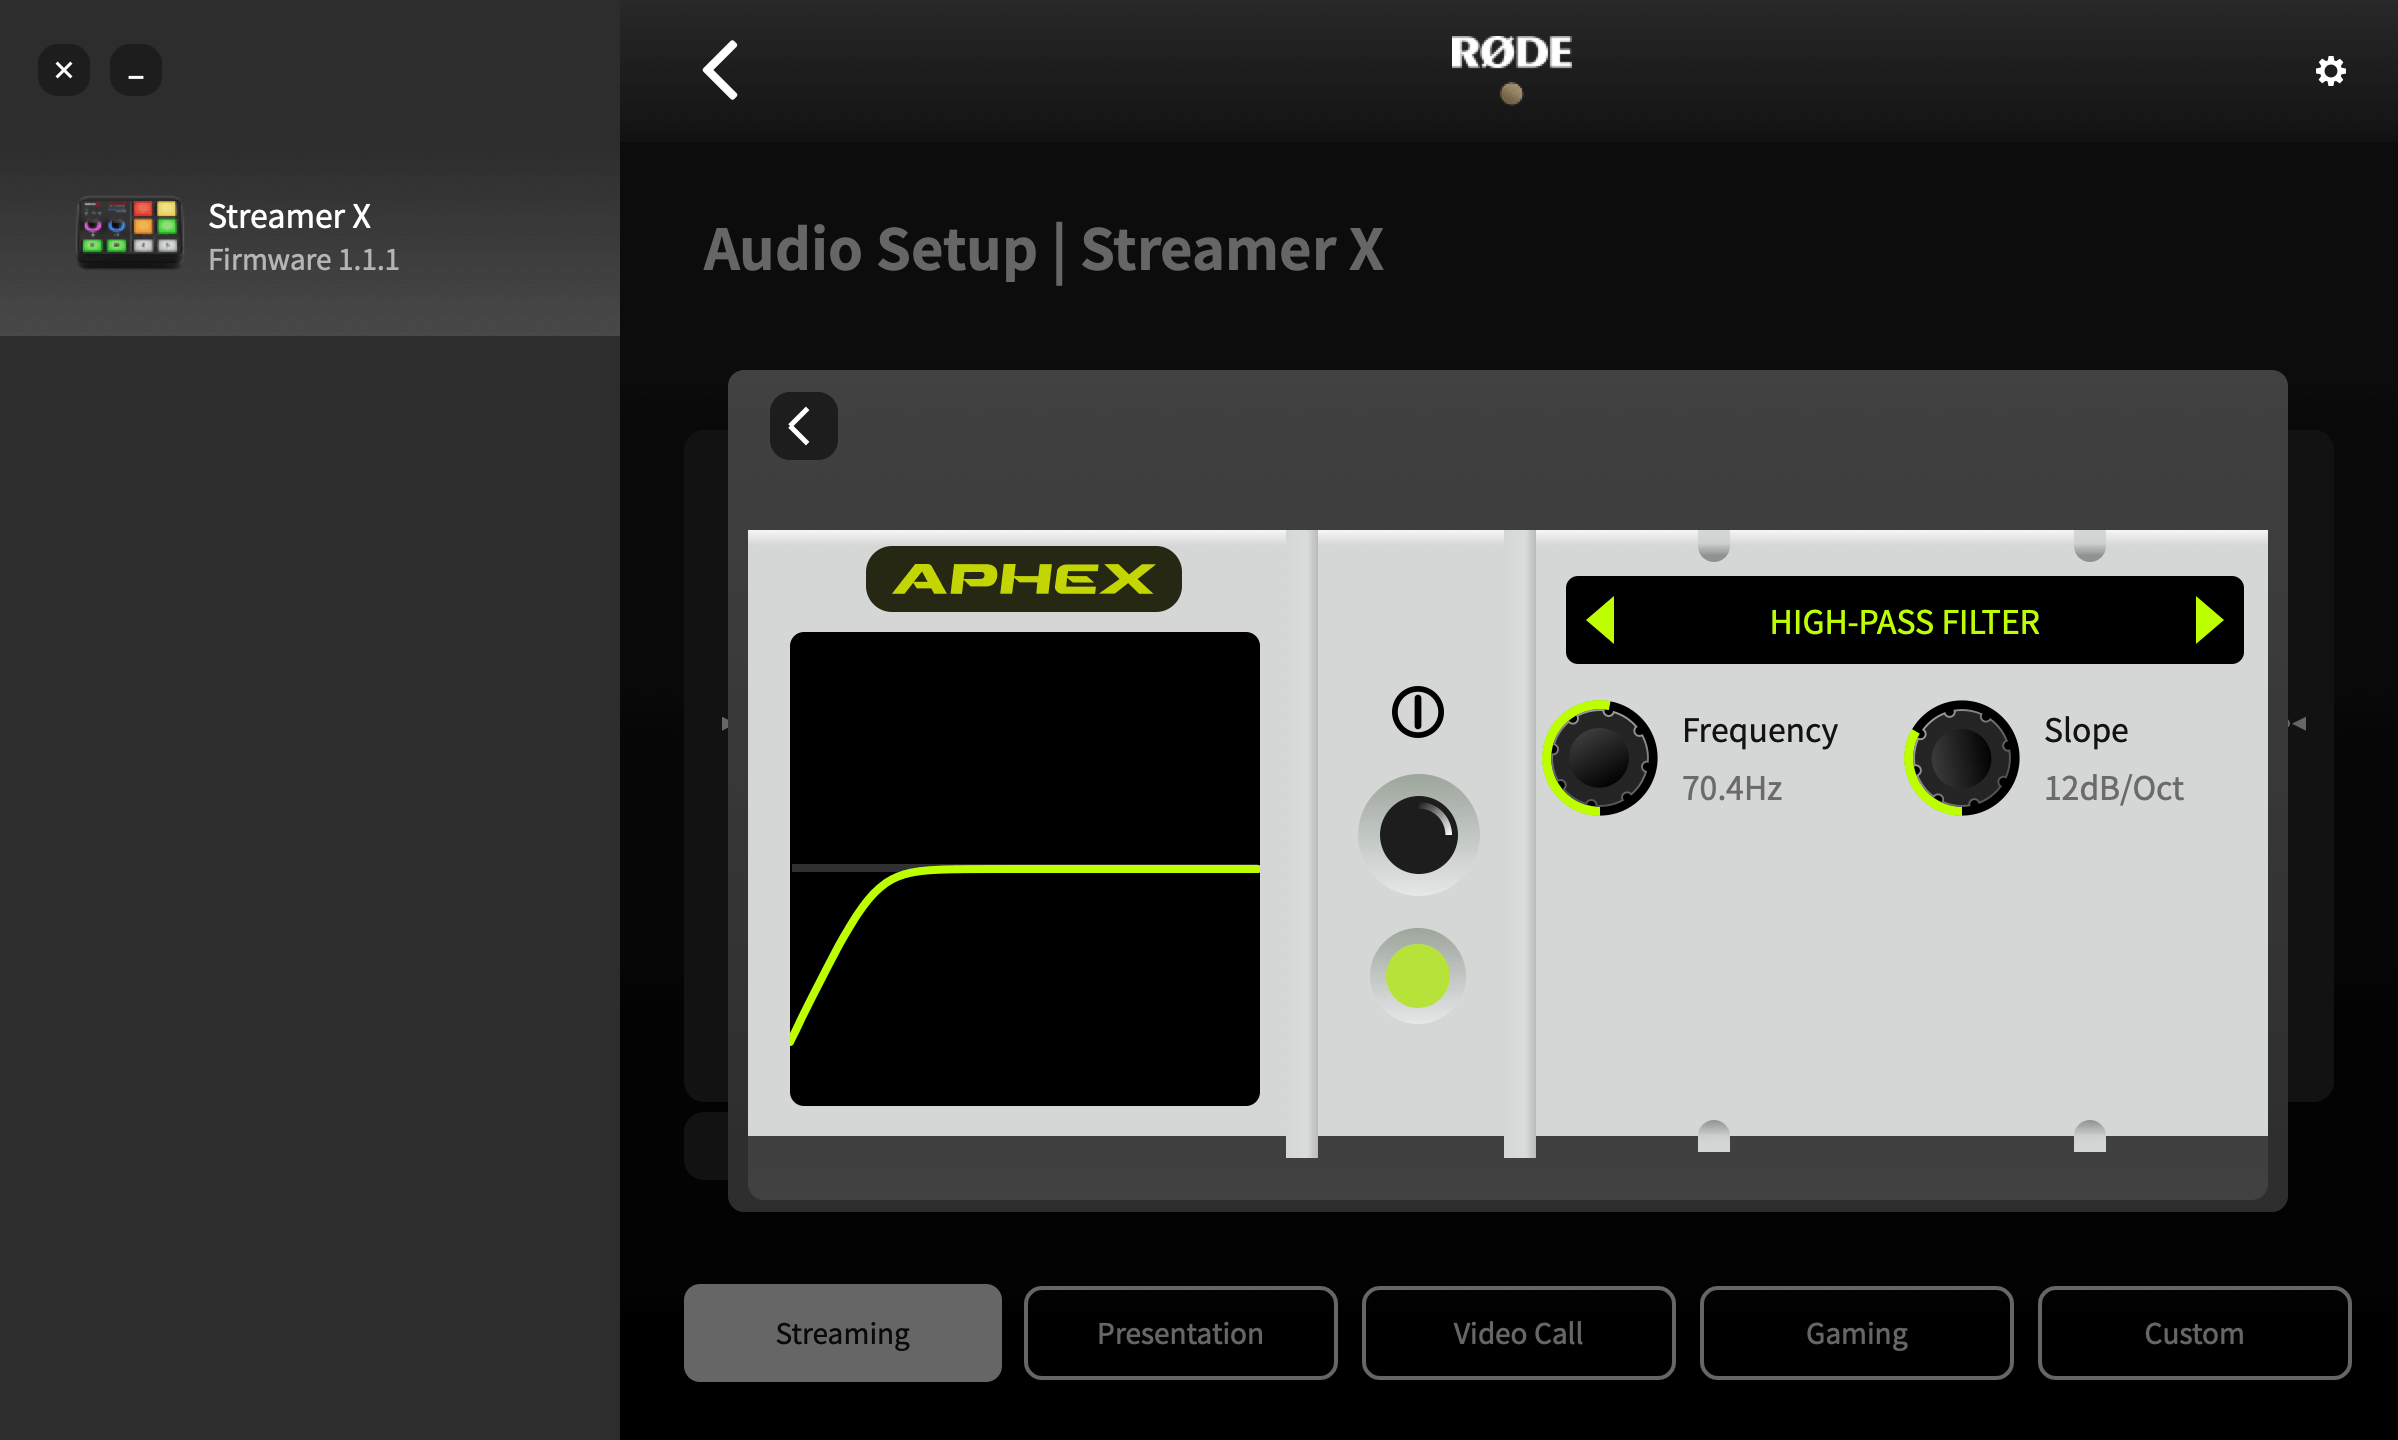
High-pass Filter
Use this to help further reduce background noise in your recording or add some presence to a muddy voice or vocal track. This is achieved by cutting low-end frequencies below a certain cut-off frequency.
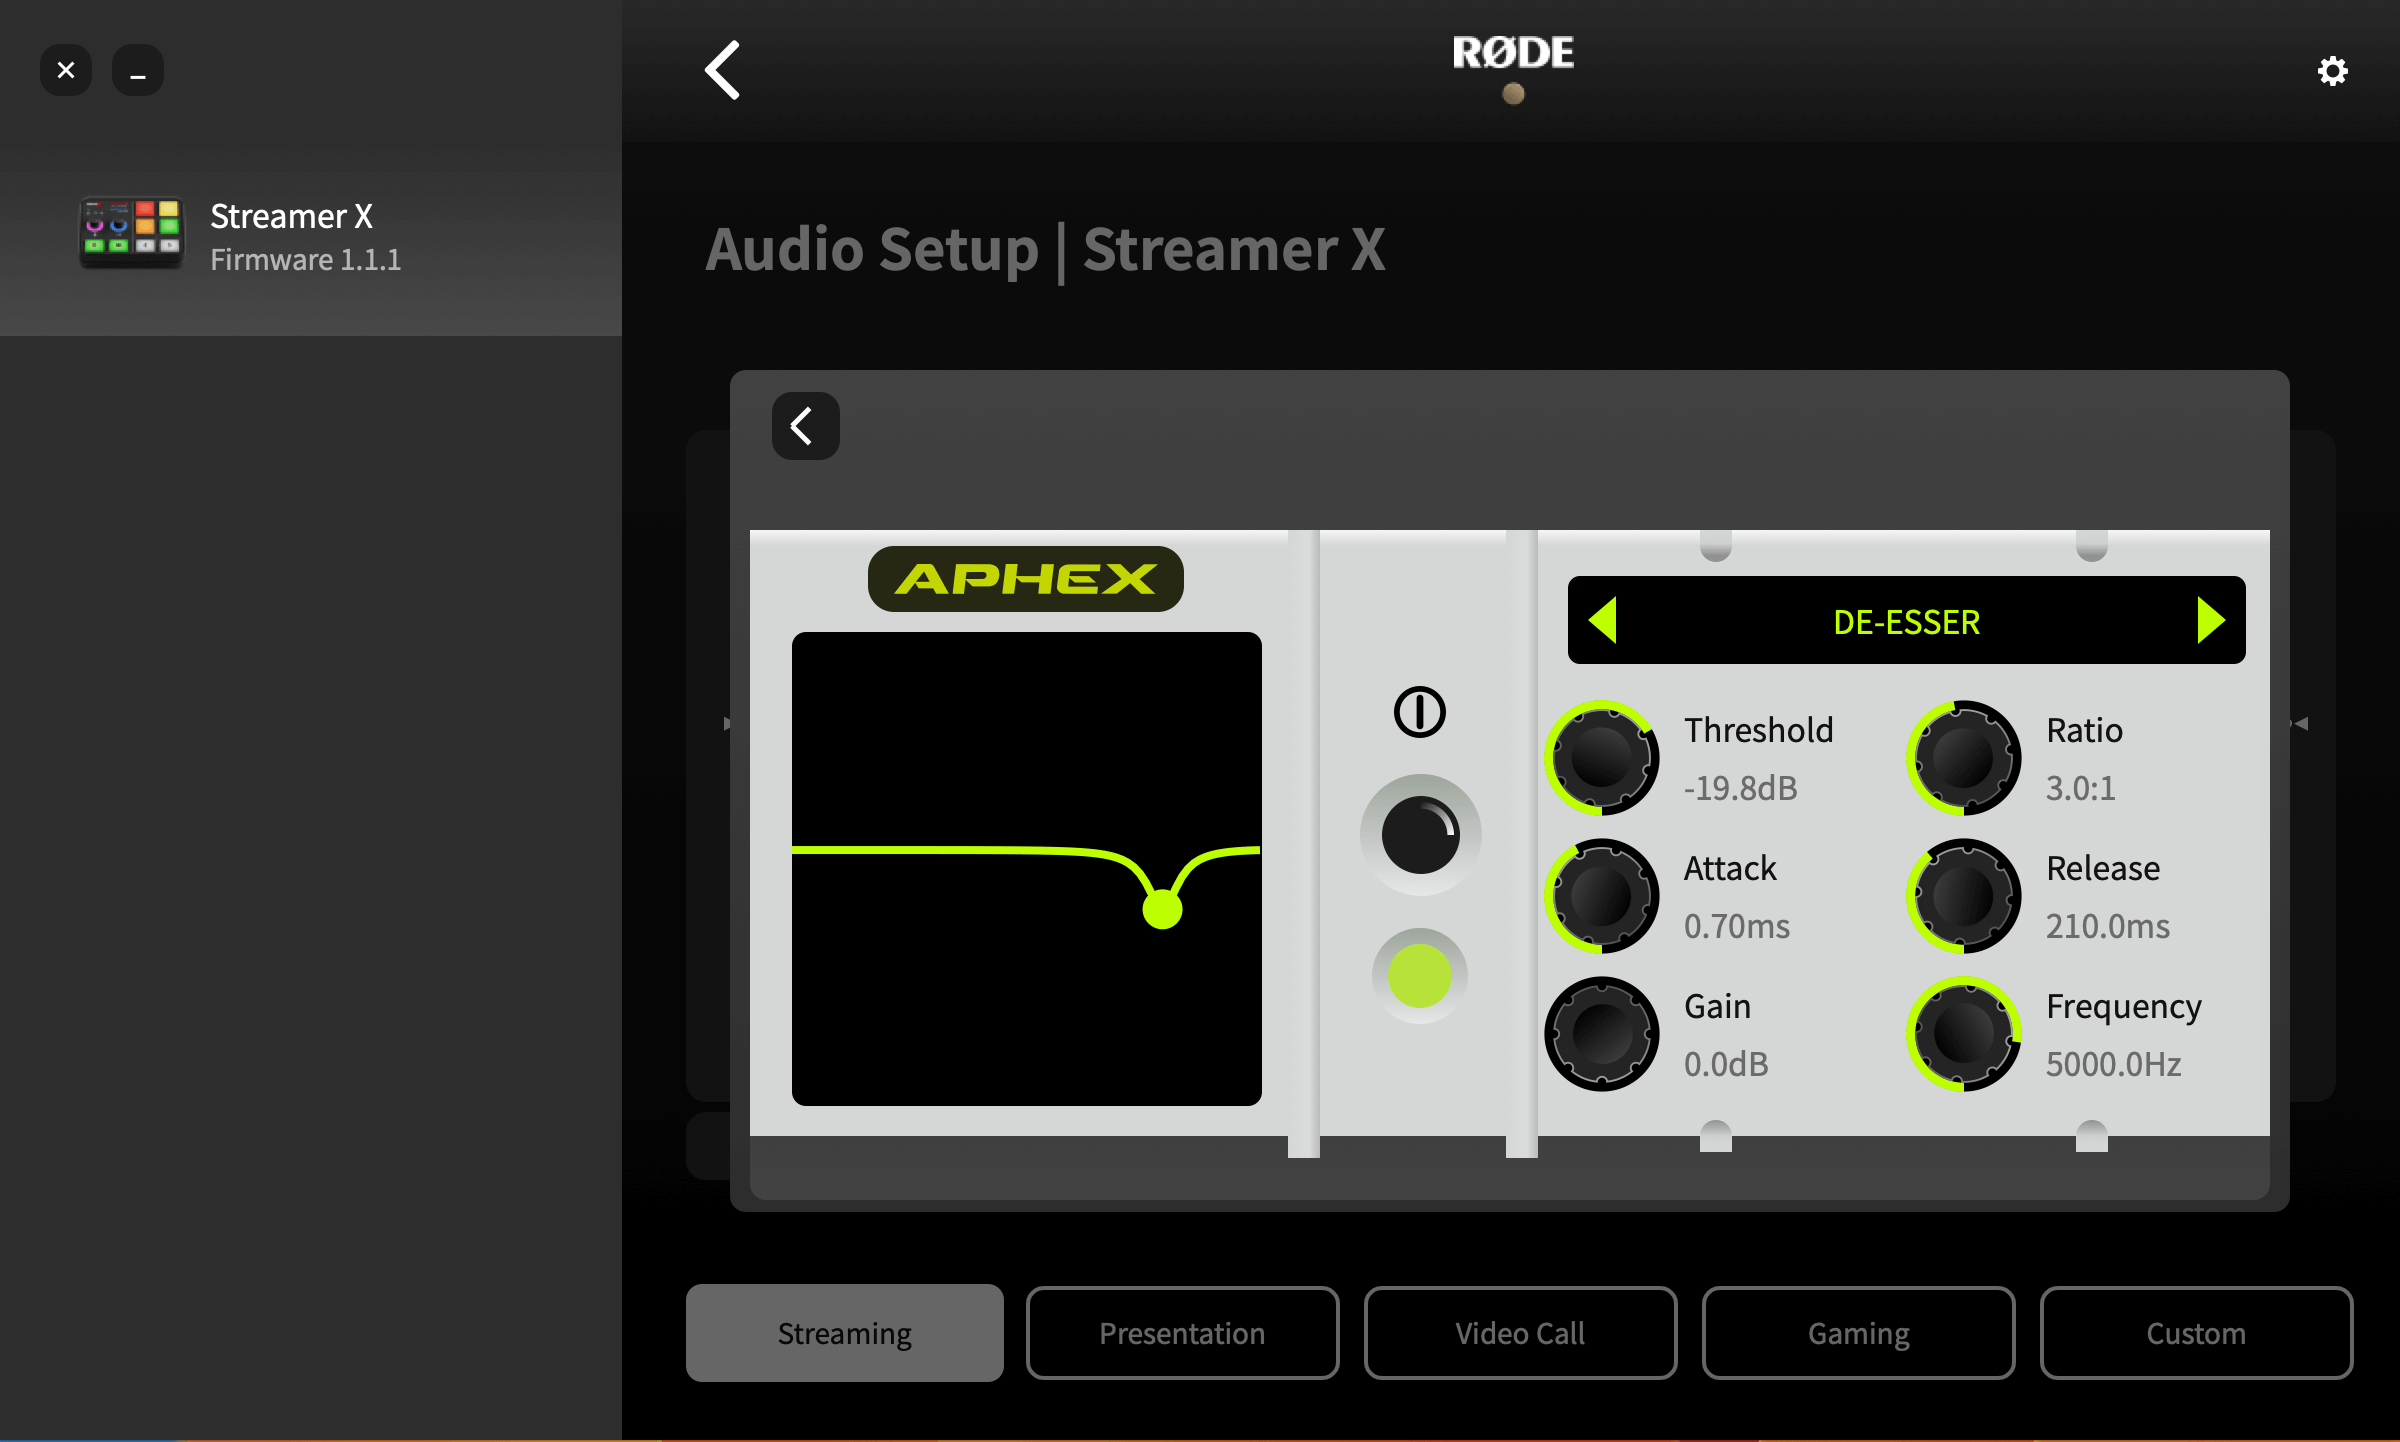
De-esser
Use this to tame sibilance in your voice. Sibilance is a “hissing” sound that occurs naturally in human speech and is caused by consonants, mainly ‘s’ (hence the name “de-esser”). This is essentially a compressor that targets a certain frequency to reduce its presence in a signal.
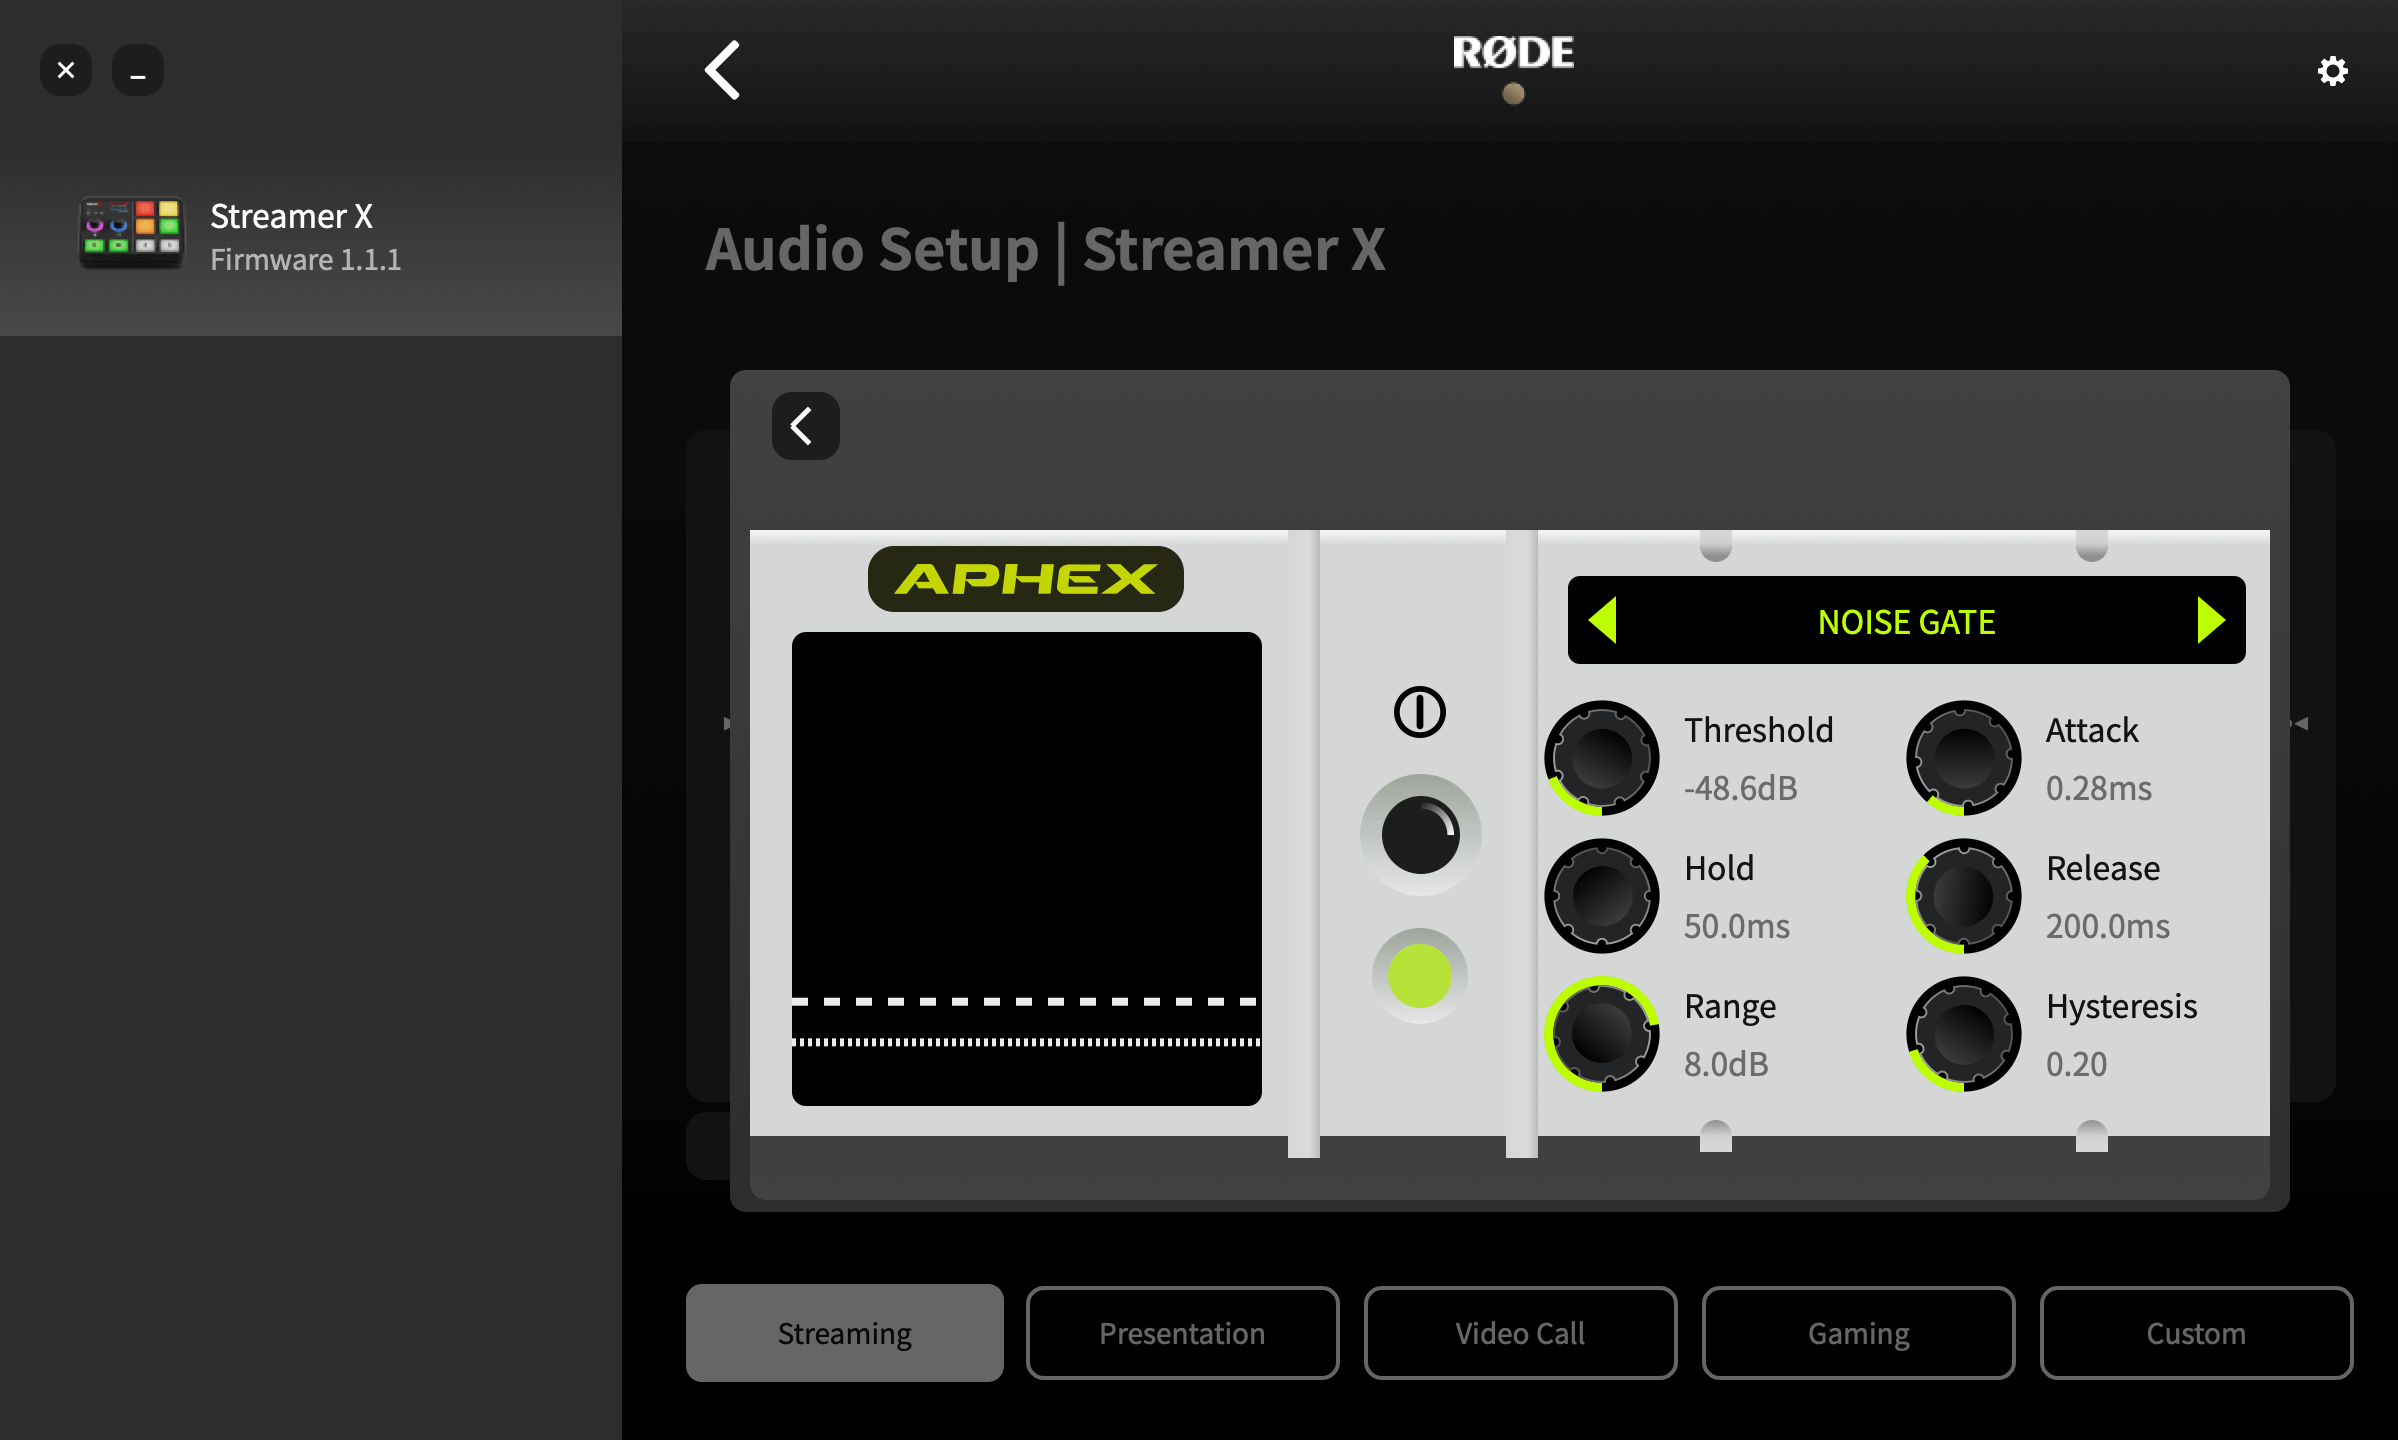
Noise Gate
Use this to help reduce background noise in your recording, such as air conditioners, chatter in another room or traffic outside. This is very handy if you are recording in a space that is not acoustically treated.
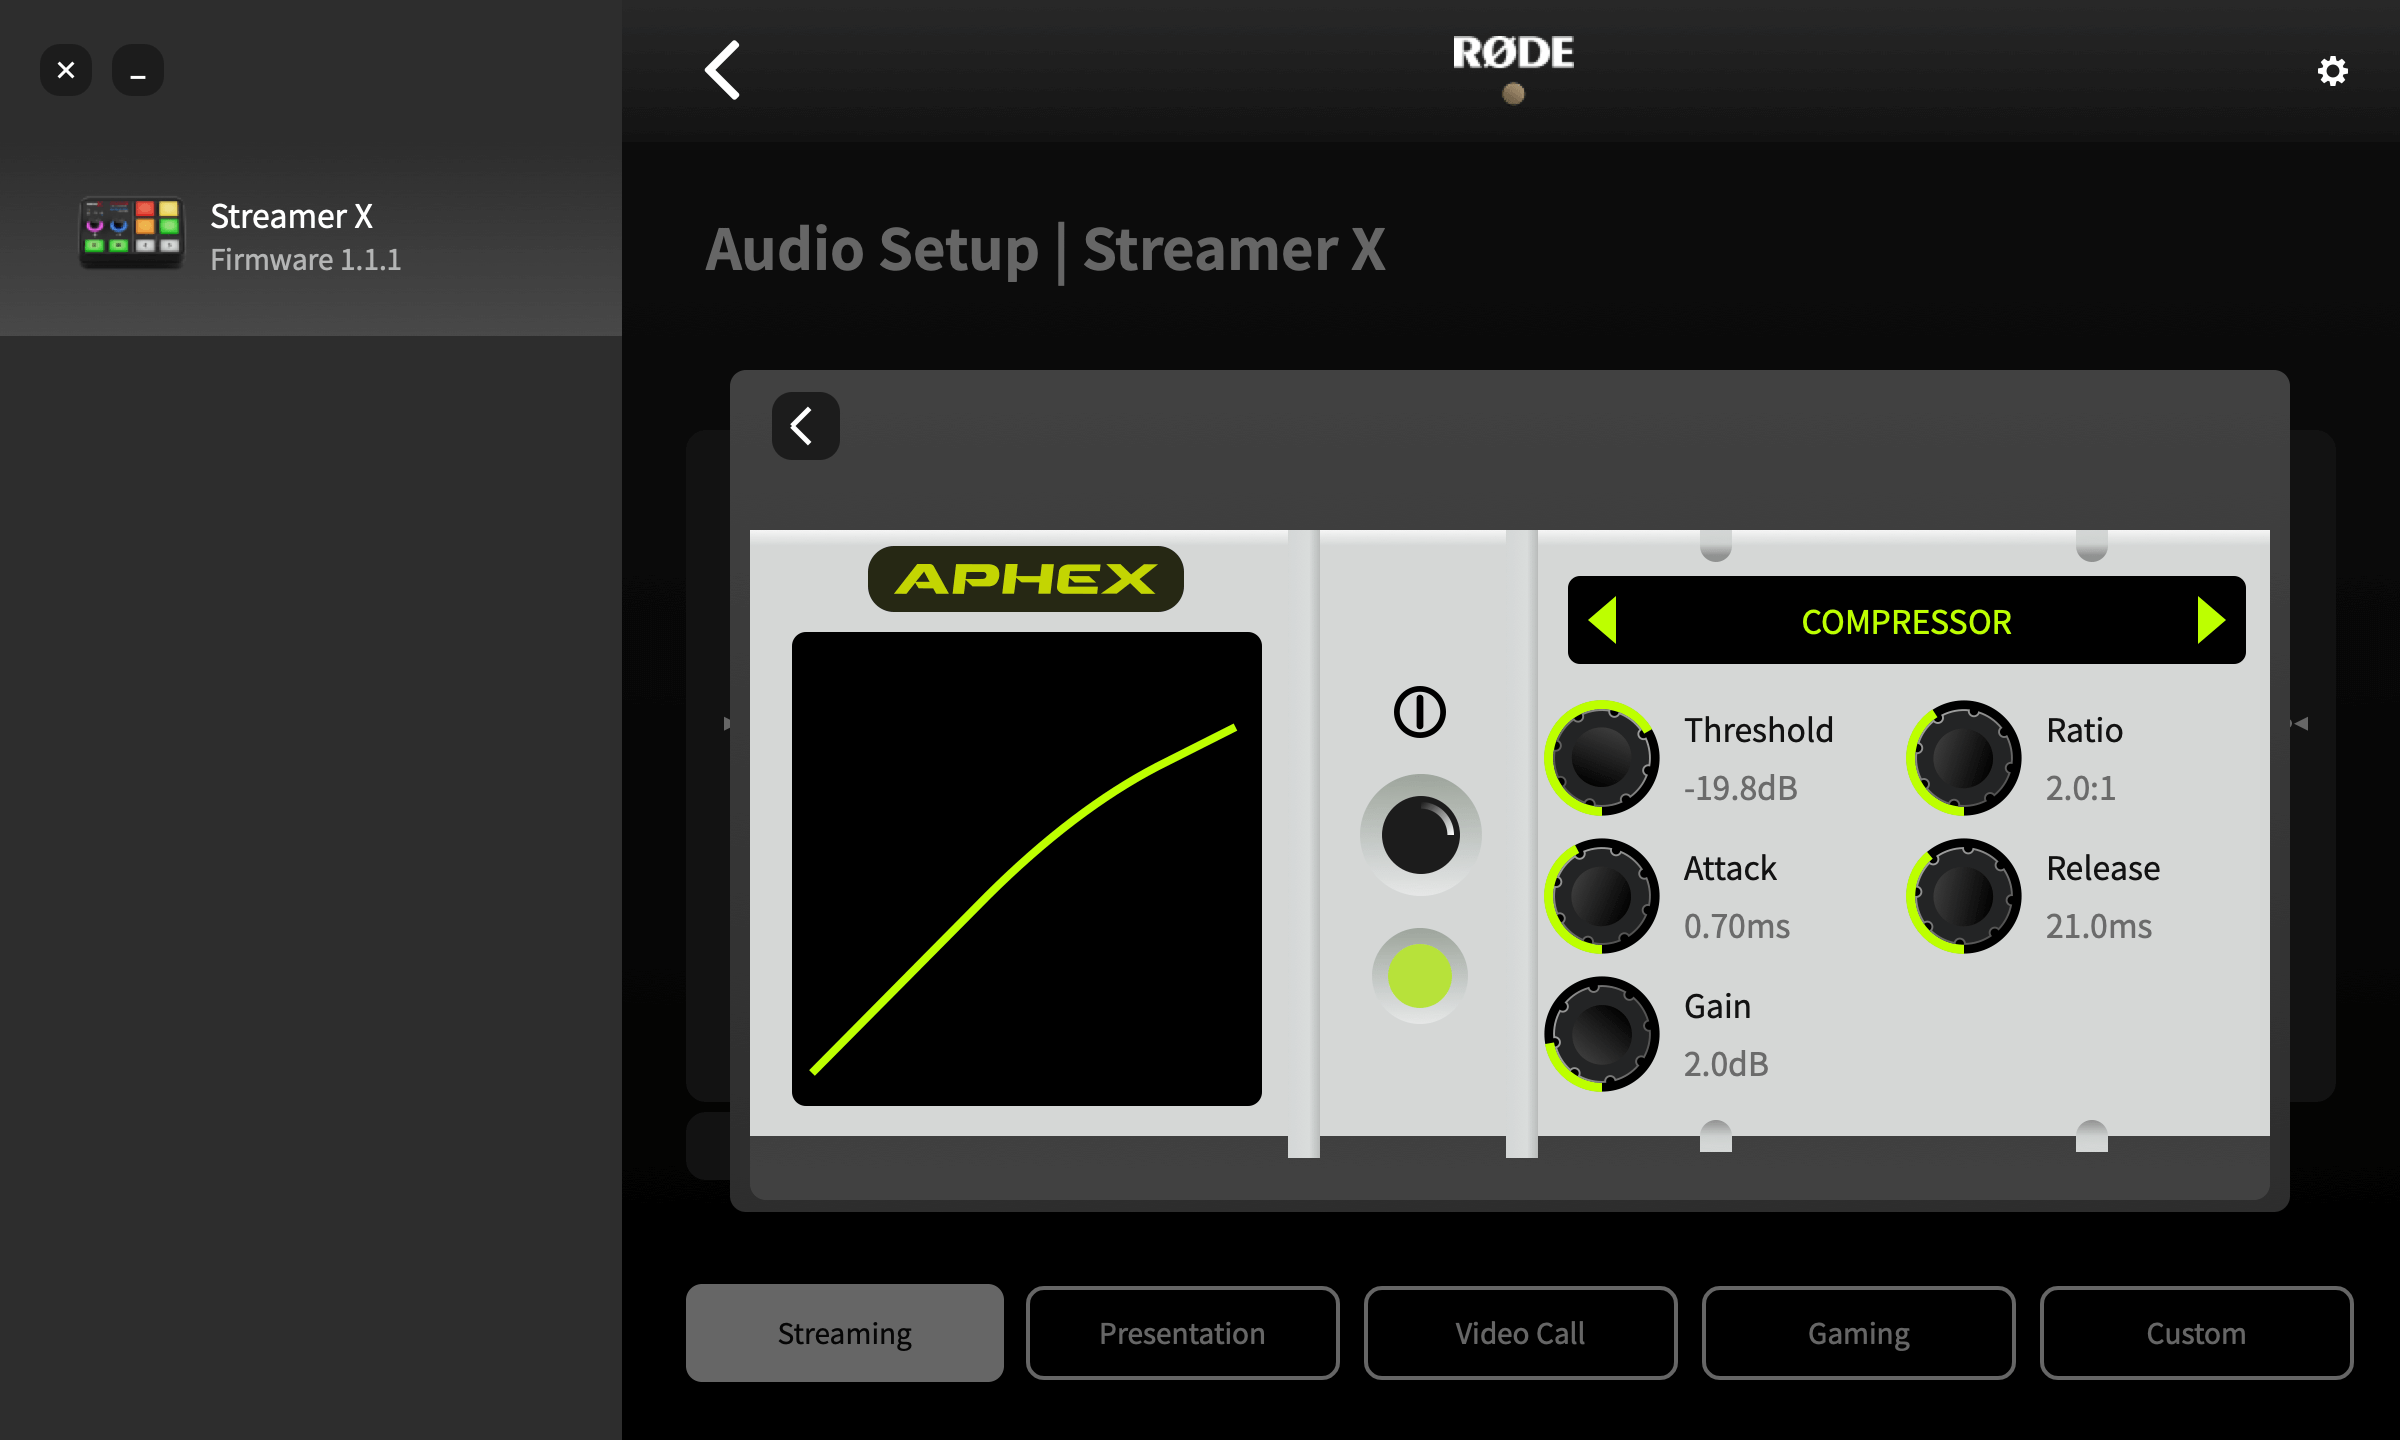
Compressor
Use the compressor to make your voice (or any other audio source) sound smooth and balanced. This is achieved by bringing down (or “compressing”) the loudest peaks in the signal, while boosting quieter parts so that it is more even.
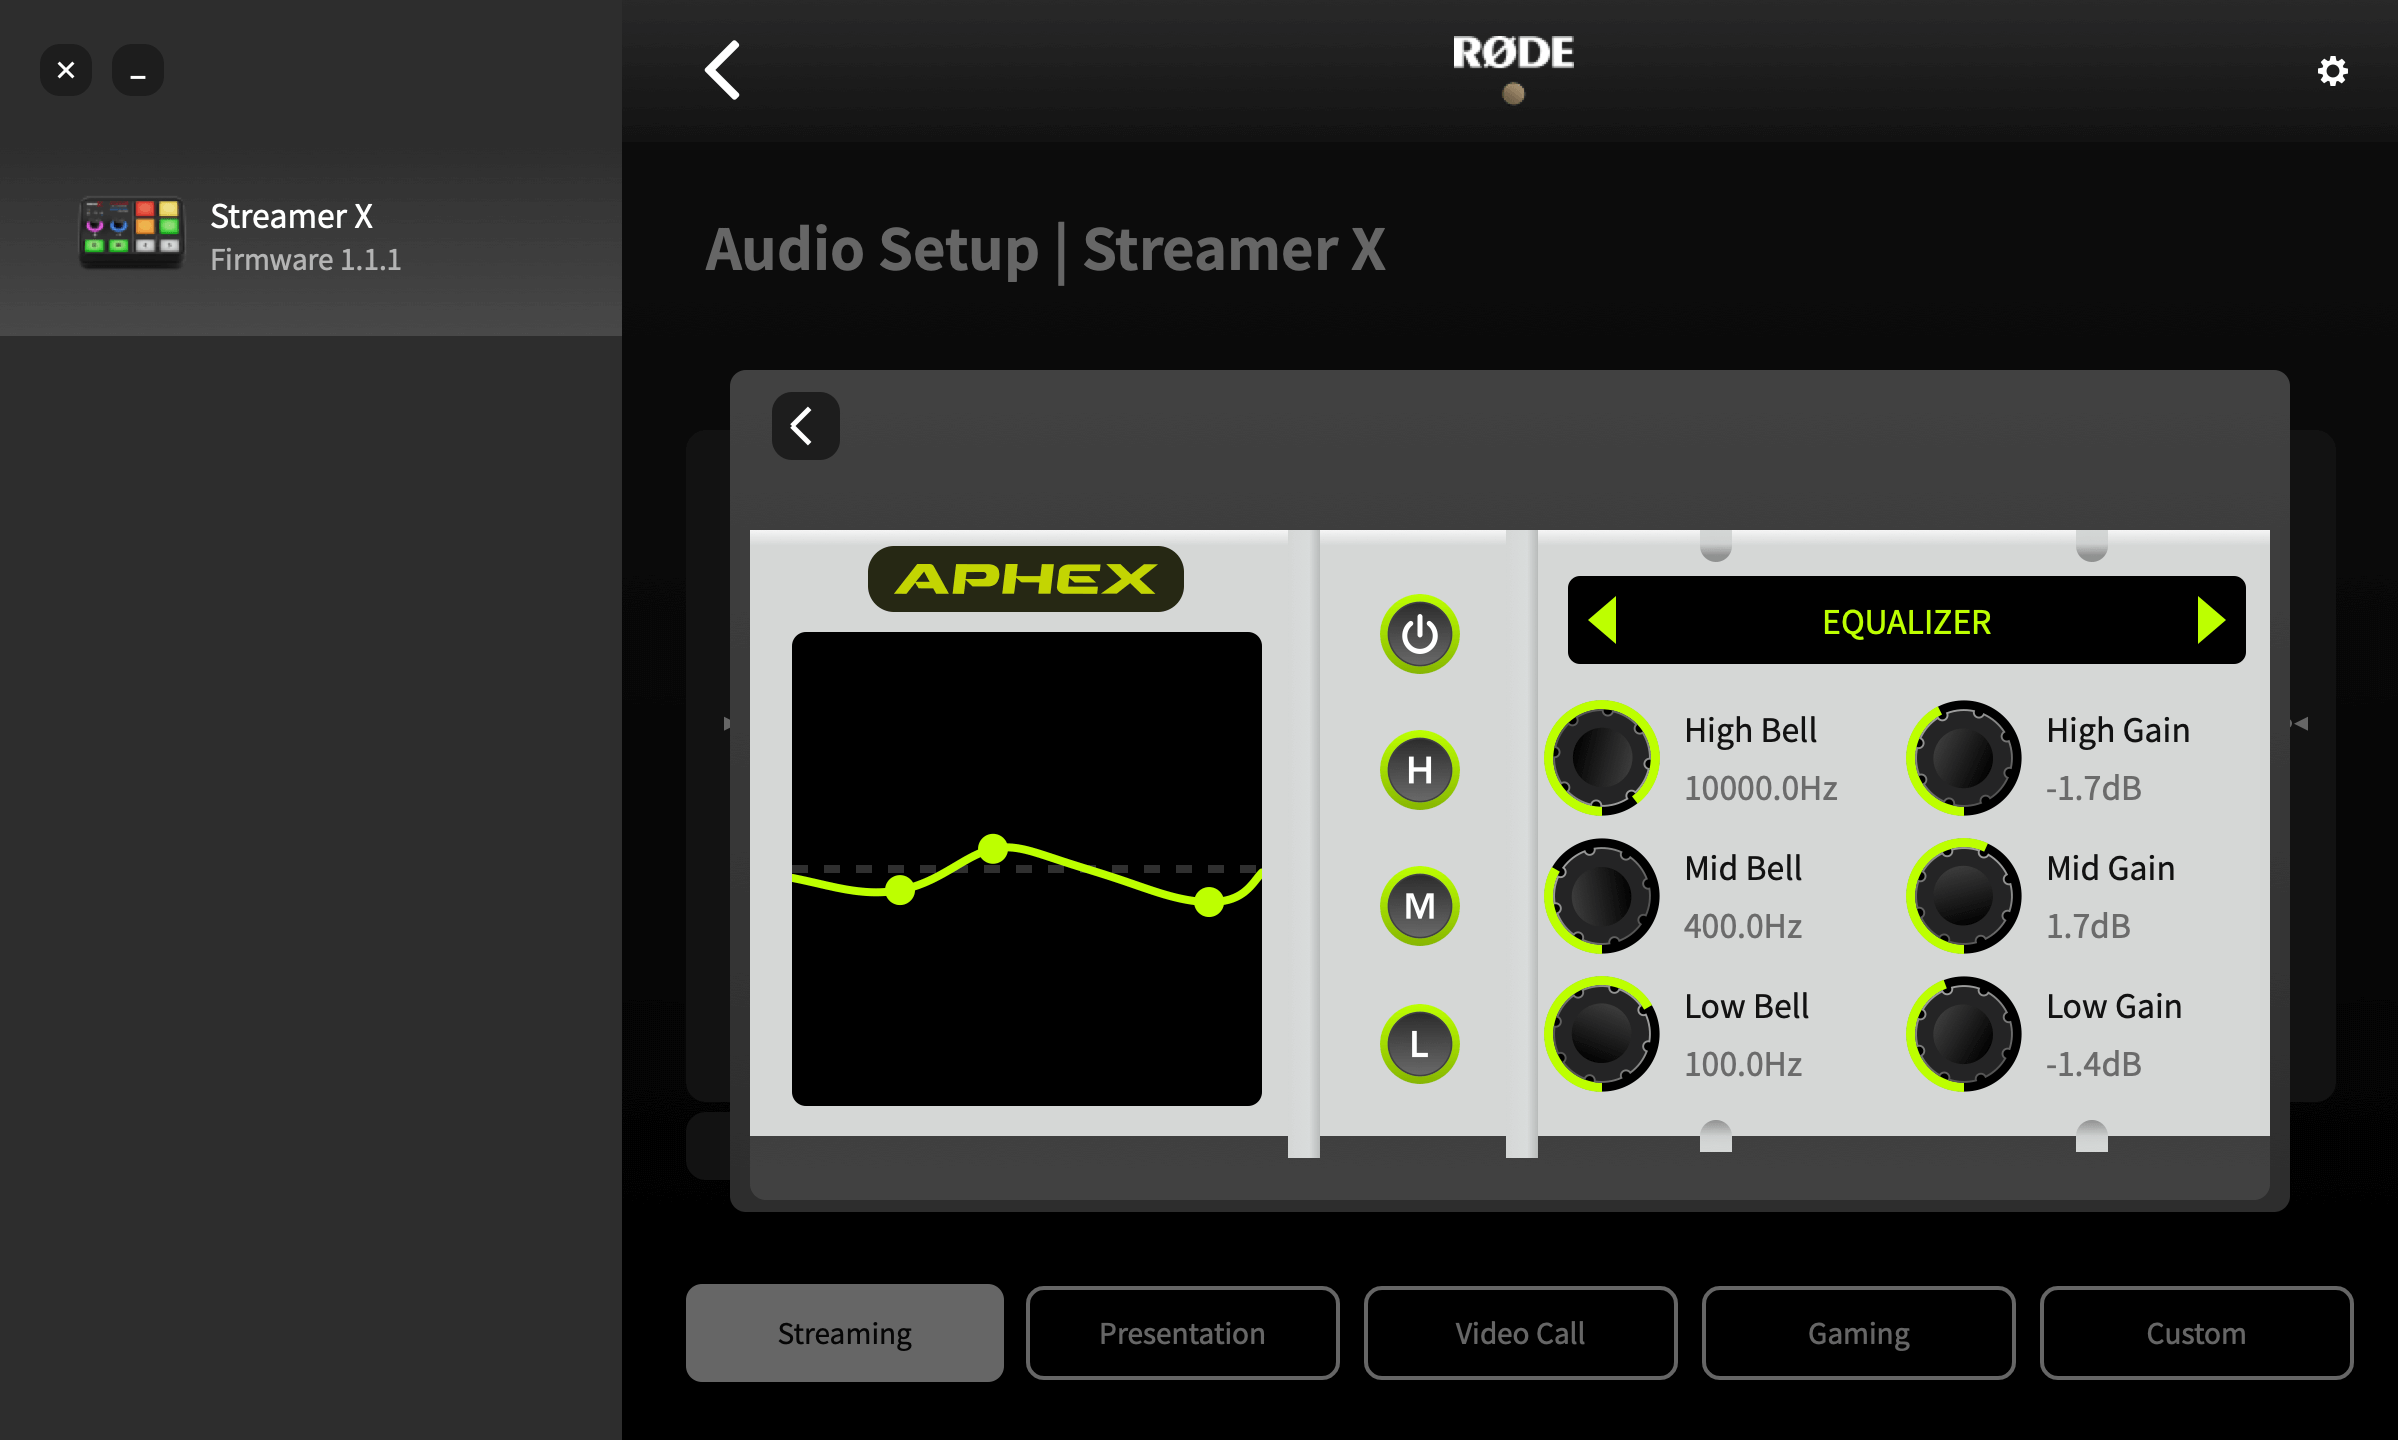
Equaliser (EQ)
Use this to fine-tune the tonality of your voice or audio source. This is a three-band parametric EQ, which allows you to boost or cut bass, mid and treble frequencies at any frequency range that you choose.
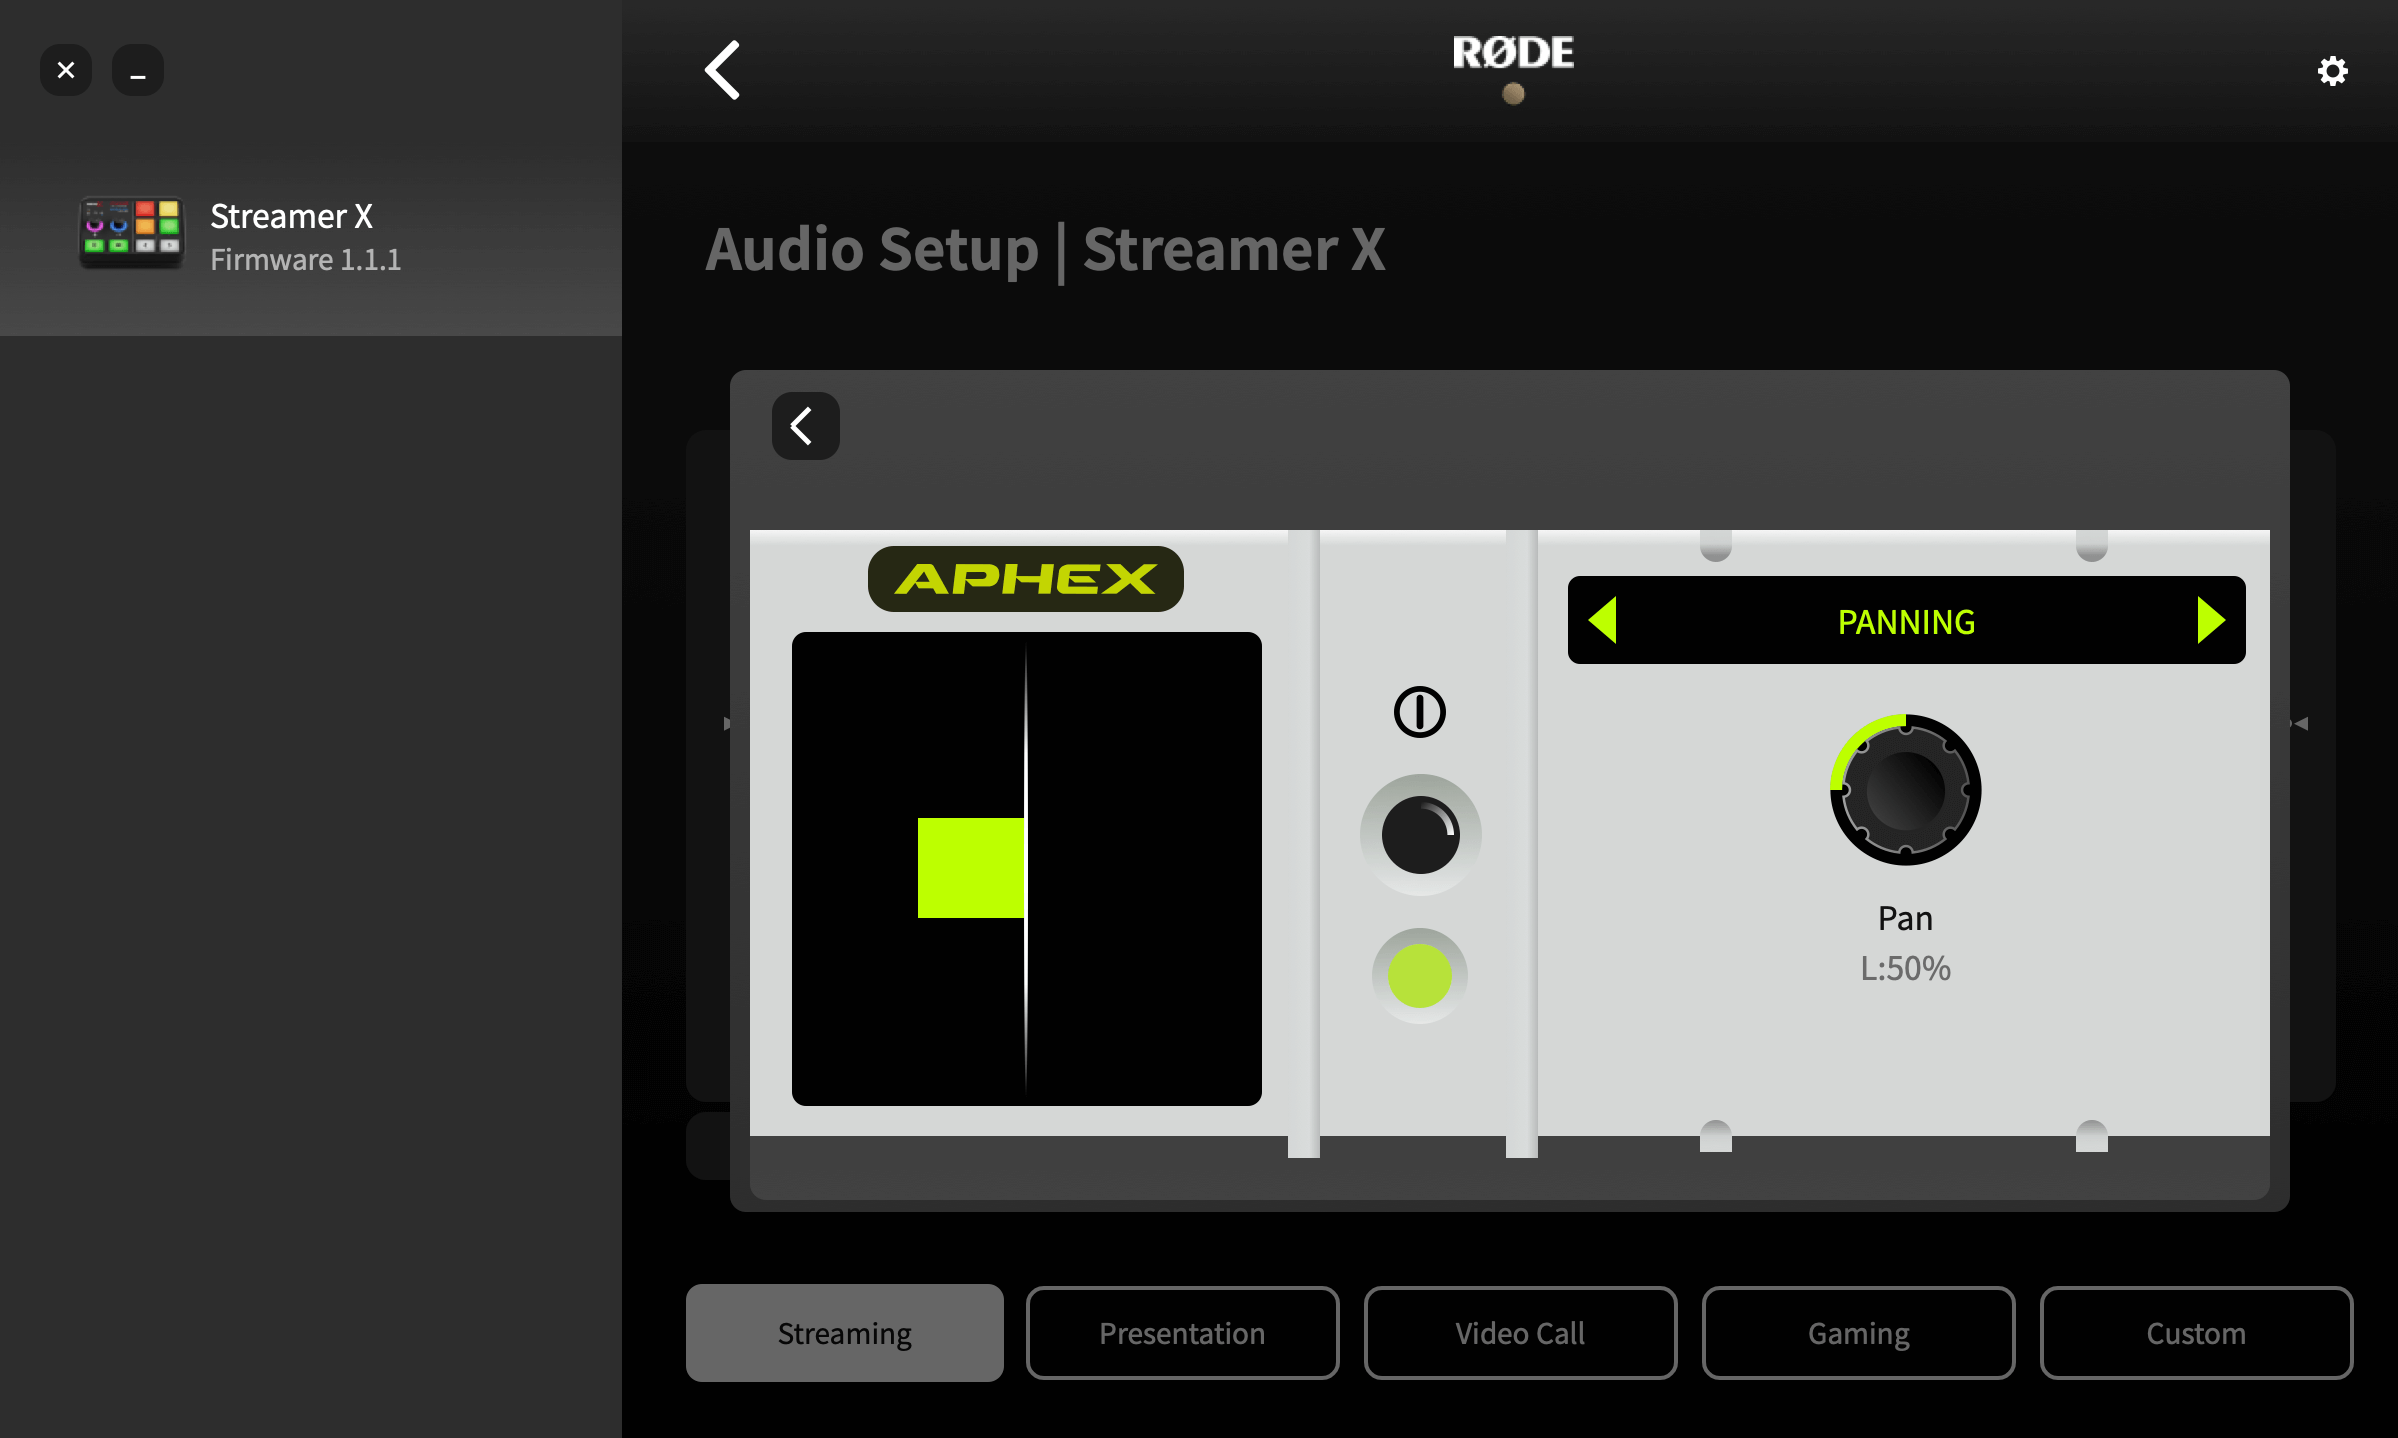
Panning
Use this to pan your audio across the stereo field.
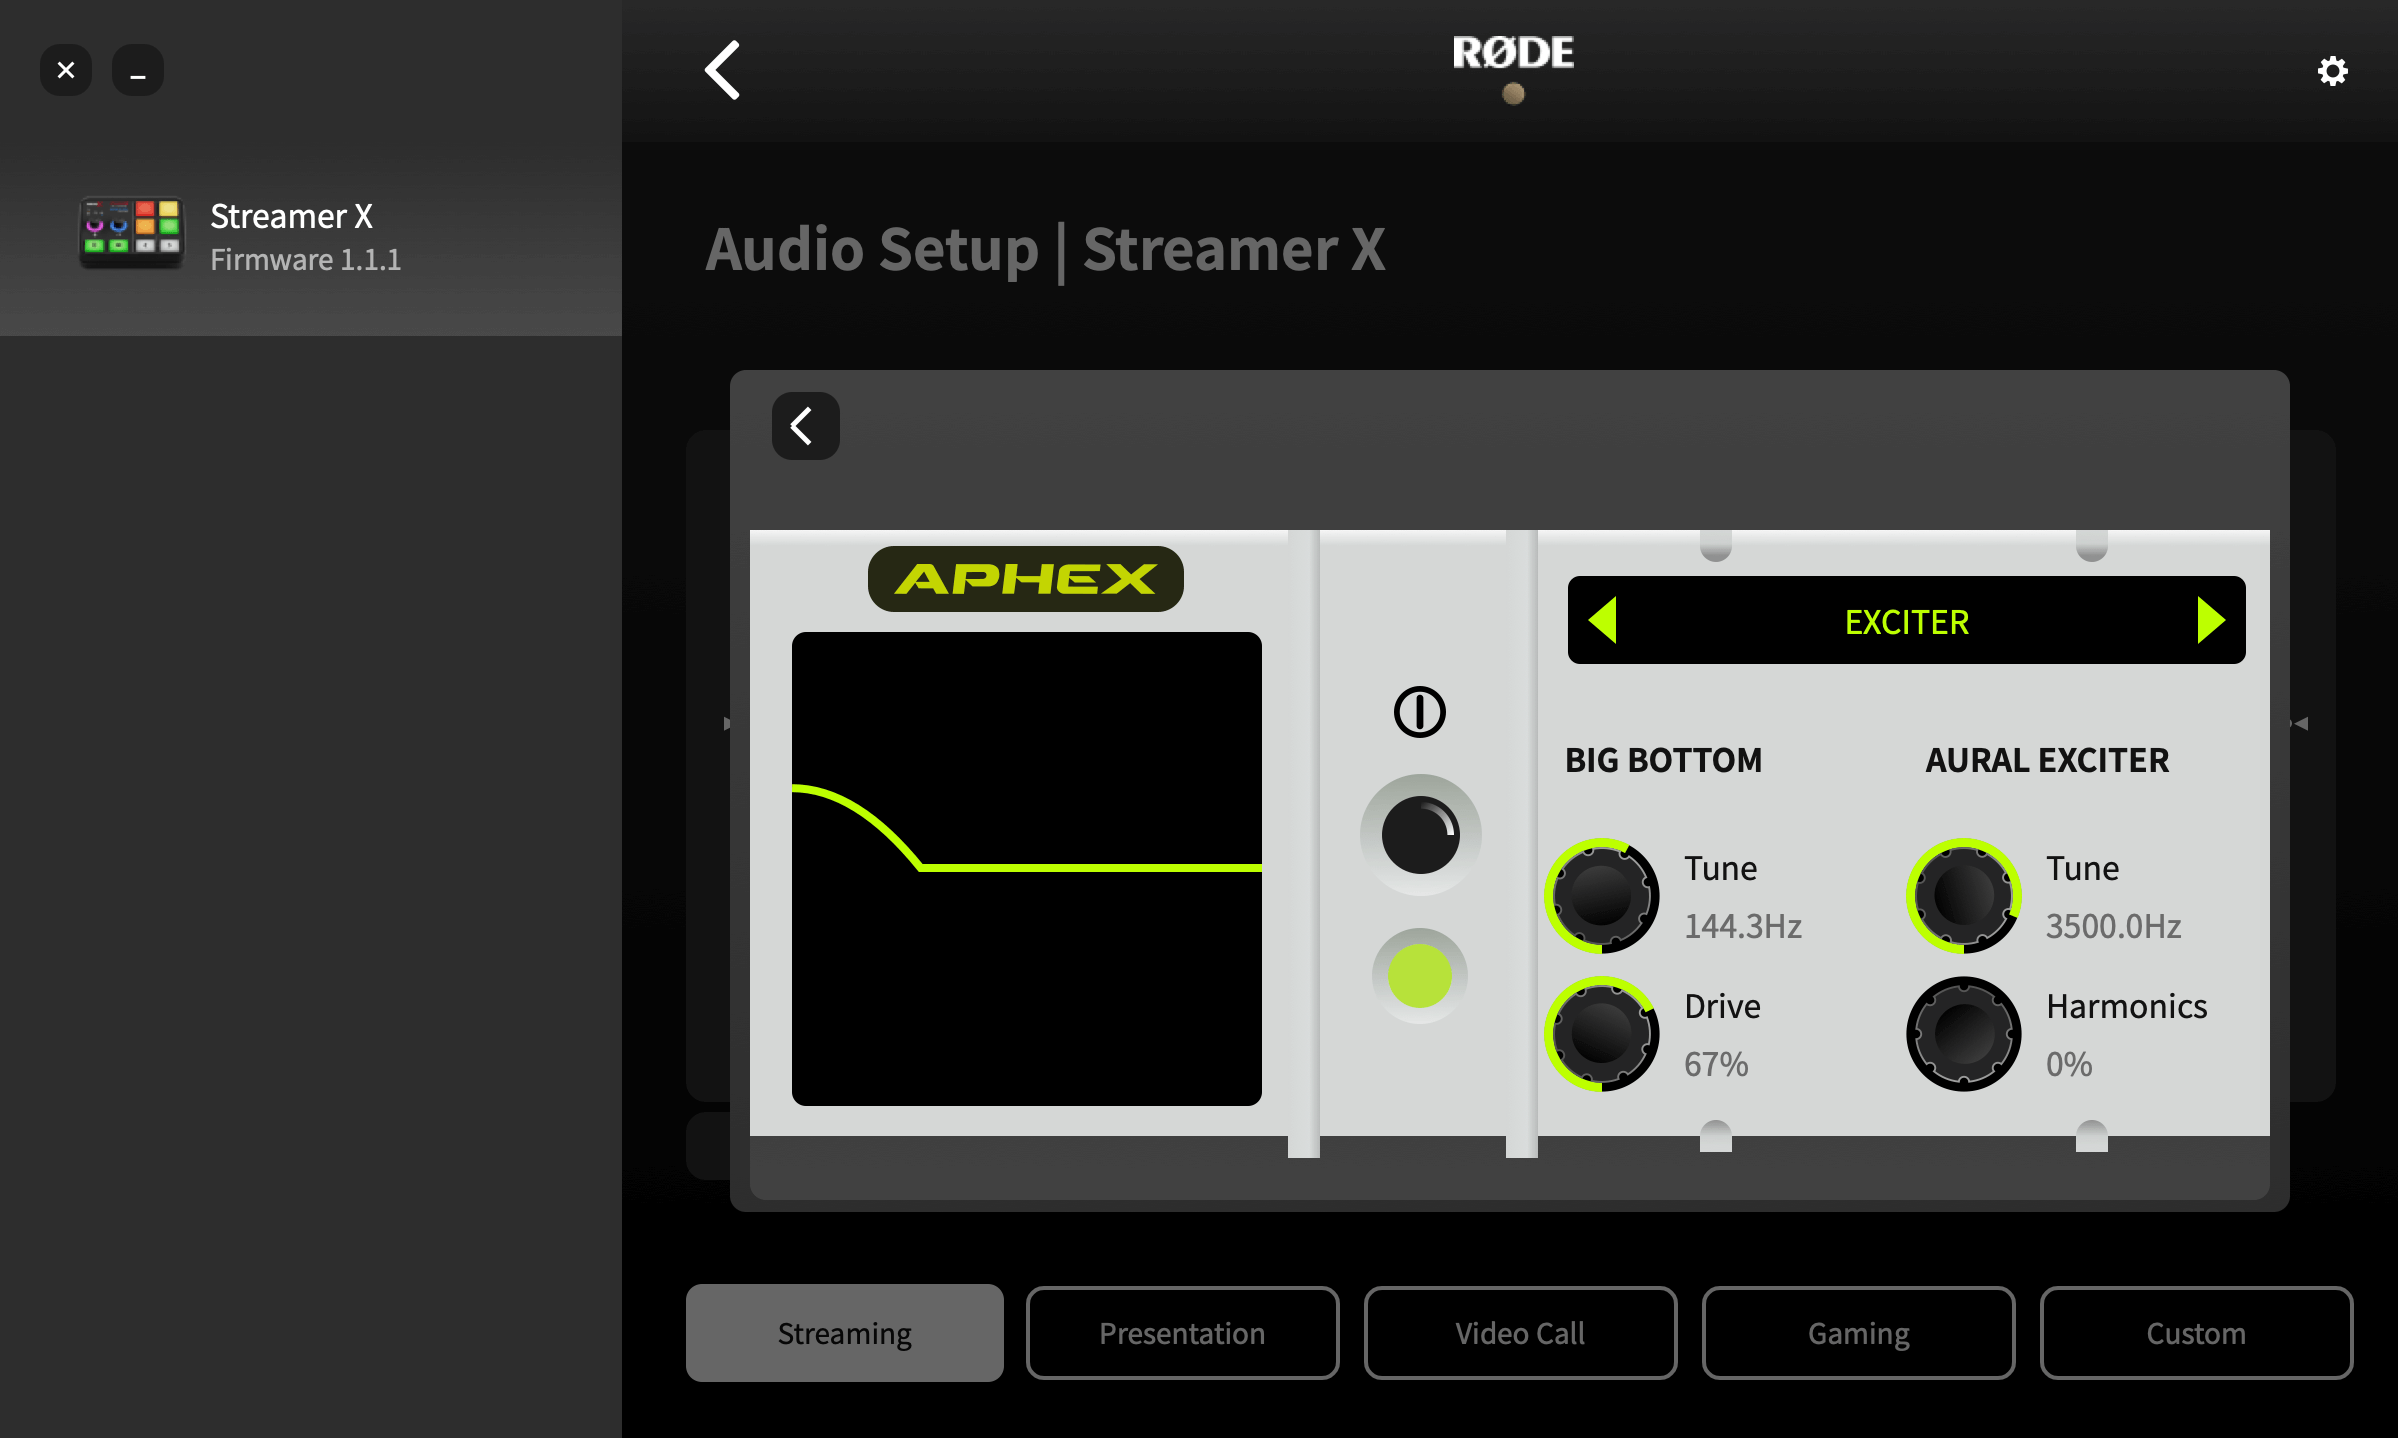
Big Bottom
Use this to give your voice or audio more depth without creating muddiness. This is achieved by adding subtle harmonics to the low-end frequencies in your signal, giving it more “punch”.
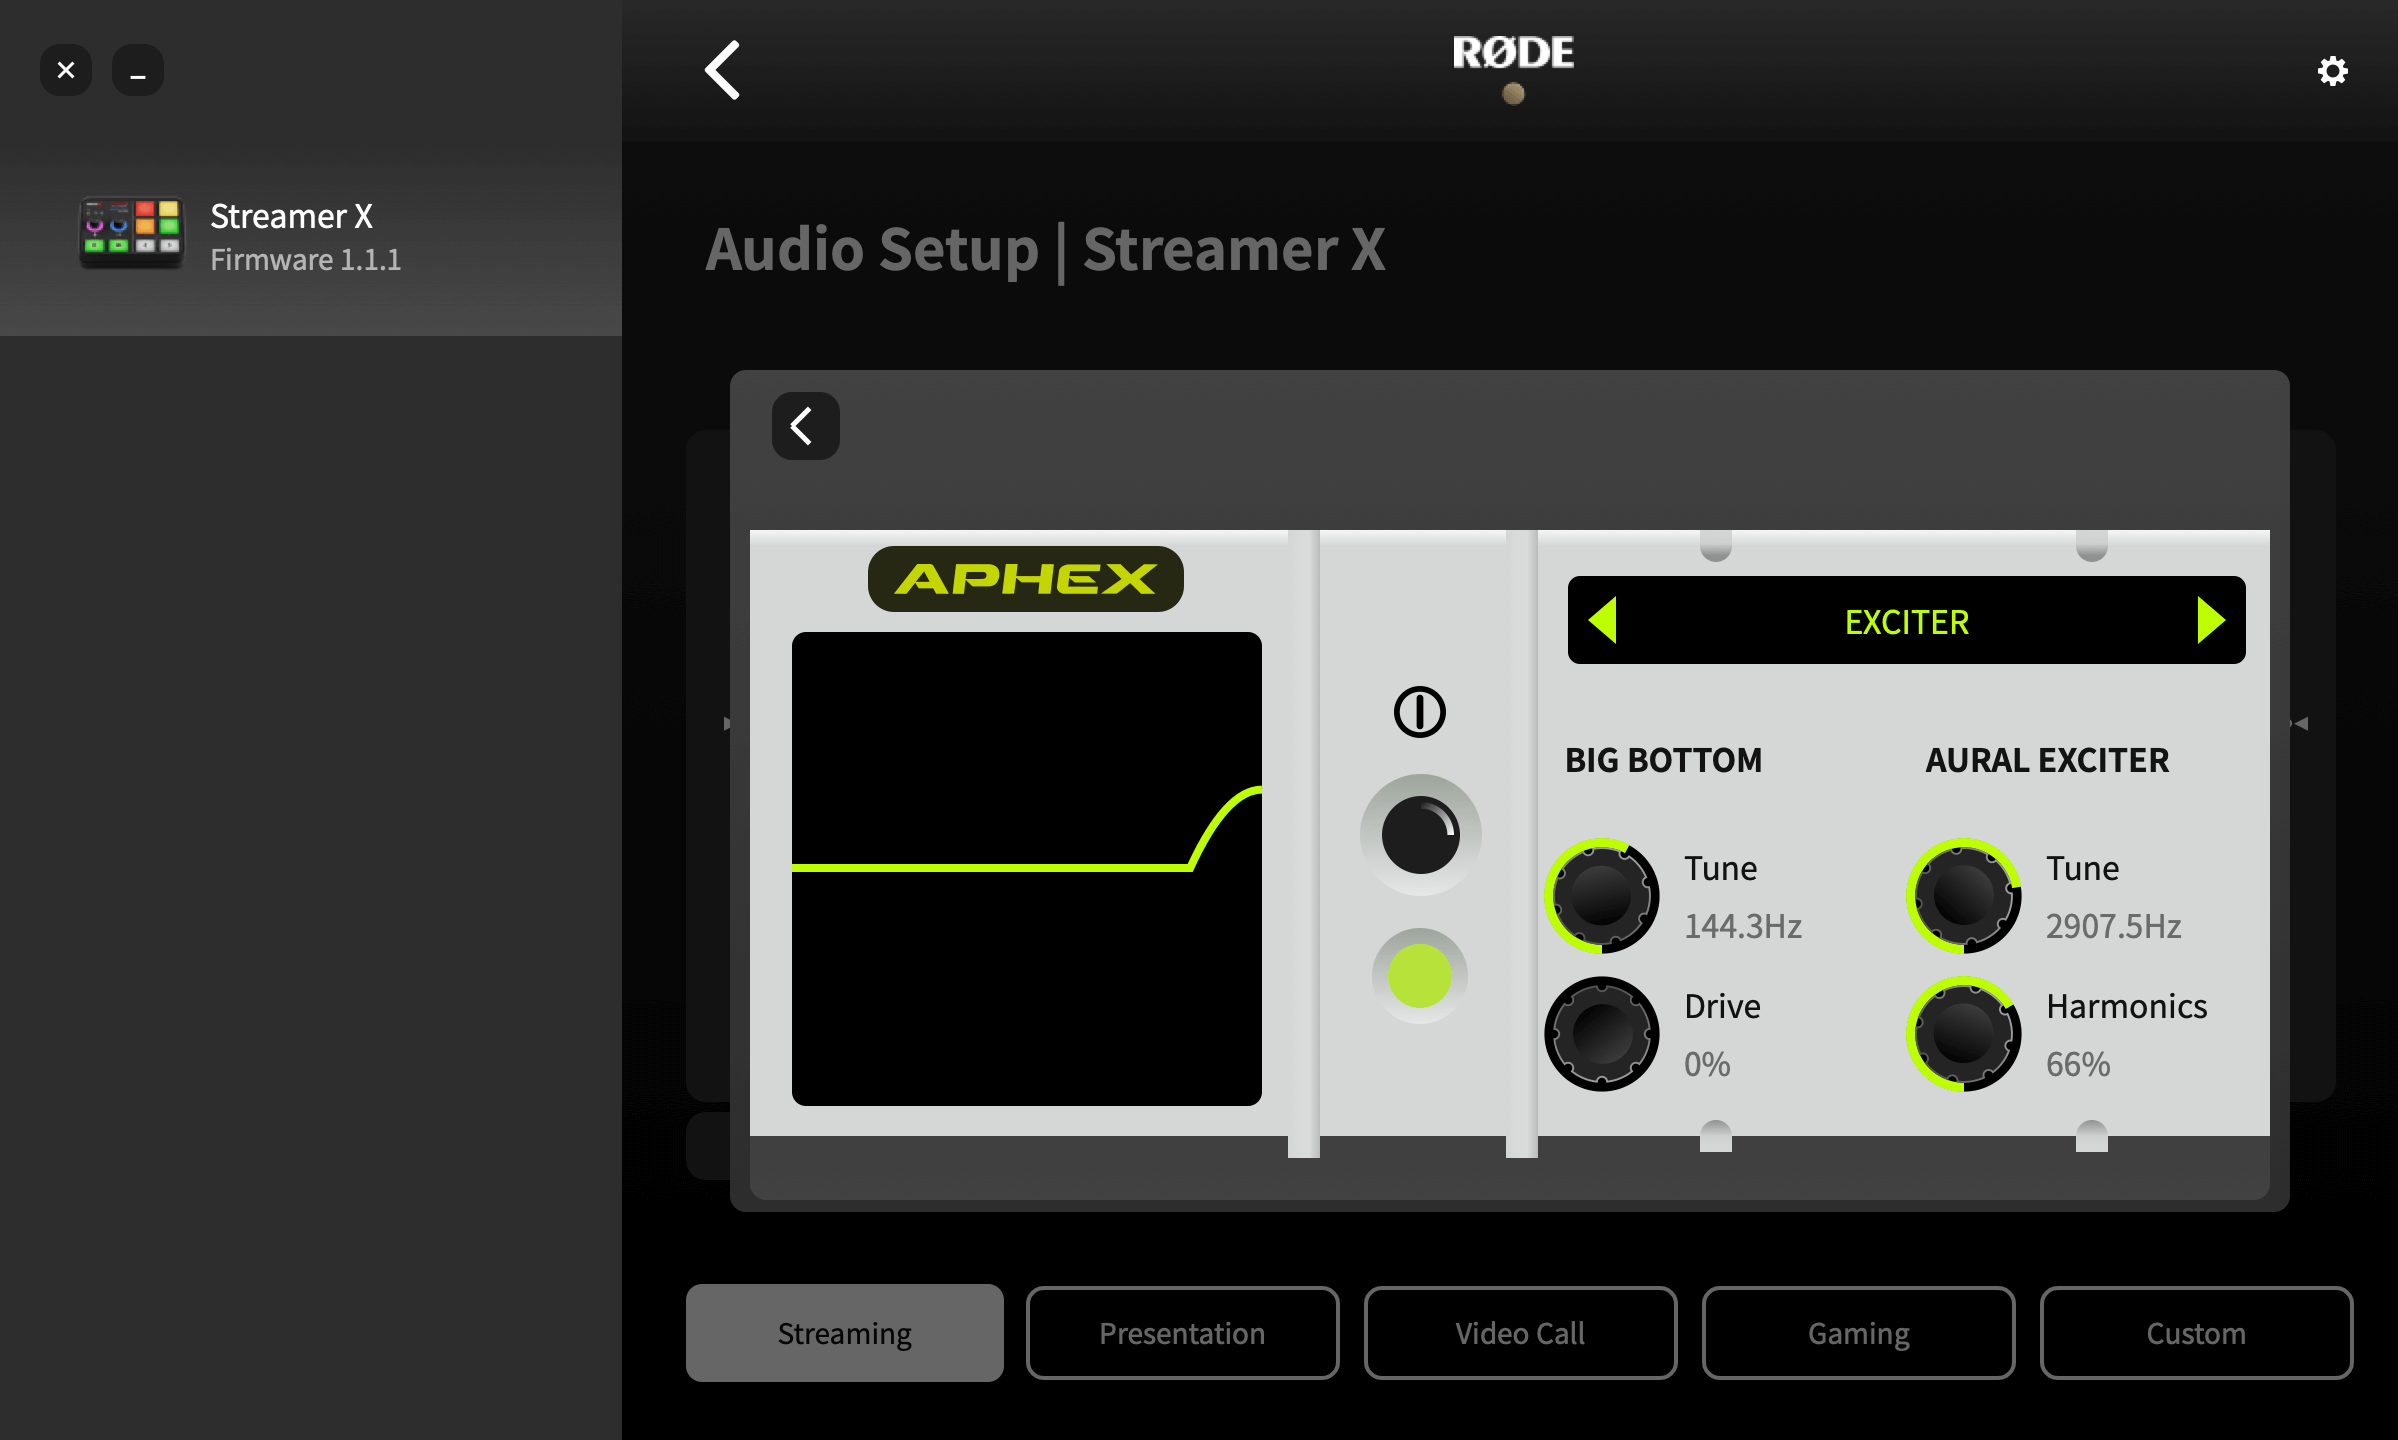
Aural Exciter
Use this to bring out more detail and clarity in your voice or audio source. This is achieved by adding subtle harmonics to the higher frequencies in your signal, giving it more “sparkle”.