What is Timecode and Why Do You Need It?
When it comes time to bring all of your audio and video footage into your editing software, making sure that it is all perfectly in sync can be a huge pain. Not only can it be an incredibly tedious and time-consuming process, but you can also end up with less-than-perfect results quite easily. This is the problem that timecode solves.
In this article we’ll take a look at what timecode is, why you need it, how you can use it and then we’ll answer some of the most common questions on the topic. Check out the video below for an overview of timecode and how it works with the Wireless PRO.
What is Timecode and How Does it Work?
Timecode is a media synchronisation system that is designed to perfectly synchronise your audio and video recordings. As its name suggests, timecode takes the form of a sequence of numbers that can be attached to video and audio files in order to precisely label their timing, right down to the individual video frame.
The industry standard for timecode is known as SMPTE timecode (Society of Motion Picture and Television Engineers) and is typically represented in the format HH:MM:SS:FF (hours, minutes, seconds and frames).
This timecode information is recorded to your video and audio files either directly as metadata or as an audio track that can later be interpreted by software. Ideally, all of your video and audio recording devices will receive their timecode information from the same source (a timecode generator) so that they can be synchronised to a singular clock.
Once your video and audio files are imported into your video editing software and synchronised using their timecode information, they will be laid out on the timeline so that they line up precisely, even if the files start and stop at different times.
Why You Need Timecode
For any video project where you’re capturing your video and audio with more than one device – cameras, microphones and audio recorders – timecode can be used to quickly line up your files in post-production without having to manually align them through trial and error.
The usefulness of timecode increases dramatically as the size and complexity of a project grows. While it isn’t necessary for short videos shot with a single device, timecode becomes increasingly essential for shoots with multiple cameras and/or audio recorders, or for multi-day shoots and other lengthier projects.
For these more complex projects, timecode serves as both a workflow tool to save you time in the editing process as well as a single source of truth for referencing specific scenes, moments or timestamps within your project, which is especially critical when working with more than one person.

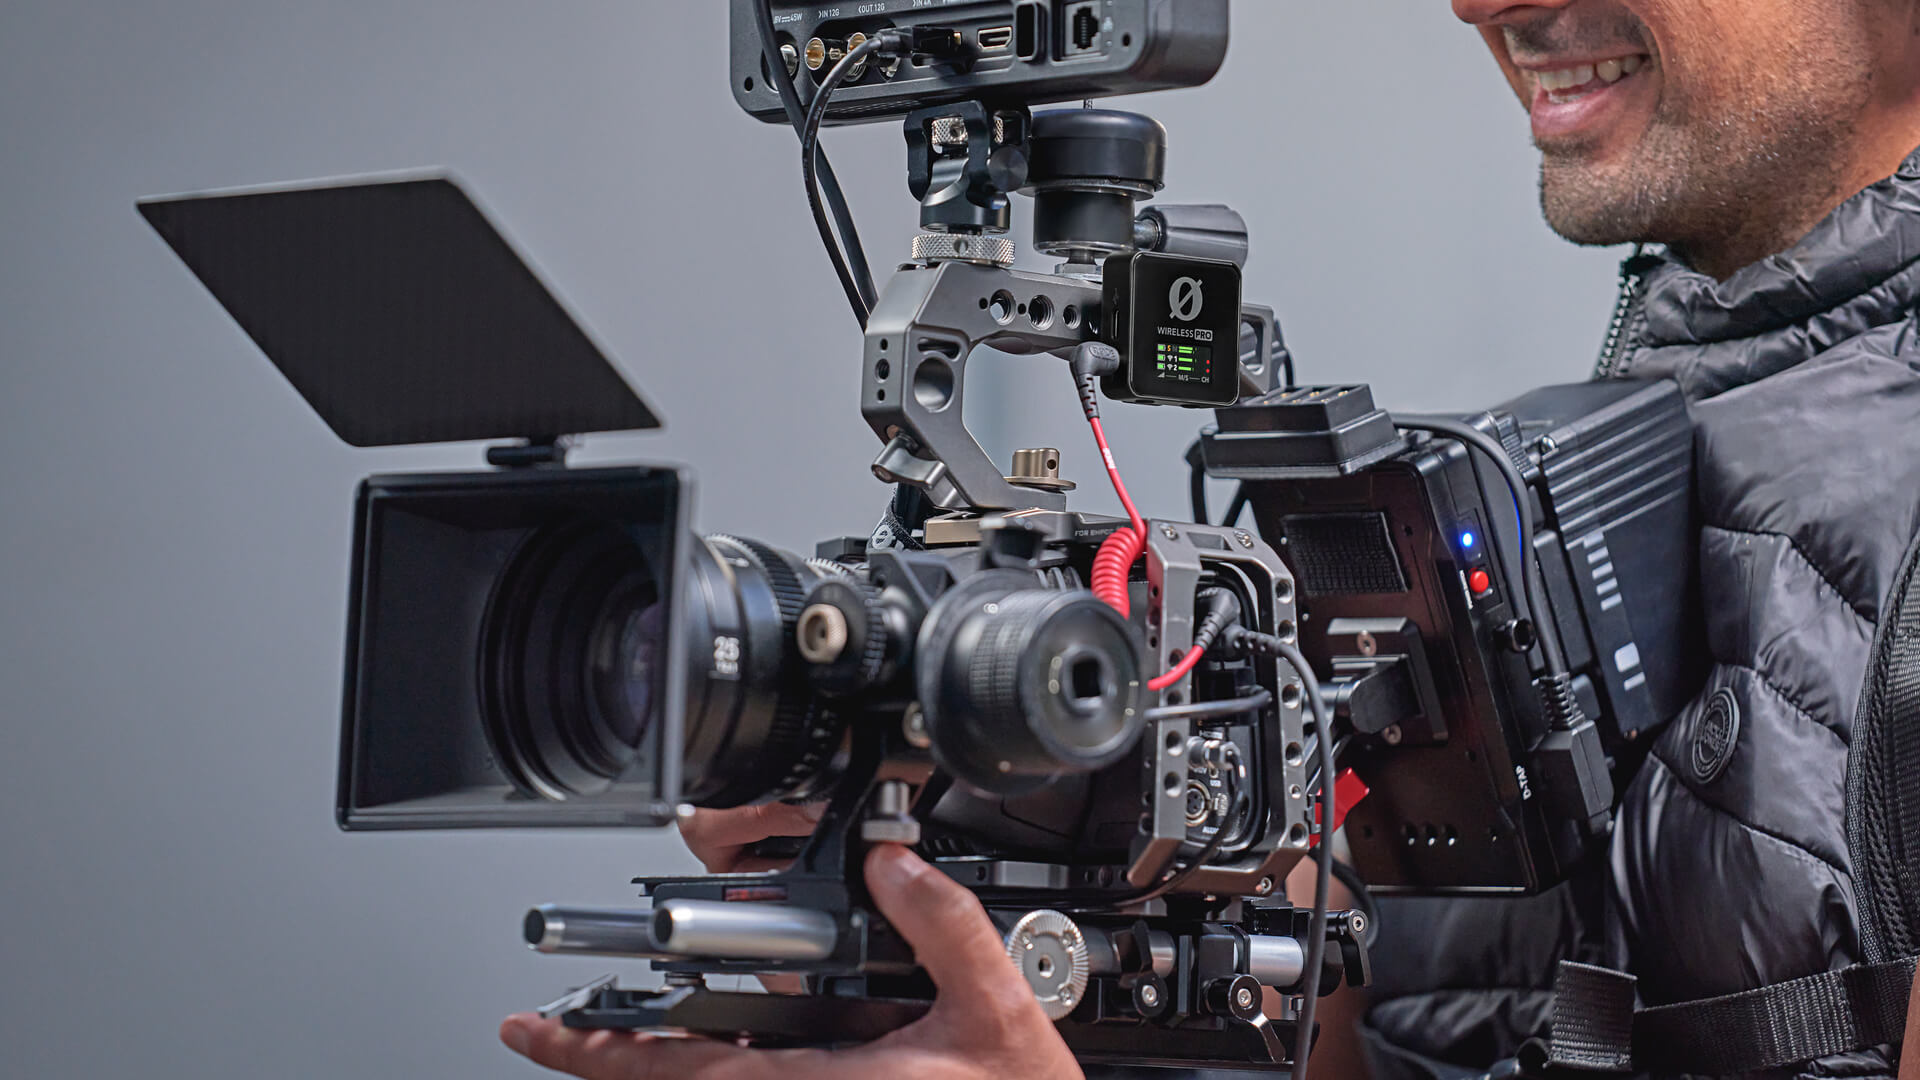
The Wireless PRO features a super-accurate timecode generator that can help you synchronise audio recordings with your camera’s video footage.
How Timecode Works with the Wireless PRO
The Wireless PRO generates timecode using LTC encoding (Linear Timecode), which is the most widely used format today. The Wireless PRO receiver acts as the ‘source’ in a timecode setup, meaning that timecode is generated by the receiver and is sent to other ‘sync’ devices, such as cameras and audio recorders.
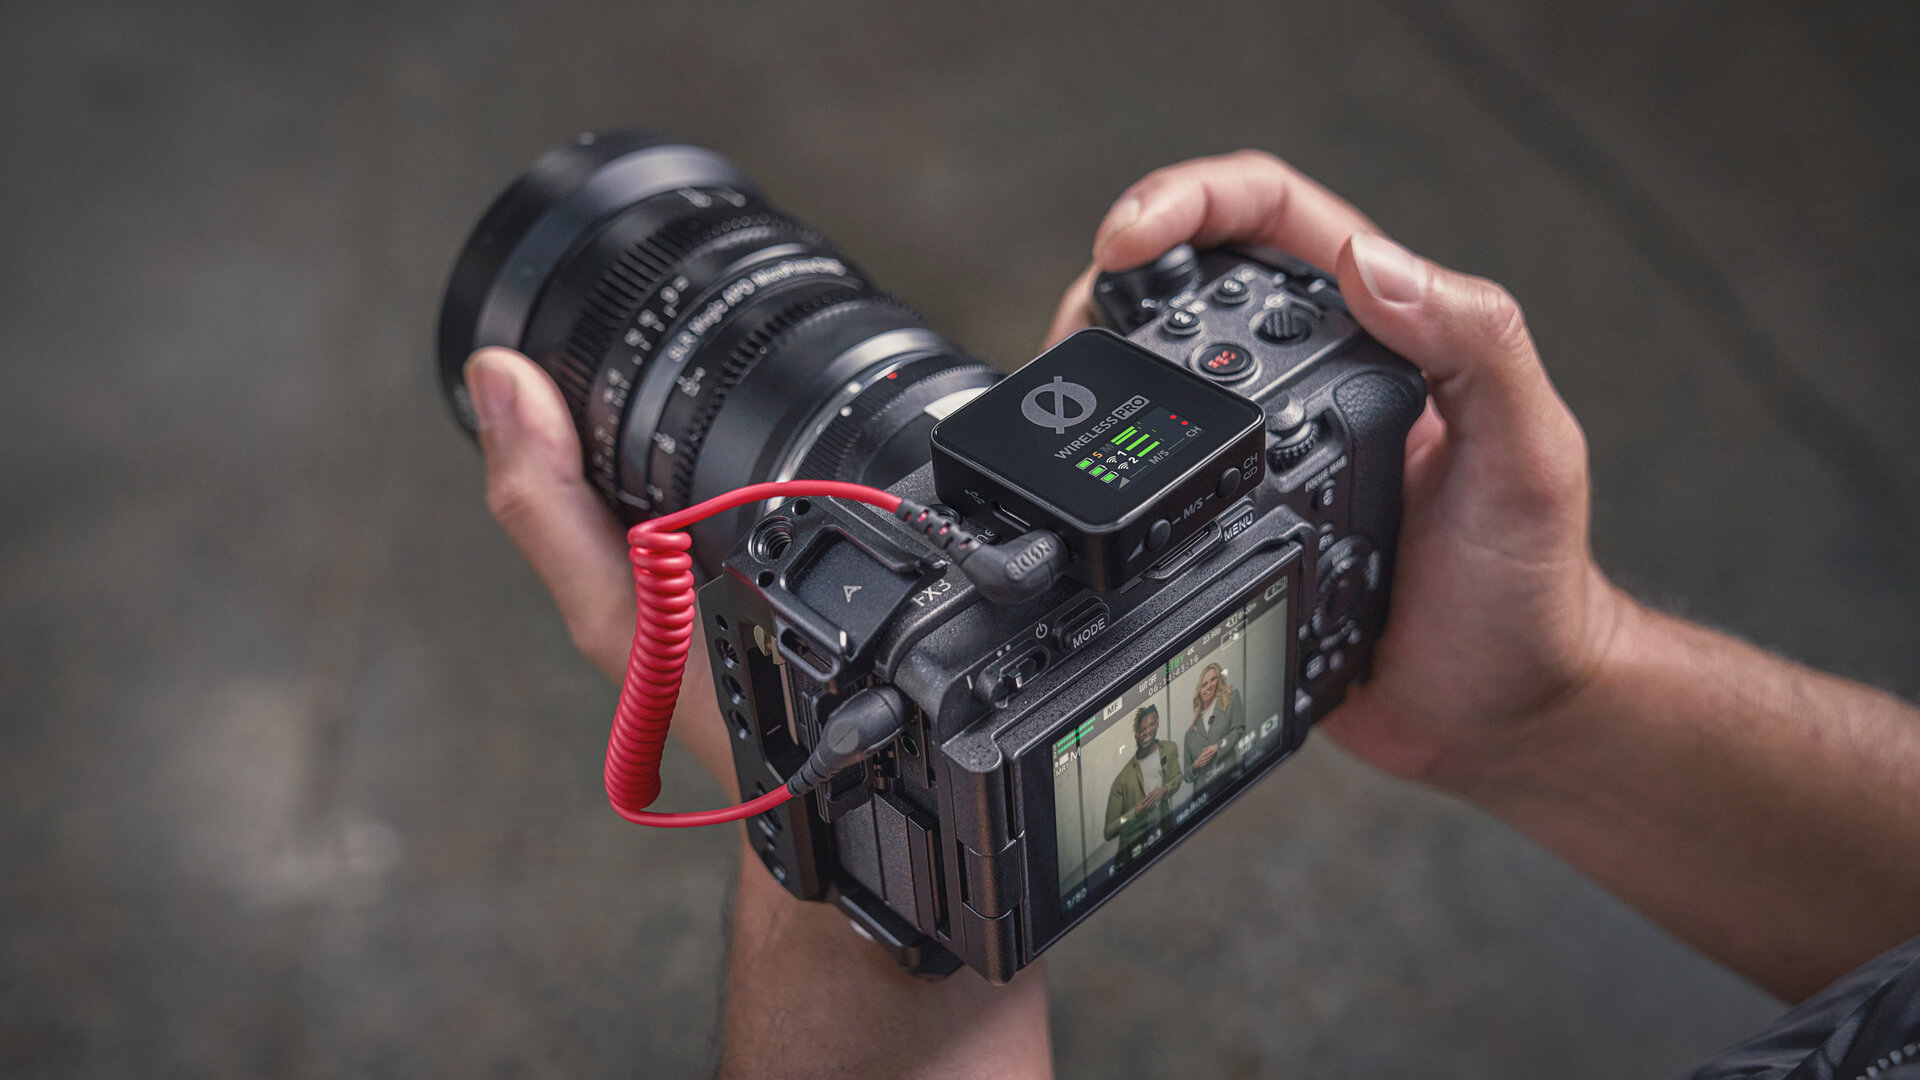
The Wireless PRO outputs timecode information as an audio signal. If your camera 'understands’ timecode, it will record this data into your video files directly as metadata, but if it doesn’t then you can still record this audio timecode signal into your camera’s mic input just like you would a microphone – this audio is then later recognised as timecode in your editing software.
The Wireless PRO receiver (RX) will automatically send timecode to the transmitters (TX) as long as timecode is enabled via RØDE Central (you don’t need to have a timecode mode actively selected). This means that the transmitters’ on-board recordings will have timecode in their metadata, so you just need to record timecode into your camera(s) to ensure your video files also have this sync information.
Check out the user guide to learn more about Using Timecode with the Wireless PRO.
Other Things You Need to Know About Timecode
What's the Difference Between a Timecode ‘Source’ and ‘Sync’ Device?
Simply put, a timecode source (also known as a timecode generator) is a device with a super accurate internal clock that is able to generate a timecode signal and send it to another device.
A timecode sync device, on the other hand, is a device that can receive a timecode signal, make sense of it, and adjust its own internal clock accordingly. There are also some devices that are both a source and sync device at once.
Why is it So Important to Set Your Timecode Framerate?
As we mentioned, the most common format for timecode to appear in is the 8-digit configuration HH:MM:SS:FF, which represents the hour, minute, second and, finally, the frame of your timecode.
This means that the framerate you select actually determines how your timecode is counted, as ‘frame’ is one of its units of measure. Because of this, it’s incredibly important to make sure you’ve set your timecode to the same framerate that you’re shooting your project in so your footage and audio will properly line up.
What is ‘Real Time’ or ‘Time-of-Day' Timecode and Should I Use it?
Real Time, also known as Time-of-Day, is a timecode format that uses the actual time in your region to fill out the hours, minutes and seconds in your timecode. This format is ideal for organising your footage and recordings as you can quickly see exactly when it was taken in the day.
With the Wireless PRO, you can view the clock that’s used for real time within the companion software, RØDE Central. This clock is set by the time on the device that the app is running on, either your phone or computer.
Another option is to use continuous timecode, which takes the same 8-digit format, but rather than follow your local time zone, you can start the zero point whenever you want, which can be useful if you want it to line up with the start of your shoot. With the Wireless PRO, you set this point within RØDE Central.
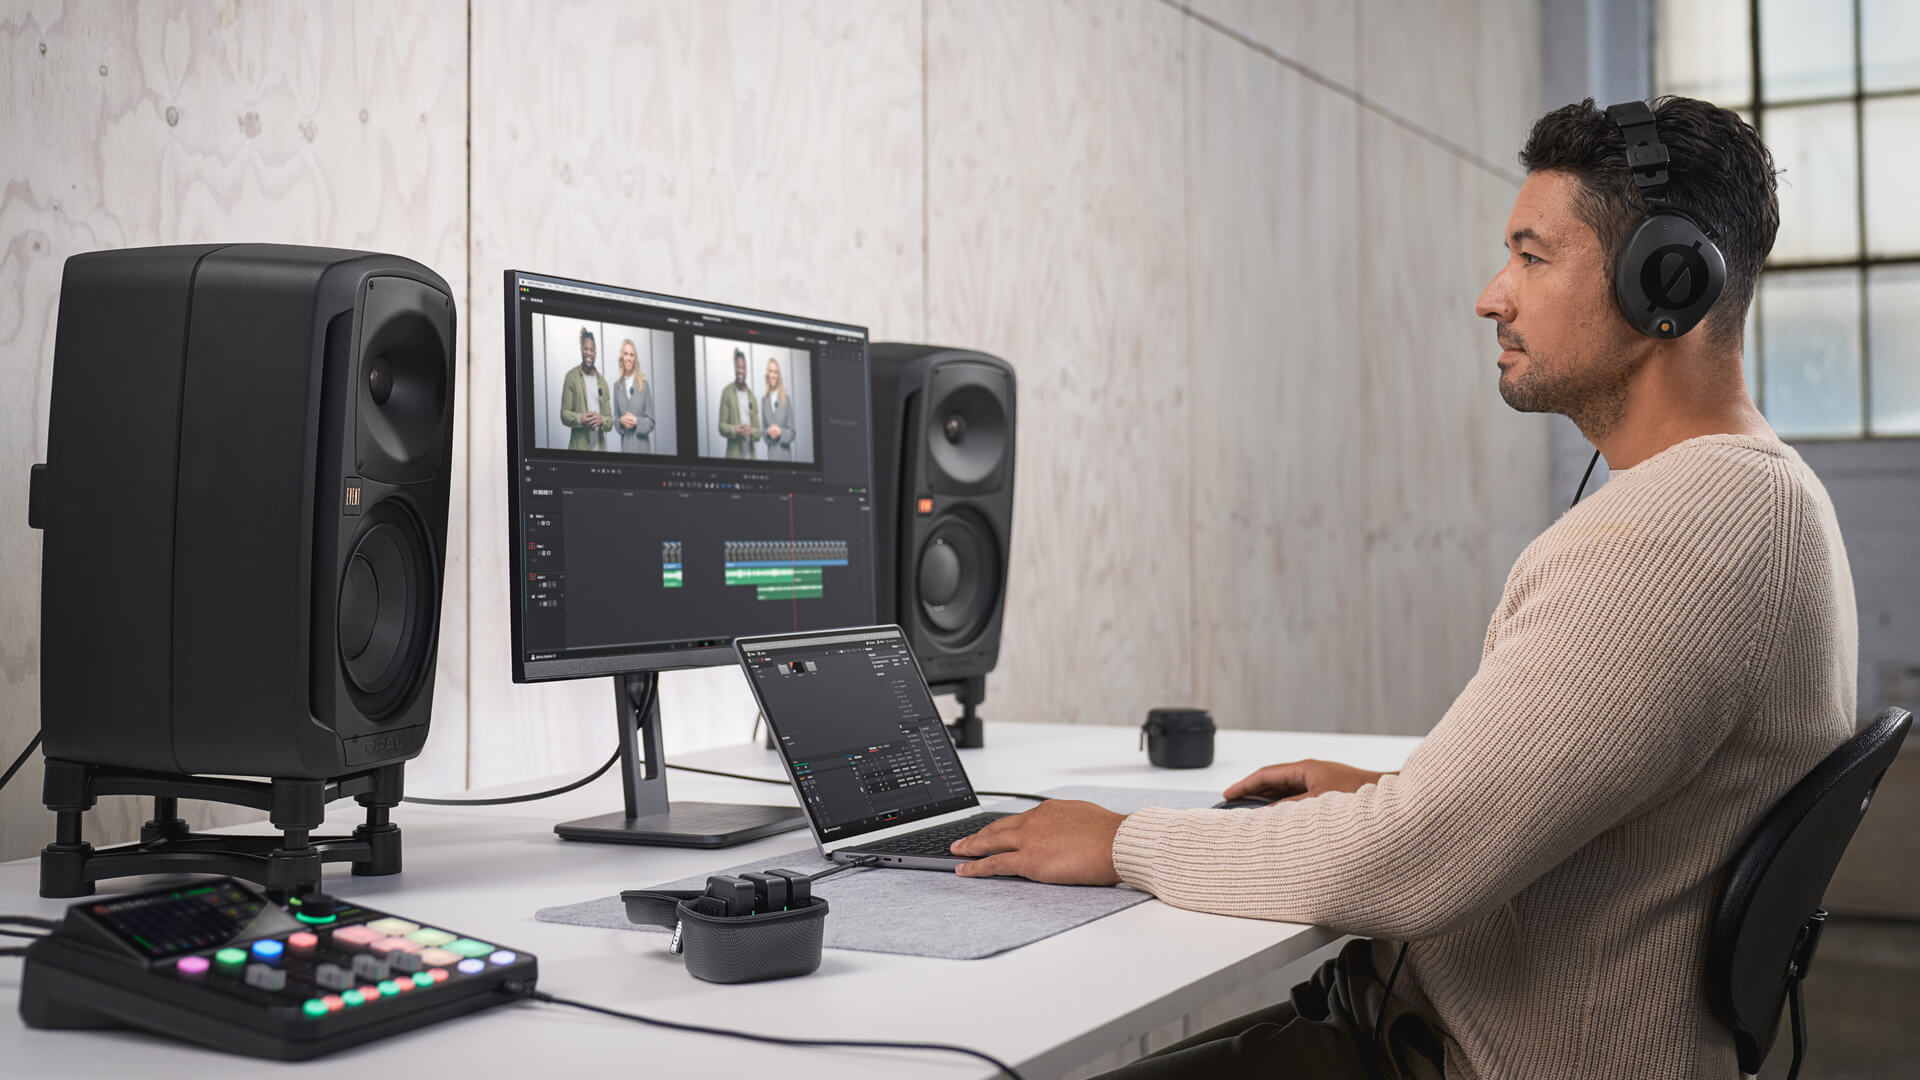
The Wireless PRO’s on-board recordings feature timecode information (if the setting is enabled), allowing you to quickly synchronise them on your video editing software’s timelime.
What are the Different Wireless PRO Timecode Modes For?
All of the timecode modes available on Wireless PRO output a timecode signal from the receiver, but each one does so in a slightly different way to suit a different use case. We’ll take a look at what you can use these modes for, but if you’d like more detail on their specific routing, check out the Wireless PRO user guide.
Mode 1 is the most versatile option and will suit the majority of use cases. It lets you record both audio and timecode to your camera at once, with timecode on the right channel and audio on the left.
Modes 2, 3 and 4 are all tailored for use with smartphones or any other device that can record audio via USB. In these modes, timecode is sent just to the Wireless PRO’s USB output, leaving the analog output free for a headset or headphones.
In Mode 5, no audio is output from the Wireless PRO receiver whatsoever, only timecode. This mode is designed for connecting to a camera’s dedicated timecode port or for jam syncing multiple cameras, which we’ll take a look at next. Just be careful not to connect headphones while in this mode as the timecode signal can be quite loud.
What is ‘Jam Syncing’ and How Can I Use it to Sync Multiple Cameras?
Timecode generators such as the Wireless PRO can send a continuous timecode signal to your camera, but if you’re using more than one camera at a time, you’ll probably need to use a technique called ‘jam syncing’.
Jam syncing is a process where you briefly send a timecode signal to your camera to align its internal clock, and then unplug it and do the same for another camera.
Theoretically, you can synchronise an endless number of cameras this way, but these cameras will need to support timecode, which we’ll cover in the next section.
It’s worth noting that using the jam sync process may result in some ‘drift’ – a phenomenon we’ll take a look at later.
When connected to cameras that support timecode, the Wireless PRO can record timecode information directly into the metadata of your video files.
What Does it Mean When a Camera ‘Supports Timecode’?
Many devices that output timecode, such as the Wireless PRO, produce linear timecode (LTC). This is an industry standard that encodes the timecode information as an audio signal for your equipment to read. If you were to listen to it, you would hear a stream of digital noise.
Some cameras, especially more professional systems, are able to understand this LTC, convert it from audio to timecode, and embed it straight into your video’s metadata. This is what it means for a camera to ‘support’ timecode.
Other cameras, like many DSLR and mirrorless systems, can’t understand or convert this signal. In these cases, when you record the LTC as an audio signal alongside your video, you'll need your editing software to do the conversion process instead.
What Cable Do I Need for my Camera’s Timecode Port?
Different cameras can receive timecode in different ways. Depending on which model of camera you’re using, it may be able to receive and understand a timecode signal via its mic input.
Other cameras have dedicated ports for receiving timecode, and these ports come in a few different shapes and sizes. One of the more commonly used port types is called BNC. If your camera has this port, you’ll need to use a 3.5mm-to-BNC adaptor to use it with your Wireless PRO system. Alternatively, you could still record your timecode as an audio signal into its mic input instead.
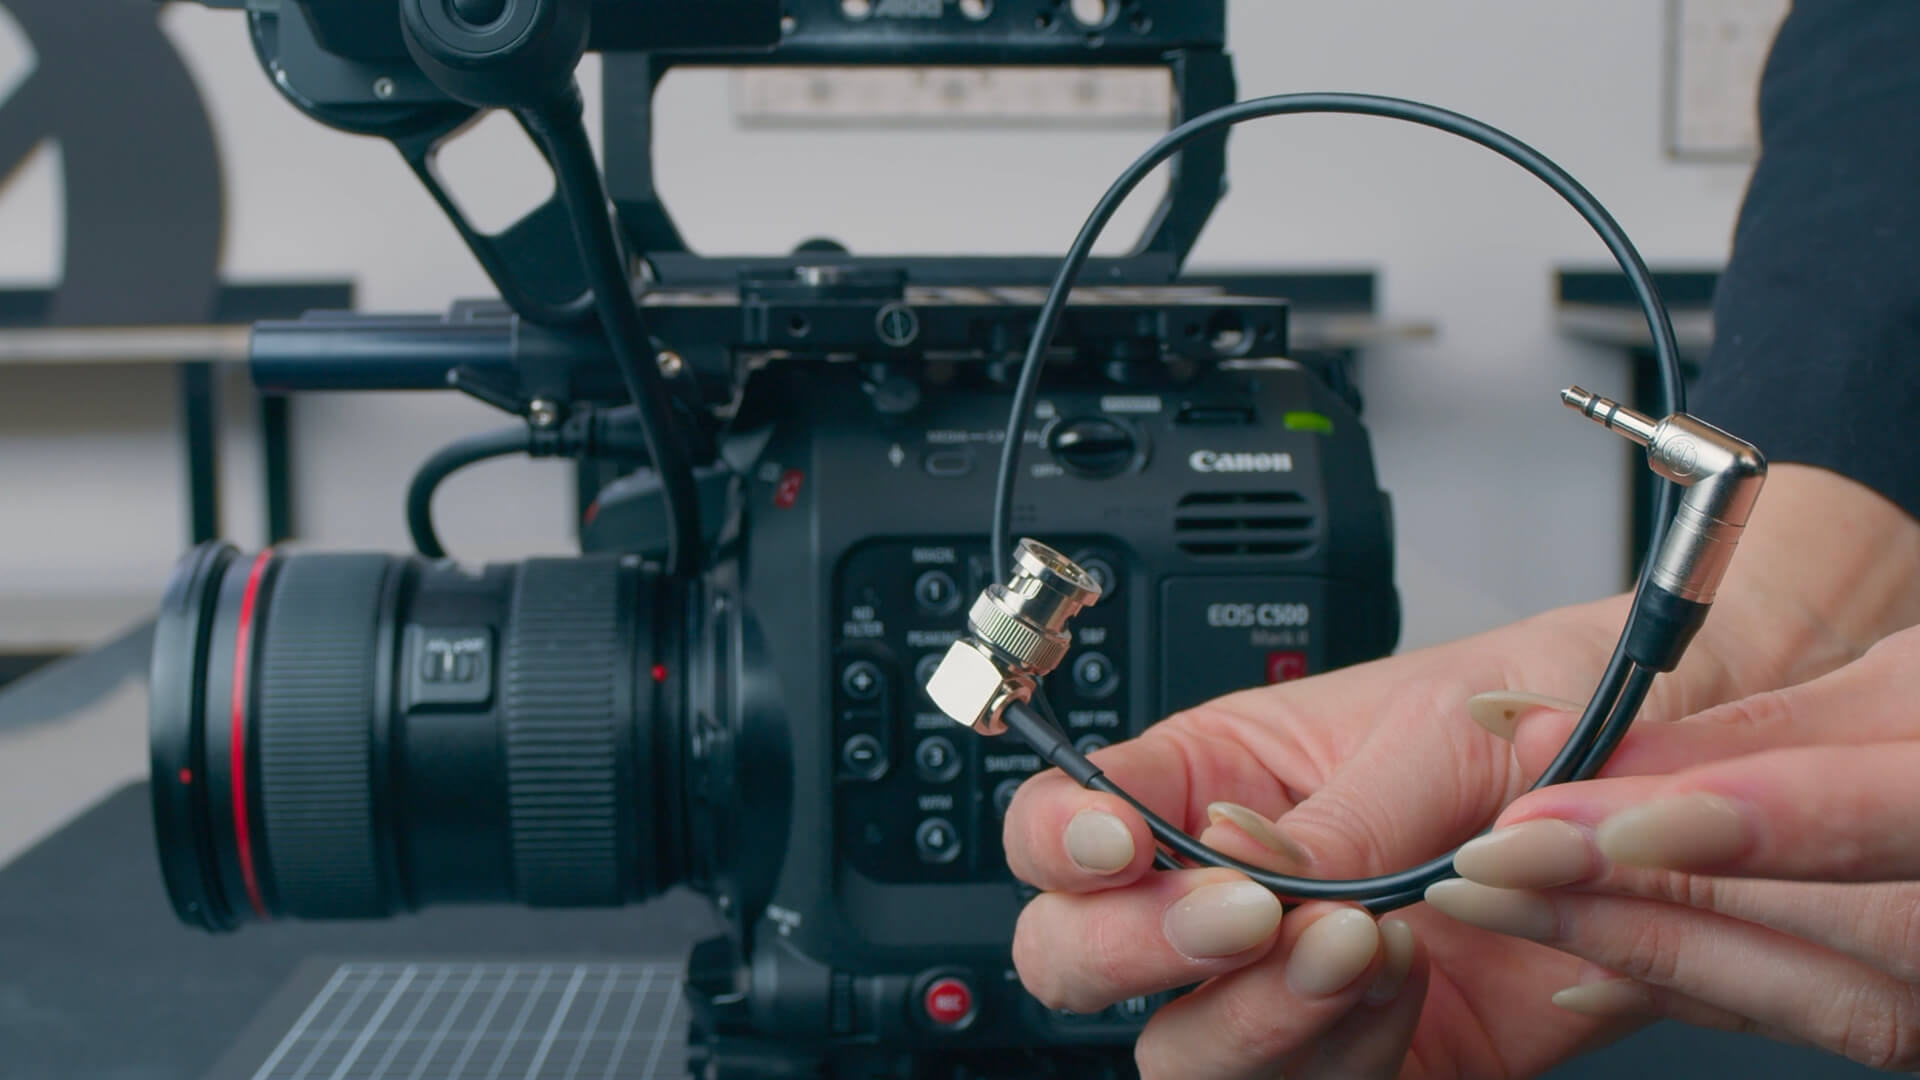
Some models of camera have a dedicated timecode port that requires a particular connector. A BNC-to-3.5mm cable (pictured) can be used to connect a Wireless PRO to a wide range of camera models.
Which Video Editing Software Supports Timecode?
Most popular video editing software offers some degree of support for synchronising your video and audio files via timecode, but there are a few things you should note.
Currently, neither Final Cut Pro nor Premiere Pro are able to understand and convert an audio timecode signal. For this, we instead recommend using DaVinci Resolve, which is free to use.
However, Final Cut, Premiere and Resolve will all be able to synchronise your video and audio recordings if they already have timecode in their metadata. Audio recorded on-board the Wireless PRO transmitters will have this metadata, as long as you’ve enabled timecode via RØDE Central.
What is Timecode Drift, What Causes it, and How Can I Prevent it?
While timecode is super convenient, there are still a few factors that can lead to slight inaccuracies when synchronising your footage. One of these is something called drift.
When comparing the accuracies of the internal clocks in two different devices, there will always be a very slight difference. No matter how small this inaccuracy may be, over time it builds up and eventually results in different timecode readings between the two devices.
How long it takes for this drift to occur is entirely dependent on the devices you’re using – it might only take minutes, or it could take more than a day. While this is largely a result of the quality of the clock that's in the device, even the most high-end equipment will still eventually drift.
There are a few ways that you can avoid drift. The first, and most effective, is to shoot with a camera that supports timecode. When fed a continuous timecode signal, a camera that supports timecode will listen to this external clock instead of its own, remaining perfectly synchronised to the source device.
For cameras that don’t support timecode, the best approach is to record for shorter lengths of time. When an audio timecode signal is recorded to a camera, it only signifies the starting point of your footage. This means that the clock inside your camera is ‘free running’ after the start point and may drift as the recording goes on.
However, each time you start a new recording, that start point will be perfectly synchronised to the timecode from your source device. This means that drift will be less of an issue the more often you start new recordings.
You can still record the Wireless PRO’s timecode as an audio signal into cameras that don’t support timecode, you will just need to use editing software such as DaVinci Resolve to interpret this information in post.
If you’re using the jam sync method, it’s recommended that you jam sync your cameras every few hours, or any time you power cycle your equipment. While everything will be perfectly synchronised when you jam it, it will begin to slowly drift apart afterwards.
Once you get to know how long your equipment will remain in sync before it drifts, you can better plan for when you need to re-jam it.
Even if you do have some drift, timecode is still a huge help when laying out your edit timeline in post-production. You may just need to nudge some of your clips by a frame or two to get them perfectly synchronised.
What Other Factors Can Affect the Accuracy of Timecode?
Apart from drift, there are a few other factors that can affect the accuracy of timecode synchronisation.
Firstly, the exact point at which a camera captures the frame that it’s shooting will vary from model to model. While the interval between frames shot by a camera is determined by its framerate, the point at which they actually start being captured can vary.
The way that video editing software inherently operates is another factor that can affect sync accuracy. Video editing software snaps your footage to the nearest frame, which makes sense for video as it’s the smallest divisible component of a moving picture. However, depending on its sample rate, audio files can have thousands of samples within the space of a single frame.
So when you lay down your audio on the timeline it will snap to the nearest frame, but this position may be thousands of samples away from where it should be. This will depend on the exact point within a frame that the audio started recording.
While these inaccuracies may look and seem severe when you’re zoomed in on your edit timeline, remember that they are very unlikely to be noticeable in your final production if they’re within a frame of each other.
We recommend always recording a clap when shooting your footage as this makes it super simple to nudge your footage by a frame if it’s needed after you’ve laid it all out using timecode.