Audio For Film 101: How To Get the Best Audio From Your Camera


Simply put, DSLRs and mirrorless cameras do not record high-quality audio by default. If you’re a filmmaker, it’s probably one of the first things you noticed when you started shooting. For most purposes, the internal mics in these cameras are noisy and capture unclear audio.


In this article, we’ll take a look at how you can get the best possible audio for your DSLR, mirrorless or action camera.

Invest in a Good Mic

Off the bat, you’ll need to get yourself a quality microphone. For the purposes of this article, we’re going to be talking about a compact rig based around a DSLR, mirrorless, or portable camera like a GoPro. While the on-board microphones on these cameras aren’t great, you can get a quality mic that delivers great audio without making your rig cumbersome and bulky.


For most content creation purposes, you will want a microphone with a cardioid, supercardioid, or hypercardioid polar pattern, as these are effective at picking up sound from the front while rejecting sound from the sides and rear. Most shotgun mics will feature a variation of the cardioid pickup pattern. A microphone such as the VideoMic NTG has a tight supercardioid polar pattern, meaning it will reject sounds from the rear and sides.


The original VideoMicro, on the other hand, has a cardioid polar pattern, which will also reject sound from the rear but will pick up sound in a wider arc in front of the microphone. Different polar patterns will suit different scenarios, but all RØDE VideoMics will deliver far better sound quality than your camera’s in-built microphone.

The VideoMic NTG is a fully-featured professional shotgun microphone with on-board controls for the ultimate flexibility when recording. 

Bypass Your Camera’s Audio Settings

While you’re in your camera’s audio settings, take a look at what you have control over and what you can turn off. As a rule of thumb, the only thing you should be worried about is your gain settings (we’ll get to that in a moment); everything else can be bypassed, unless you know exactly how it works and that it will definitely improve your audio.


Most cameras will have a limiter, wind noise reduction, and Automatic Gain Control (AGC) and some will have other EQ or gain controls – often these are switched on by default, but you’ll want to turn them all off. These settings are designed for use with the camera’s internal mic, and you will achieve far better results turning these settings off and using a VideoMic.


You shouldn’t need a limiter if your gain is set correctly, it will only serve to make your audio sound over-compressed and uneven. And there are lots of other ways to reduce wind noise that are more effective and will ensure your audio is clean and clear.


As for AGC, this setting automatically adjusts the camera’s gain level for you depending on how loud the subject is. While this sounds great in theory, it introduces its own issues – it will increase the gain level before your talent starts speaking, raising the background noise level and then making the first few words of their speech uncomfortably loud before it then lowers the volume once more when their voice is detected.

The VideoMicro II is incredibly intuitive to use and has no complicated controls, just be sure to configure your camera settings correctly. 

Watch Your Audio Levels

With the above settings disabled, your camera’s audio levels are the only thing you need to worry about when recording. Different cameras have different preamps – some better than others – and they will all handle incoming audio differently. Yours may be particularly ‘hot’, meaning it will be easier to overload your preamp, causing distortion – this is especially true of most DSLR cameras.


Audio levels are measured in decibels (dB), usually on a numbered minus scale, with 0dB being the top of the scale. On your camera, your audio levels will be represented on a vertical or horizontal meter on your screen. The golden rule of setting audio levels is to make sure your meter never hits 0db – this will cause your signal to clip, which will result in distortion. We all know how unpleasant this is to listen to, and there’s very little you can do about it in post.


To be safe, your audio levels should always sit well into the minus dB range – the ‘green zone’. The ‘yellow zone’ is your safety net – an indicator that your level is creeping towards 0db. The ‘red zone’ is where distortion will happen. Stay in the green, giving yourself plenty of headroom before your levels start peaking in case your sound source suddenly gets louder.


You also don’t want your audio levels to be too low as you may introduce noise when you boost them in the editing stage. If you are recording a dynamic and unpredictable sound source (say, a football game or a particularly spirited talker), watch and listen for the loudest moments and adjust your audio levels so this peak sits just under the yellow zone. This will ensure that your signal never clips.


If you’re worried about the quietest parts being too quiet, always remember this can be boosted in post-production using compression. If your microphone also has a gain control – the VideoMic NTG, for example – remember to balance this with your camera’s audio levels. You should always try to ensure your camera’s preamp isn’t being overloaded. Since they are usually low-quality, making them work hard to boost a low signal will introduce more noise to your audio. Using a VideoMic with a +20dB gain boost such as the VideoMic NTG or VideoMic Pro+ will lighten the load for a preamp and give you a much cleaner signal

Be sure to use headphones like the NTH-100 to monitor your audio while recording, making sure to listen out for any distortion. 

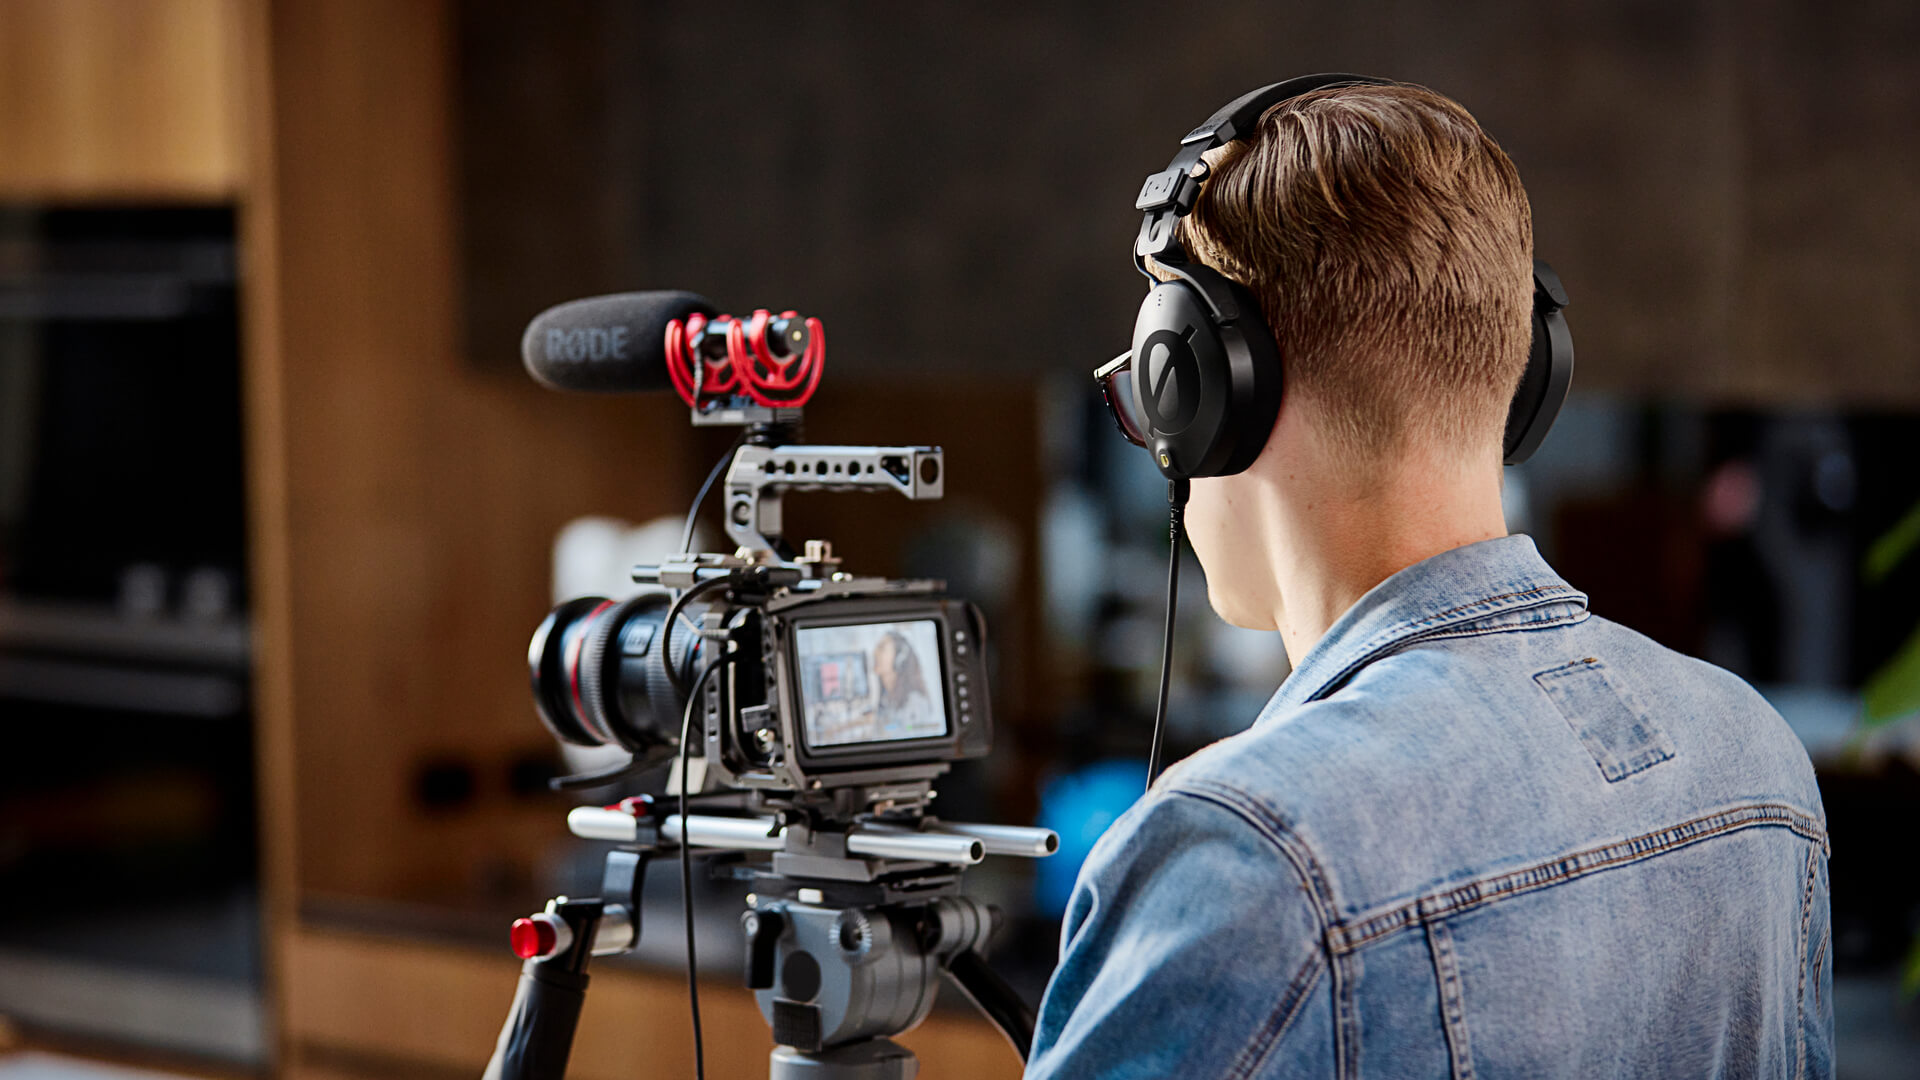
Monitor Your Levels with Headphones

Many modern DSLR cameras have headphone outputs for monitoring audio, and these are super handy for ensuring that your levels aren’t clipping, there isn’t any extraneous noise, or anything else that might ruin your audio.


Always make sure you have a pair of headphones like the NTH-100 handy (chuck an extra pair of earbuds in your kit bag just to be safe!) and use them whenever you’re recording. If your camera doesn’t have a headphone output, you may want to look into getting an external preamp with this feature.


Use an External Preamp

As we’ve mentioned, the preamps in cameras aren’t great. If you’ve got a good microphone, you may want to go a step further and buy an external preamp too. There are two ways to go: on-camera preamps or an entirely separate recording setup.


For most DSLRs and mirrorless cameras, external on-camera preamps are more than enough. These slot directly onto your camera’s cold shoe mount (and will have a cold shoe or two of their own for mounting your mic) and they plug directly into your camera’s input, meaning you won’t have to worry about syncing the audio in post as you would with a separate recording set up.


One thing to remember is that these will not completely bypass your camera’s preamp, so you will have two gain stages to set (three if your mic has a gain control). So that you don’t have to worry about adjusting your camera’s audio level to compensate for the external preamp, set them quite low – well away from the yellow zone – and leave it alone.


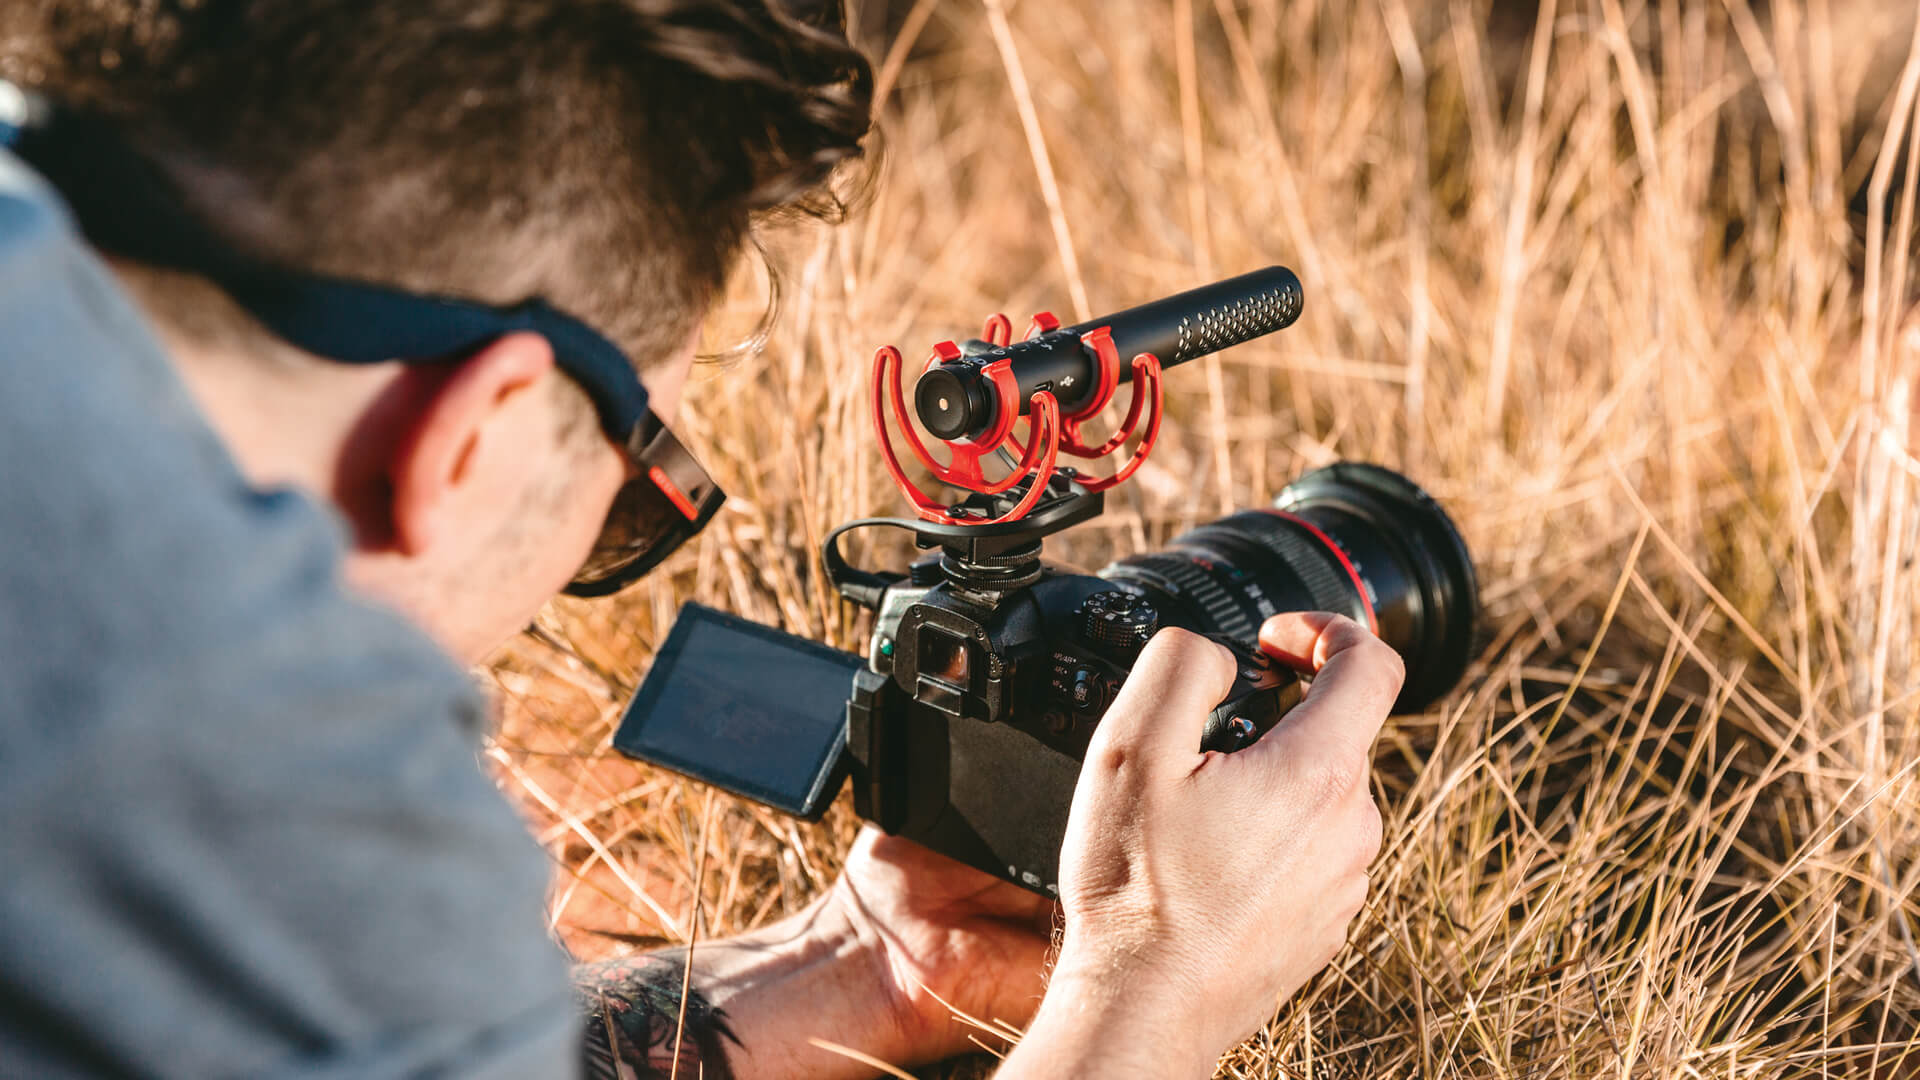
Your external preamp should give you all the control you need. If you are using a VideoMic, make sure that your preamp has a 3.5mm TRS input jack. If it doesn’t, you will need a VXLR Pro or VXLR+ adapter (depending on your mic).


Check out RØDE’s extensive range of on-camera VideoMics for a microphone to capture stunning audio that best suits your situation and video setup.