Getting Started With RØDE X

Congratulations on purchasing a RØDE X product! On this page we’ll walk you through how to quickly get set up with your new device so you can start making incredible content right away.

Getting Connected

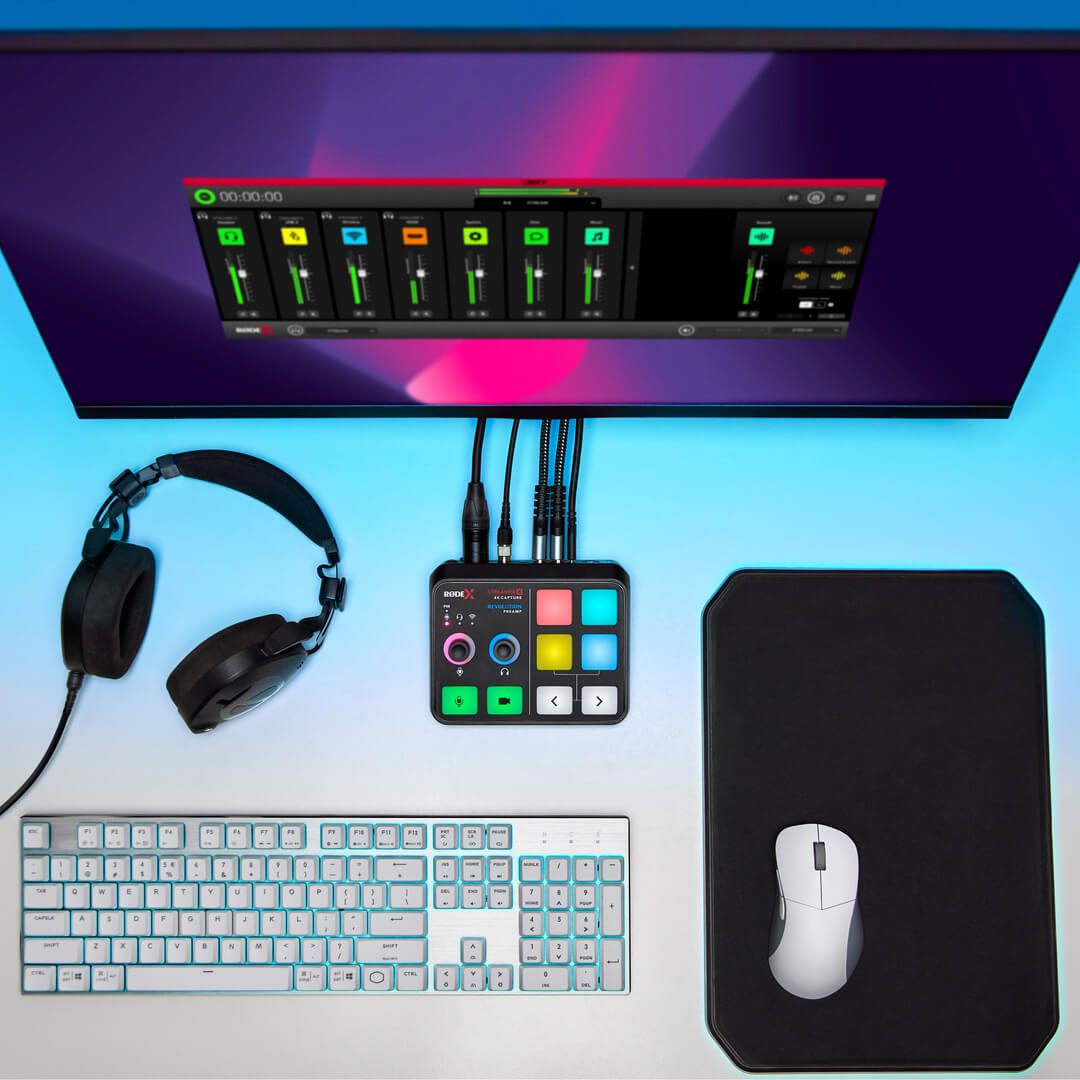
Step 1: You can either power the Streamer X from your computer using the included SuperSpeed USB-C cable connected to USB 1, or you can use the included power supply connected to the Streamer X’s dedicated power input.

Step 2: Next, connect your HDMI source device (like your console or camera) into the HDMI IN port and connect your monitor or TV to HDMI THRU. Be sure that your source device can provide – and is set to output – one of the compatible resolution and framerate settings.

Step 3: Connect your XLR, headset or wireless microphone and select your input type by pressing the left encoder knob. You can adjust the input gain by turning this encoder.

Step 4: Connect headphones (if you’re not using a headset) and adjust your monitoring level with the right encoder. You can press this encoder to quickly mute your headphones.

Step 5: Download RØDE Central to configure your Streamer X and access its processing, effects and SMART pad customisation. See below for more information.
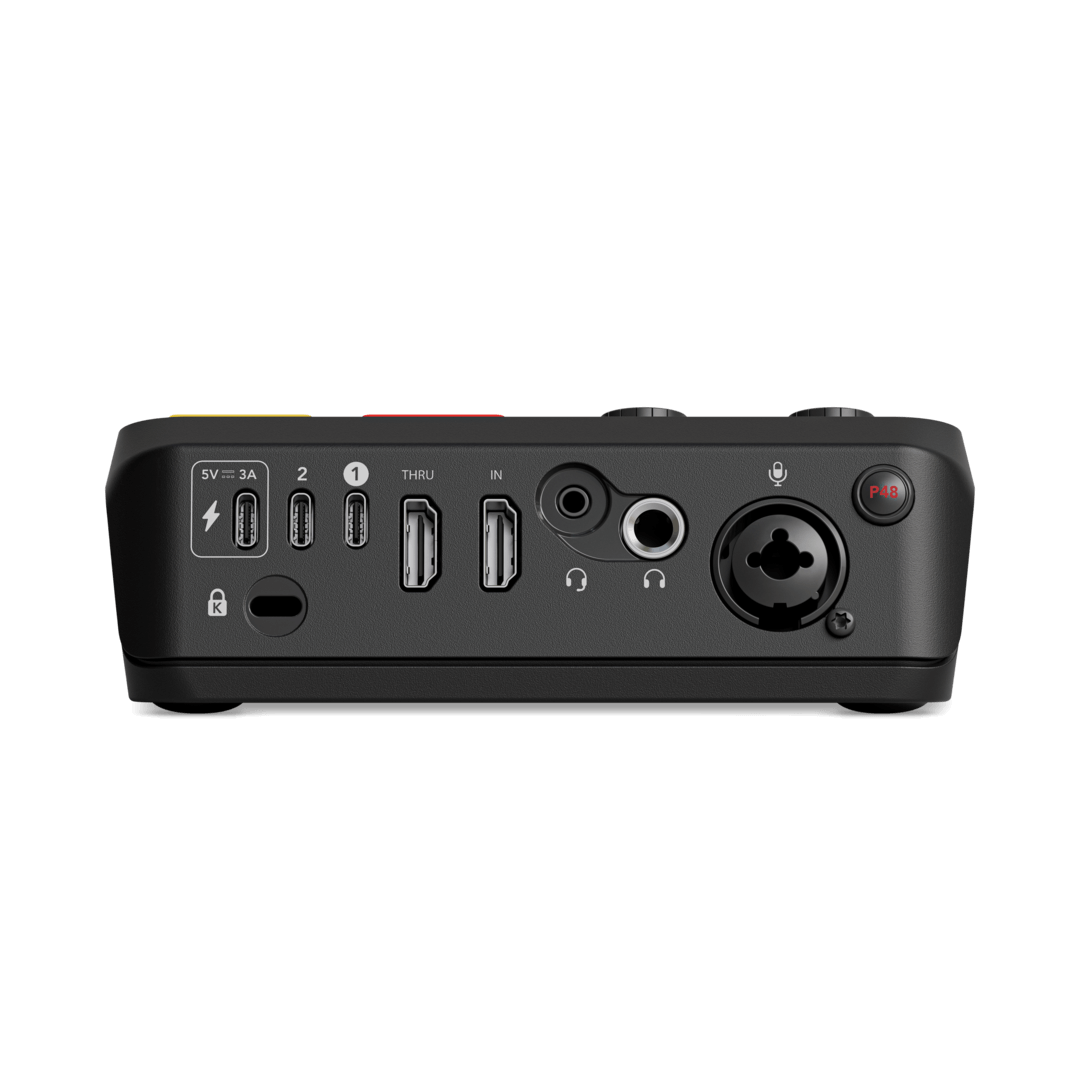
Streamer X inputs and outputs

Configuring with RØDE Central

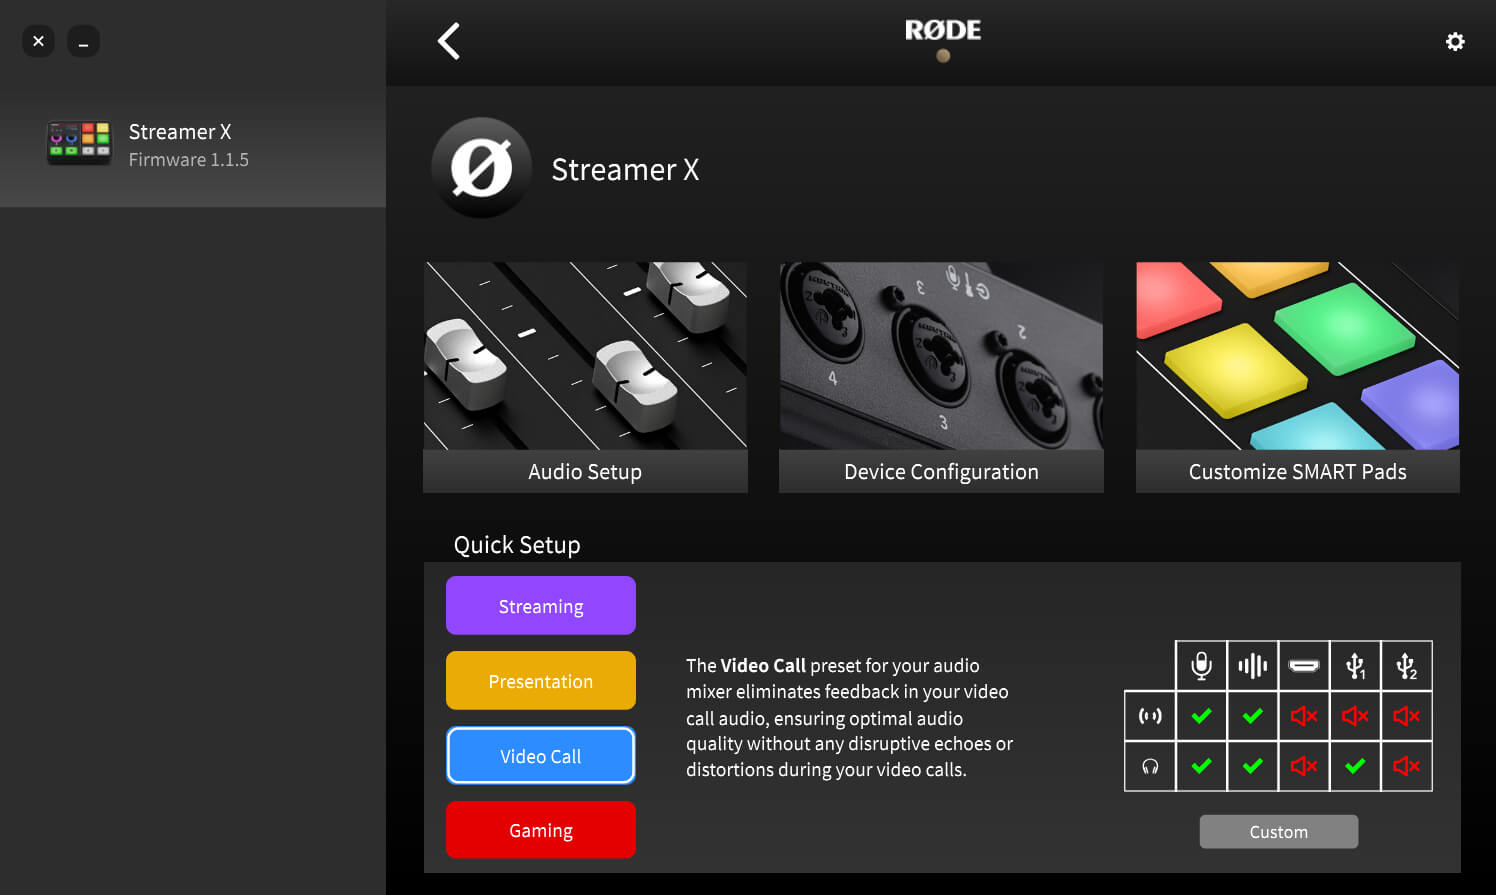
You can set up your Streamer X exactly the way you need it using our simple-to-use RØDE Central control software. This allows you to configure powerful effects and processing for your input audio, fine control over your headphone and stream mix levels and customise the SMART pads.

RØDE Central interface with Streamer X connected

Learn More About Using Your Streamer X

Check out the user guide for more information on how to set up and connect your microphone, headphones and video device, how to configure your Streamer X using RØDE Central, and how to use it to master your livestream.


User Guide

Advanced Mixing, Routing and Streaming with UNIFY

UNIFY is an incredibly powerful virtual mixing software for streaming that gives you advanced control over your audio, including giving you access to six virtual audio devices on your computer that you can use to manage audio from apps such as Discord, Spotify, Zoom, Teams, YouTube and more, as well as creating different sub-mixes for headphones, recording, streaming and communications. Combined with the Streamer X, it’s the ultimate solution for advanced streaming applications.

Check out the UNIFY section of the Streamer X user guide for more information.

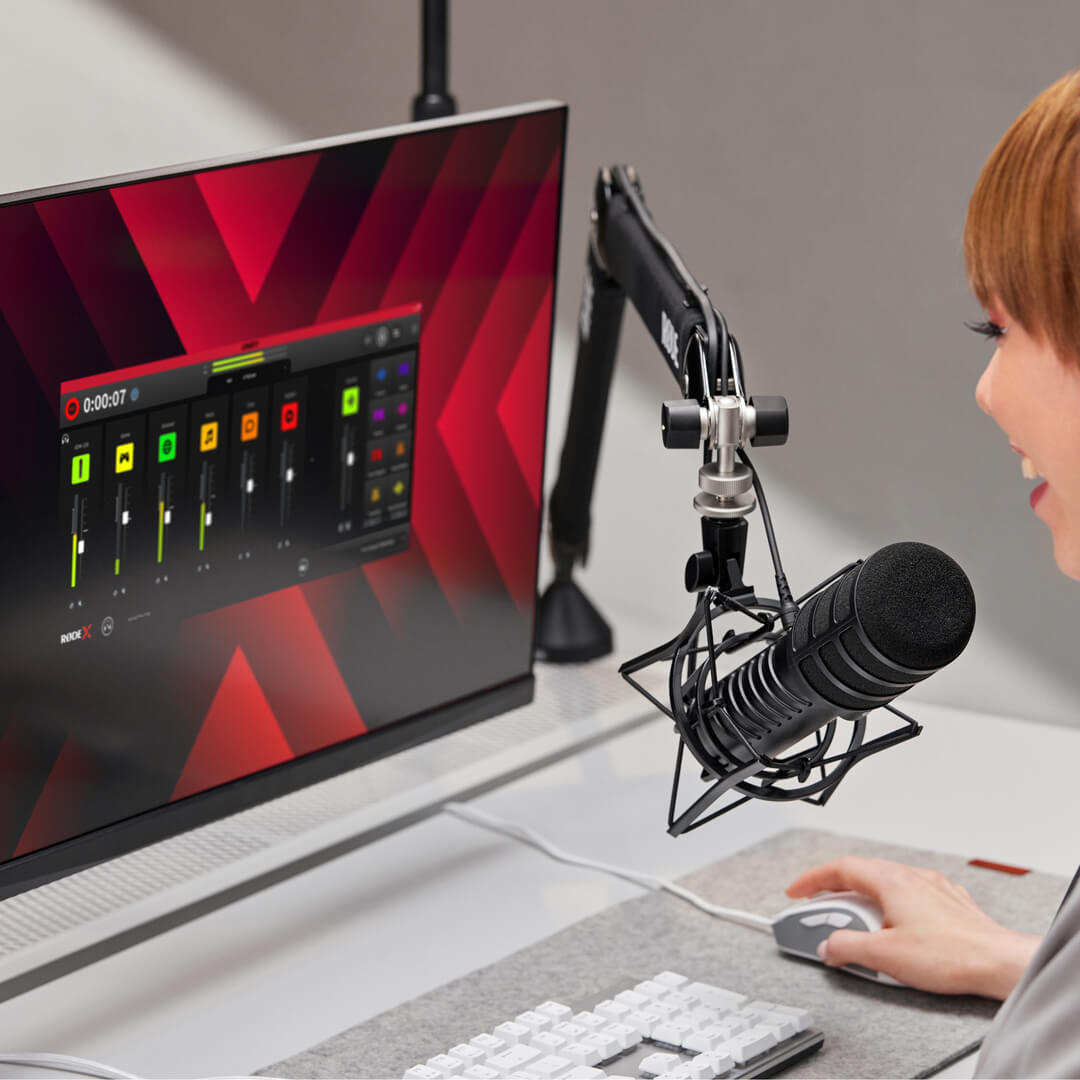
Desk setup with Streamer X and UNIFY

Note

You do not need UNIFY to use the Streamer X. We recommend downloading RØDE Central to configure your device and access its features. For most users, RØDE Central will give you more than enough control over your device – UNIFY is for more advanced streaming applications.

Getting Connected

To get started with your XCM-50, simply connect the included USB-C cable to both the microphone and your computer, and then connect your headphones to the microphone. You can use the XCM-50's knob to adjust the level of your voice that you will hear in your headphones, and press it in to enable or disable monitoring.

Now, your XCM-50 will show up as an audio input and output device on computer and within your software. For more information, check out the XCM-50 user guide.

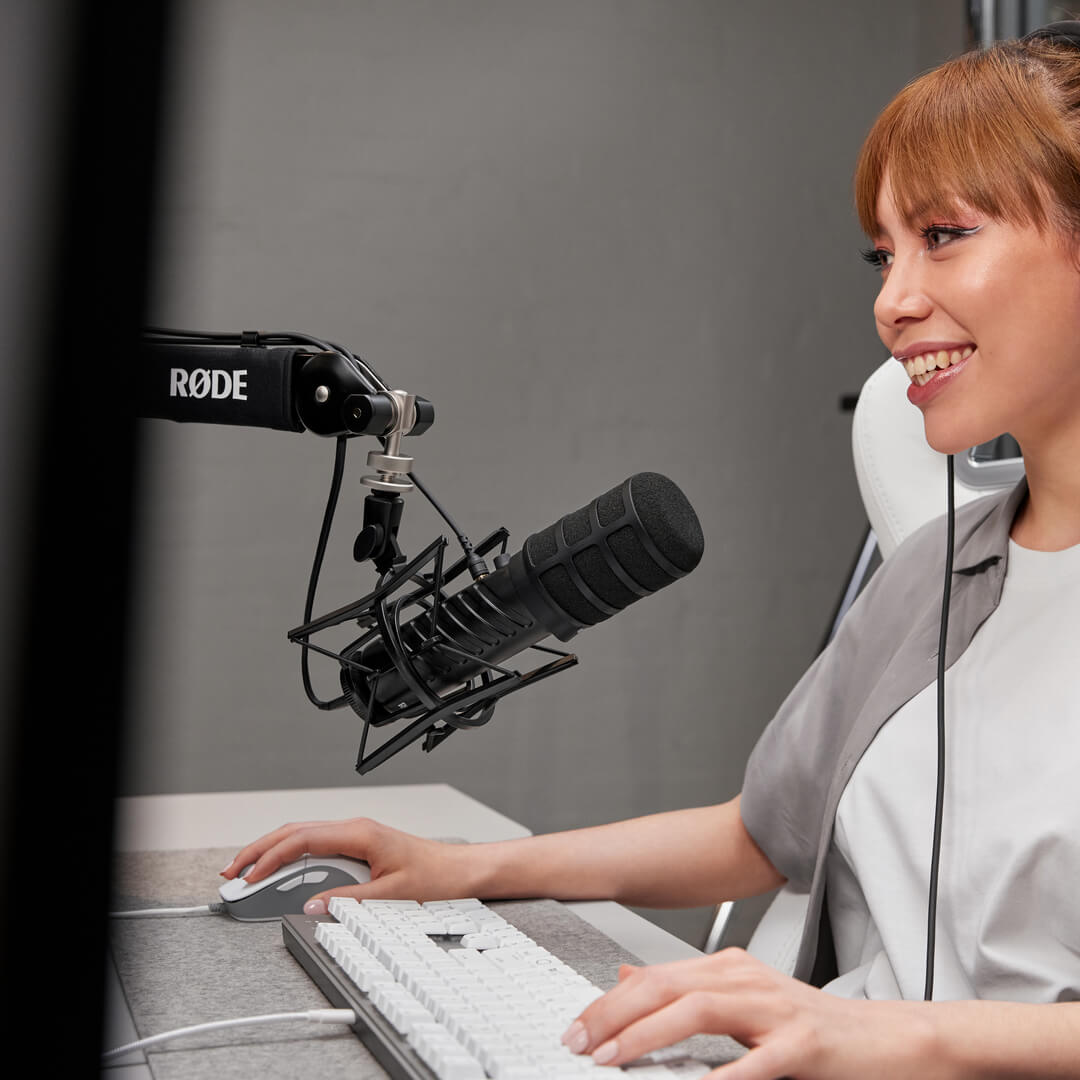
Gamer using XCM-50

Advanced Streaming with UNIFY

UNIFY is an incredibly powerful virtual mixing software for streaming that gives you advanced control over your audio, including giving you access to six virtual audio devices on your computer that you can use to manage audio from apps such as Discord, Spotify, Zoom, Teams, YouTube and more, as well as creating different sub-mixes for headphones, recording, streaming and communications.

You can use UNIFY to enable and adjust the XCM-50's powerful on-board processing, giving you granular control over a high-pass filter, noise gate, compressor and the legendary APHEX® Aural Exciter™ and Big Bottom™ processors.

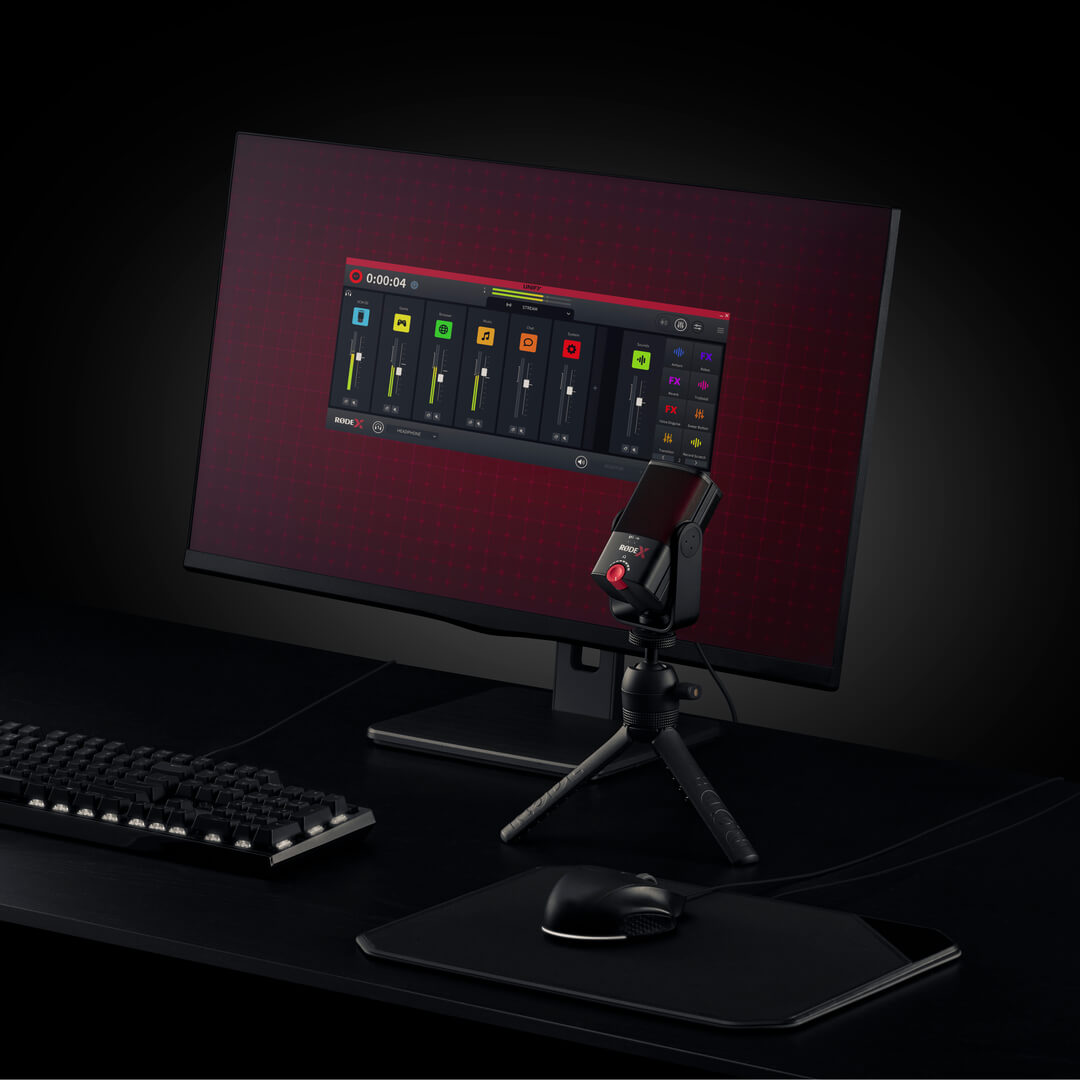
Desk setup with XCM-50 and UNIFY

Getting Connected

To get started with your XDM-100, simply connect the included USB-C cable to both the microphone and your computer, and then connect your headphones to the microphone. You can use the XDM-100's knob to adjust the level of your voice that you will hear in your headphones, and press it in to enable or disable monitoring.

Now, your XDM-100 will show up as an audio input and output device on computer and within your software. For more information, check out the XDM-100 user guide.

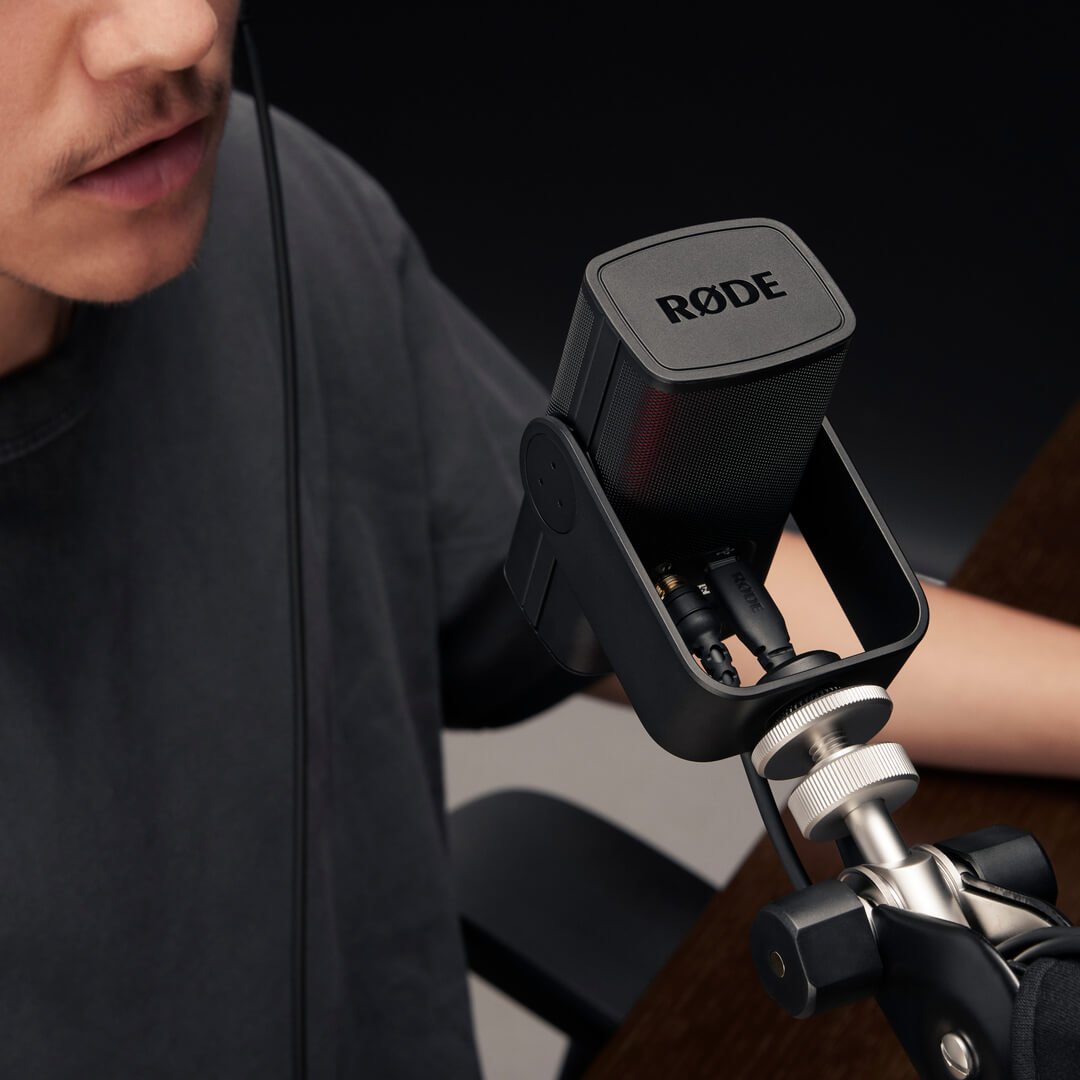
Streamer using XDM-100

Advanced Streaming with UNIFY

UNIFY is an incredibly powerful virtual mixing software for streaming that gives you advanced control over your audio, including giving you access to six virtual audio devices on your computer that you can use to manage audio from apps such as Discord, Spotify, Zoom, Teams, YouTube and more, as well as creating different sub-mixes for headphones, recording, streaming and communications.

You can use UNIFY to enable and adjust the XDM-100's powerful on-board processing, giving you granular control over a high-pass filter, noise gate, compressor and the legendary APHEX® Aural Exciter™ and Big Bottom™ processors.

Streamer using XDM-100 and UNIFY