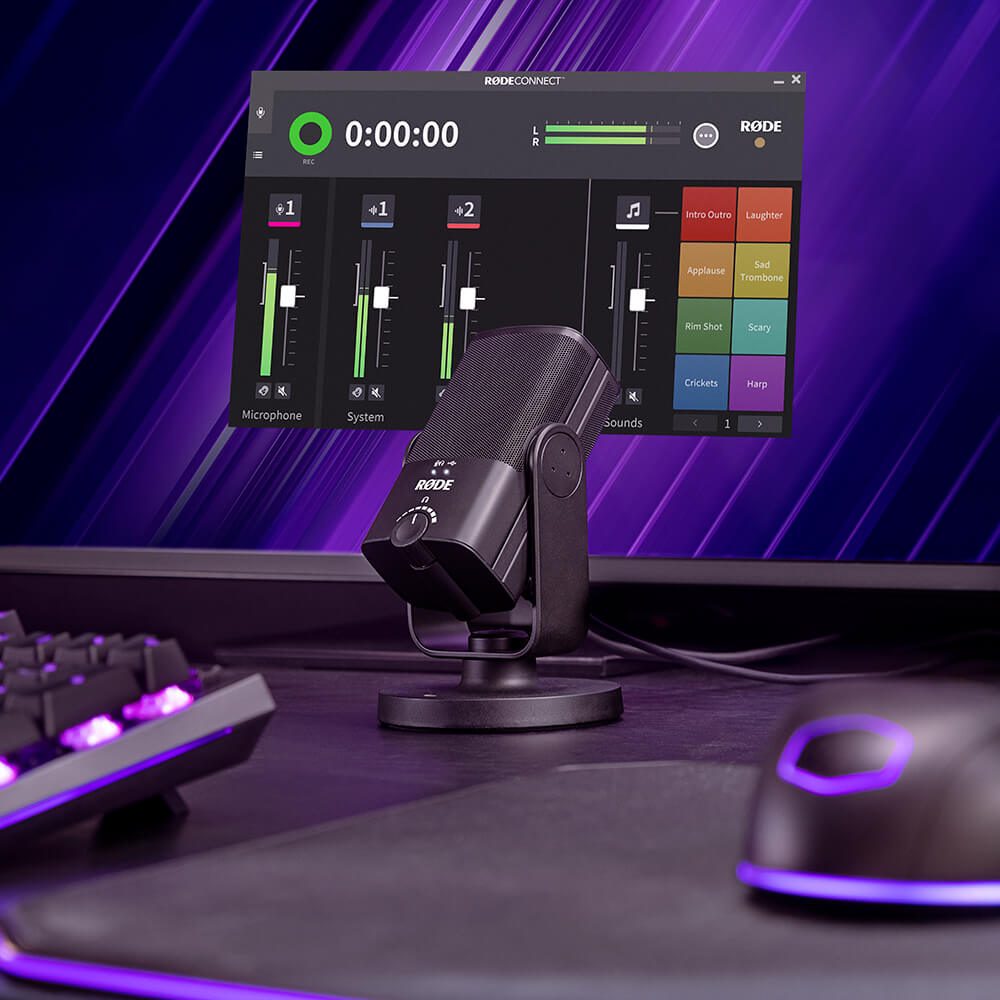
NT-USB Mini
The NT-USB Mini brings the pristine sound quality of RØDE’s world-class studio mics to a compact, easy-to-use USB microphone. Designed to deliver crystal-clear, professional-quality audio direct to a computer or tablet, it’s the perfect microphone for gamers, podcasters, musicians, streamers, and content creators who want to be heard in full definition.
Discover everything you need to know about using your NT-USB Mini here.
Features
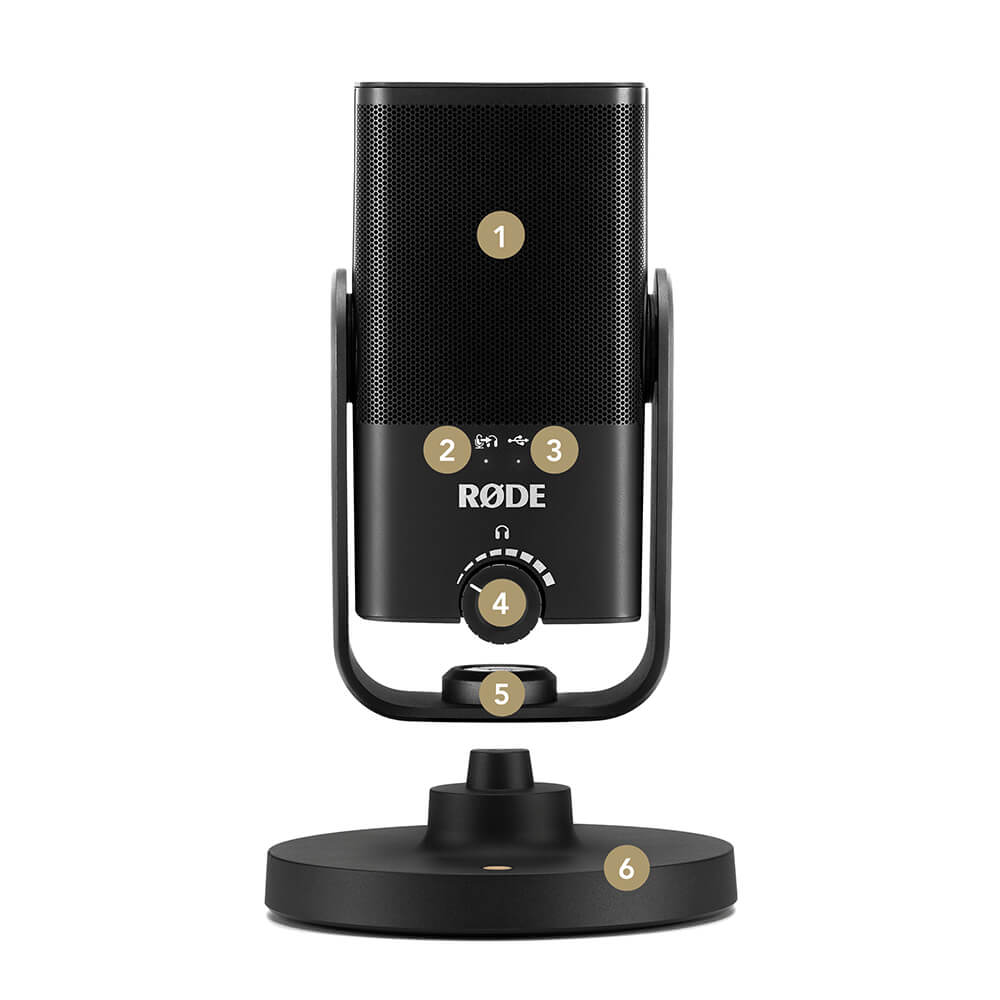
Front
1
High-quality Condenser Capsule
2
Zero-latency Indicator LED
3USB Power Indicator LED
4 Headphone Level Control
5
Thread Attachment for Mic Stands and Studio Arms
6
Detachable Magnetic Desk Stand
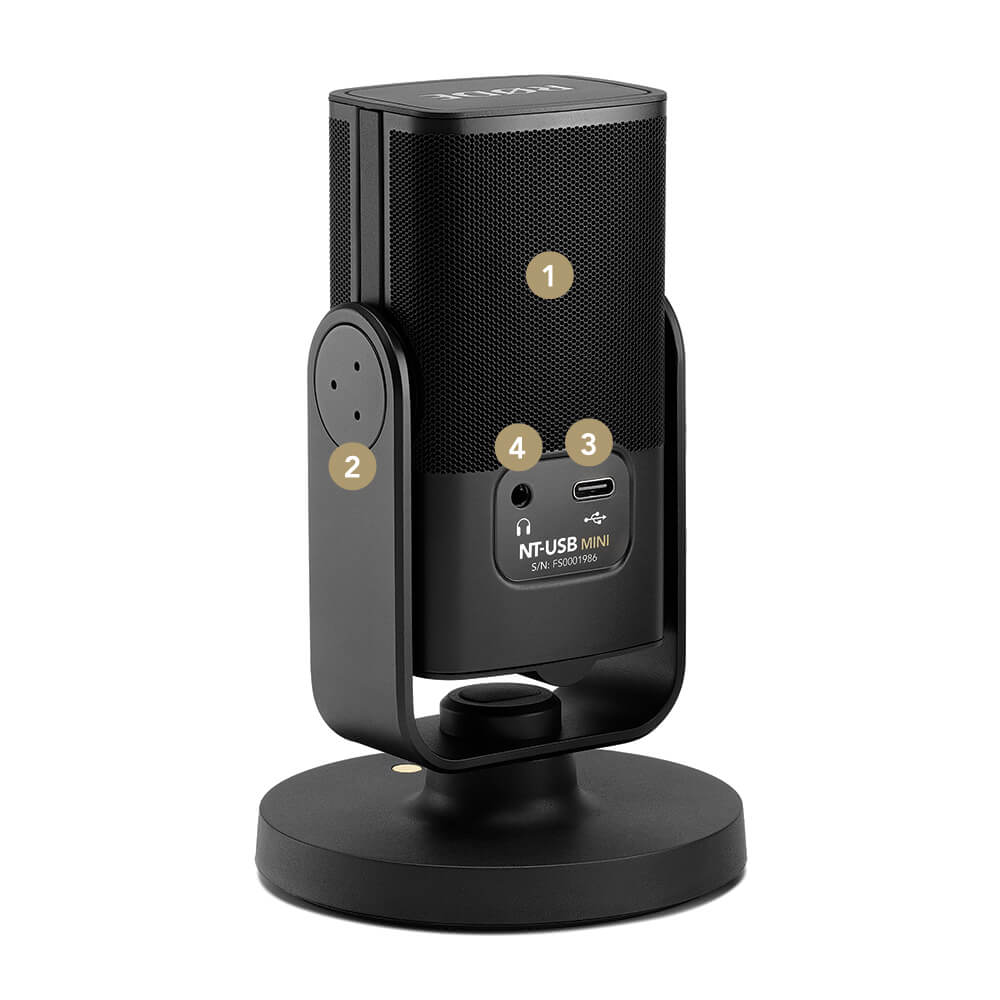
Rear
1 In-built Pop Filter
2 360-degree Swing Mount
3 USB-C Connector
4 Headphone Output
Connecting the NT-USB Mini to Your Computer
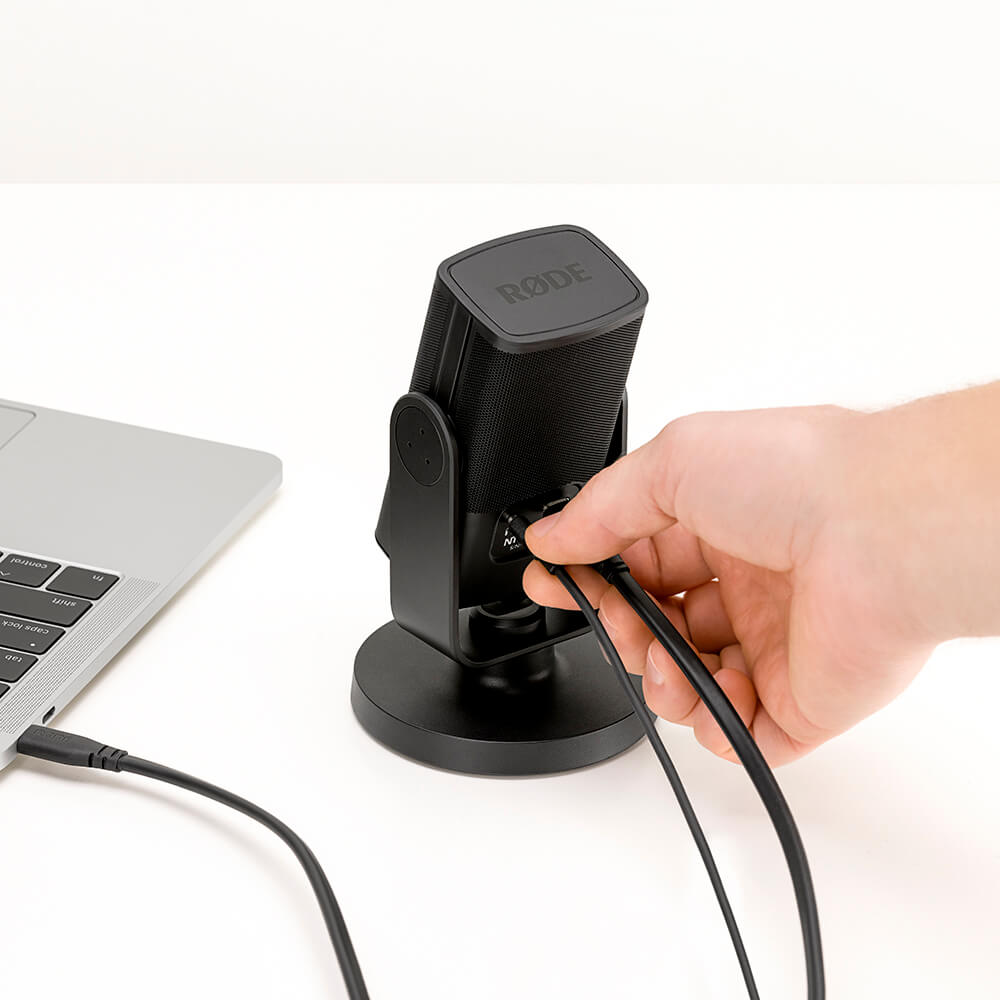
The NT-USB Mini features a USB-C output on the back of the unit. Use the supplied USB-C to USB-A cable to connect the NT-USB Mini to your computer.
The NT-USB Mini utilises a class-compliant USB-C connector, which means it will work with any PC or Mac that supports class-compliant audio. Some Android devices also support this standard.
If you are using a device that has a USB-C input, instead use the SC17 USB-C to USB-C cable. This will also work with the iPad Pro, which features a USB-C input.
If you are using an iOS device with a Lightning port, will need to use an Apple Lightning to USB Camera Adaptor in order for the NT-USB Mini to function properly.
Once the NT-USB Mini is plugged into a device, the right LED on the front will illuminate, indicating a connection has been established. No drivers or software are required to run the NT-USB Mini – simply plug it in, connect your headphones and start recording!

Note
If you use a Lightning adaptor, a warning may appear saying that the mic draws too much power. If this is the case, simply plug the Lighting port of the adapter into a USB power supply.
Pro Tip
The NT-USB Mini’s studio-quality 24-bit, 48KHz A/D conversion ensures extremely low distortion and very high dynamic range.
Setting Up Your NT-USB Mini
Before you start recording with your NT-USB Mini, you will first need to select it as your audio input and output source. This is accessed via the system settings on your computer or mobile device.
For a Mac, this is in ‘System Preferences’ > ‘Sound’ > ‘Input’ and ‘Output’; for a PC, this is in ‘Sound Settings’ (right-click the speaker icon in your toolbar); and for a mobile device, this will usually be controlled via the app you are using to record with.
After doing this once, your device should automatically detect the NT-USB Mini when it is connected in the future.
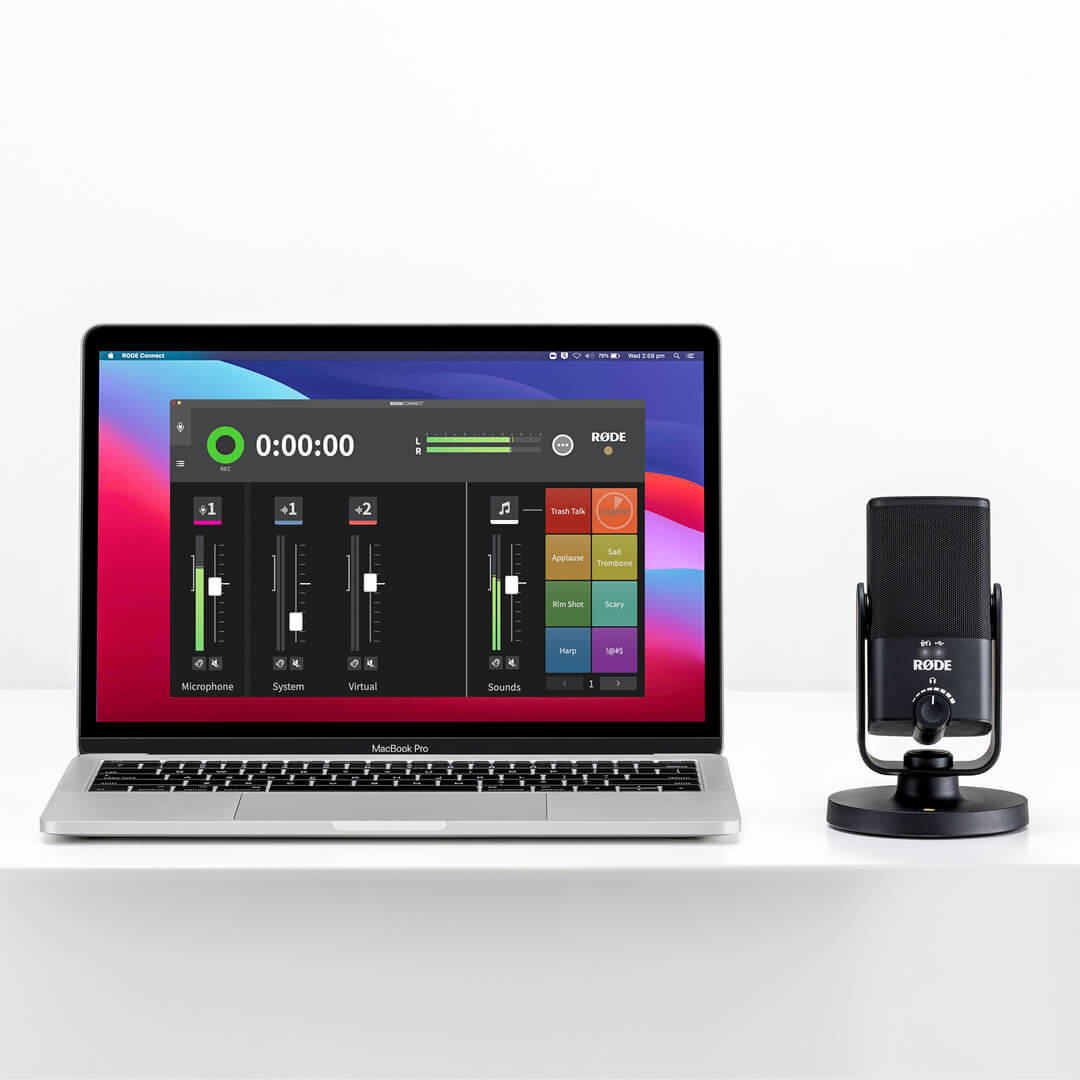
To get even more out of recording your NT-USB Mini, try using RØDE Connect. This simple and powerful software solution is ideal for podcasting and streaming with the NT-USB Mini, but can be used for a wide variety of applications. Check out the section on RØDE Connect below for more information.
Connecting Headphones
On the back of the NT-USB Mini is a headphone output, which allows you to listen to your microphone and device audio directly from the microphone. This is a standard 3.5mm TRS connection.
The knob on the front of the NT-USB Mini is the headphone output level control. The NT-USB Mini features a studio-grade headphone amplifier that gives you a wide output range and is capable of driving high-impedance headphones.
Zero-latency Monitoring Mode
The NT-USB Mini features a zero-latency monitoring mode, which sends the microphone audio directly to the connected headphones, bypassing any computer processing. This will ensure you don’t hear any distracting delay or echo (‘latency’) that can occur when then audio is being sent to the computer and back to the microphone.
To access this, click the headphone level control. When activated, the zero-latency indicator LED on the front of the mic will illuminate and you will immediately hear the microphone audio in your headphones. Click it again to deactivate.
Pro Tip
We recommend you turn the volume up to maximum on your computer or mobile device when using the NT-USB Mini, then use the NT-USB Mini to adjust your headphone levels. This will ensure you have control over the full output range.
Mounting Your NT-USB Mini
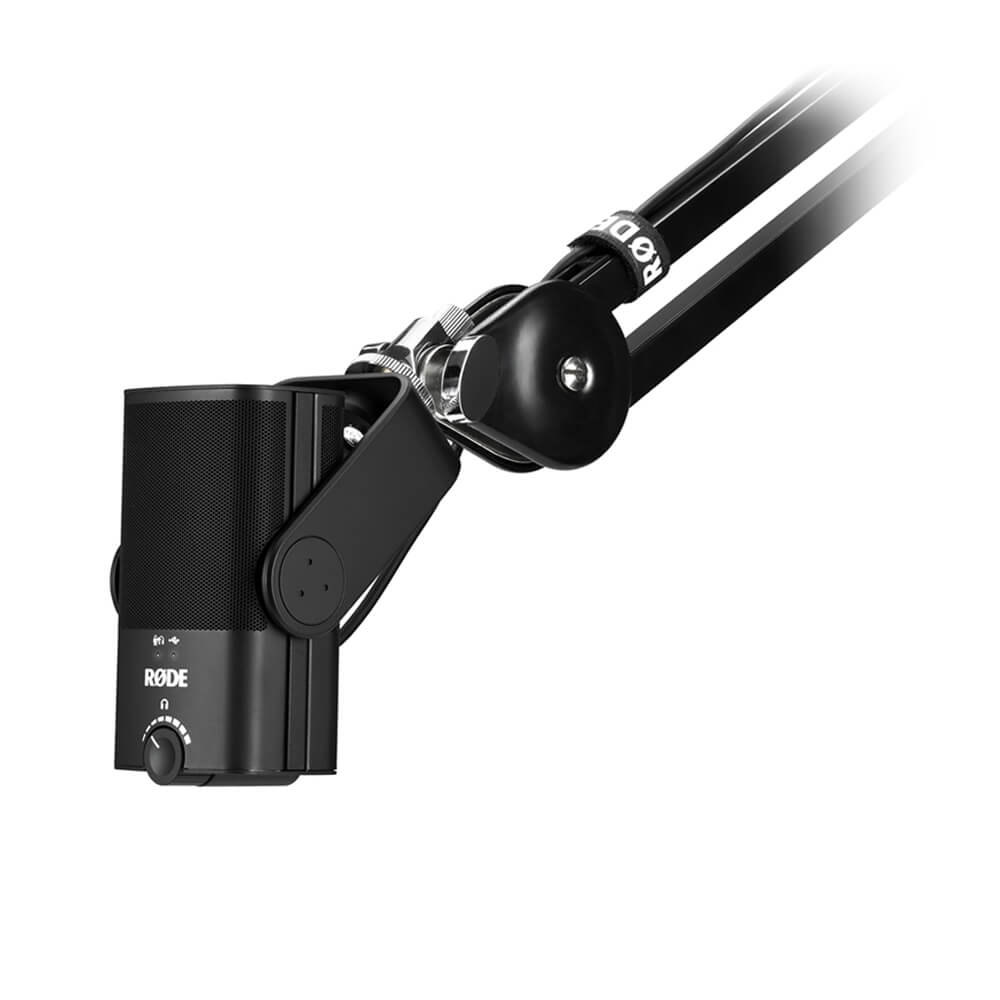
The NT-USB Mini features a unique magnetic stand for mounting the microphone on a desktop. This is quick and easy to remove if you want to place the microphone on a mic stand or studio boom arm, such as the DS1 or PSA1.
To place on another mount, simply pull the mic off the base, pop out the rubber plug (be sure to store it somewhere safe!), and screw the microphone onto the thread of the mount.
The integrated swing mount features a standard ⅝-inch thread, but the NT-USB Mini also comes with a 3/8-inch adaptor if required. It can revolve a full 360-degrees, allowing the mic to be placed in any position you need to get the best recording possible.
Pro Tip
When recording for voice applications, the best position for your microphone is less than six inches from your mouth. The easiest way to get your NT-USB Mini closer is by using a compatible desk stand or studio arm like the PSA1 or DS1.
RØDE Connect and the NT-USB Mini
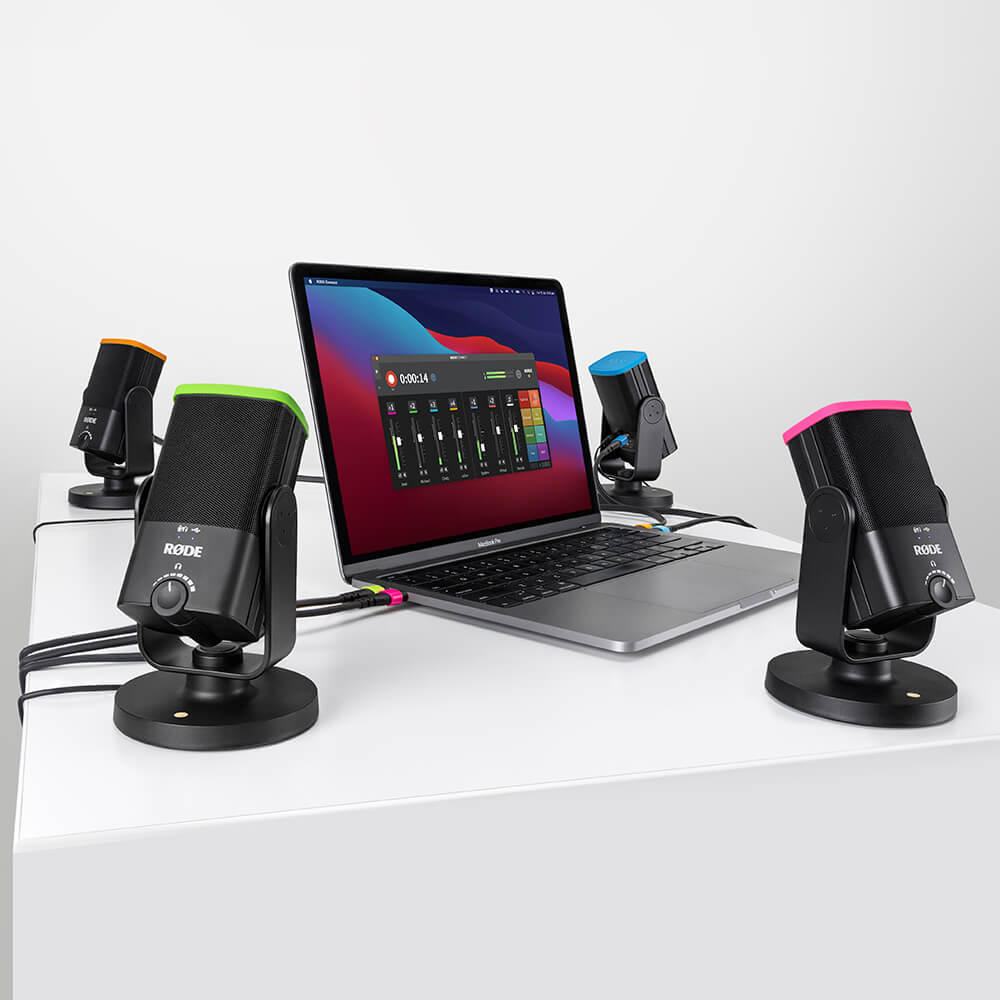
RØDE Connect is a simple and powerful software solution for podcasting and streaming with the NT-USB Mini. Capable of connecting up to four NT-USB Minis to a single computer, RØDE Connect is the easiest way to create professional sounding podcasts. It’s also incredibly useful for streamers, with dedicated outputs for connecting to streaming software like OBS or XSplit.
RØDE Connect also unlocks access to the NT-USB Mini’s in-built compressor, noise gate and legendary APHEX Aural Exciter and Big Bottom processors. Activated with a single click, each processor is precisely optimised for the NT-USB Mini and will deliver an extra level of professional shine to your recordings.
Streaming with the NT-USB Mini and RØDE Connect
Together with the NT-USB Mini, RØDE Connect is a powerful solution for streamers and gamers who want to simply their audio setup. Offering streamlined control over microphone audio and external applications, plus dedicated output controls for streaming apps like OBS or Xsplit, setting up livestream audio has never been easier.
