Getting Started
So, you’ve just picked up a new RØDECaster Pro. Congratulations! You’ve already taken the first step to professional podcasting! This guide will get you started in just six easy steps.
First, let’s check out what you’ll need.
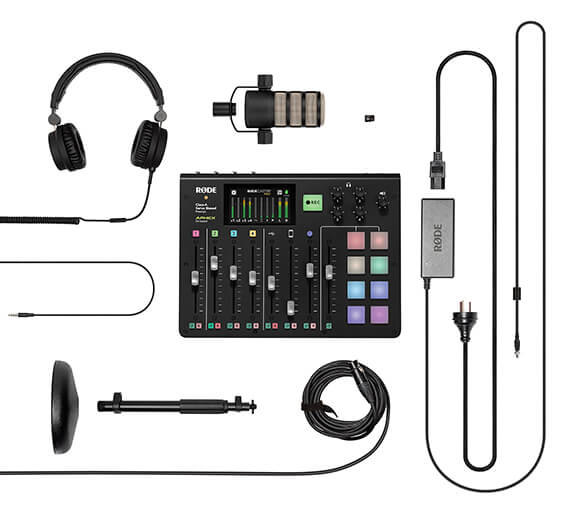
Your new RØDECaster Pro will come with most of the things that you’ll need to make a podcast but we recommend getting the following items before diving in: a good quality microphone, a mic stand, an XLR cable, a pair of headphones and a microSD card. Now, onto the first step!
1. Plug Everything In
First, plug the included power cable into a power outlet, then insert the connector from the power adaptor into the back of the RØDECaster Pro and secure it using the locking mechanism to avoid accidentally unplugging it.
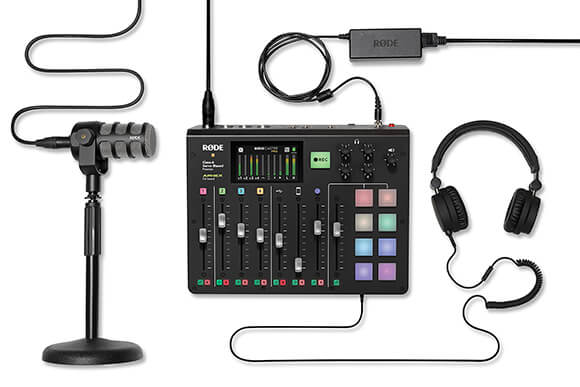
Next, insert your microSD card into the slot on the back of the RØDECaster Pro and plug your headphones into the 3.5mm input on the front of the unit.
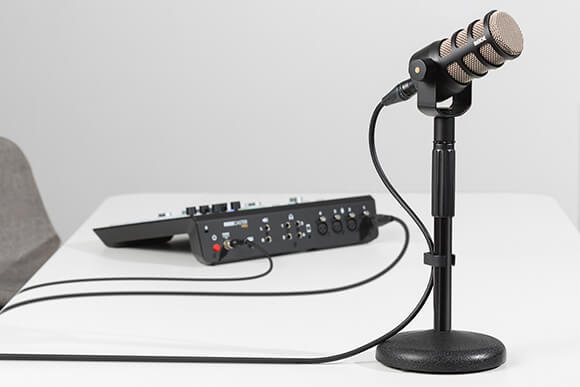
Secure your microphone onto your mic stand and plug in your XLR cable, then plug the other end of the XLR into the input marked ‘1’ on the back of the unit. This is for Channel 1 on the RØDECaster Pro.
2. Switch on Your Power
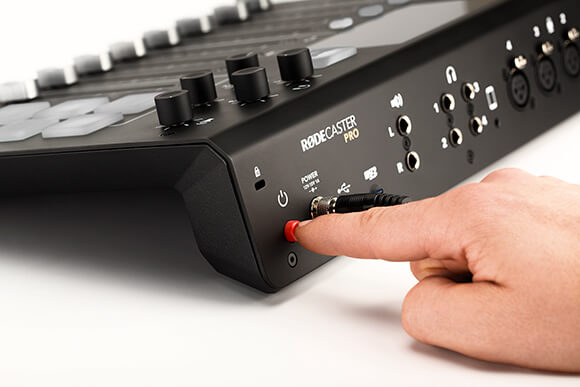
Switch on the power outlet at the wall, then press the red power button on the back of your RØDECaster Pro to power it up.
3. Turn up the Faders
Push up the fader for Channel 1 to the fifth line from the top. This is called ‘unity gain’ and is a good place to start. Turn up the headphone knob for Channel 1 to about halfway.
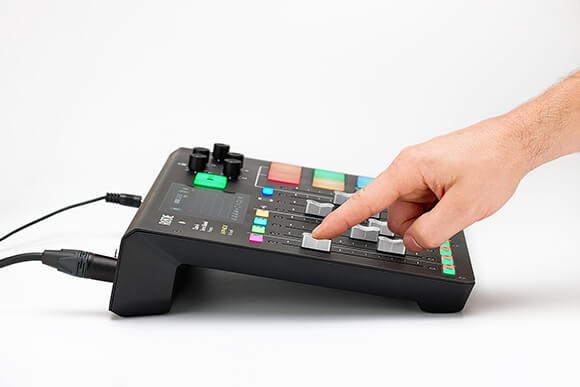
4. Select Your Mic Type
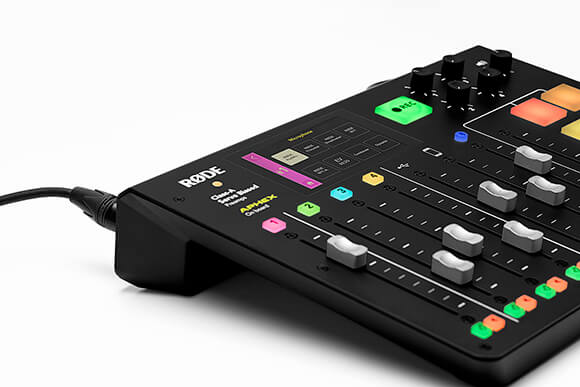
Press the pink button marked ‘1’ to get to the main settings screen for Channel 1. Using the touchscreen, select ‘Microphone’ from these options and select the RØDE microphone you are using. If your mic doesn’t appear in this list, select either 'Dynamic' or 'Condenser'. If you’re unsure what type of mic you’re using, contact us at /rode.com/support/contact.
5. Adjust Your Gain
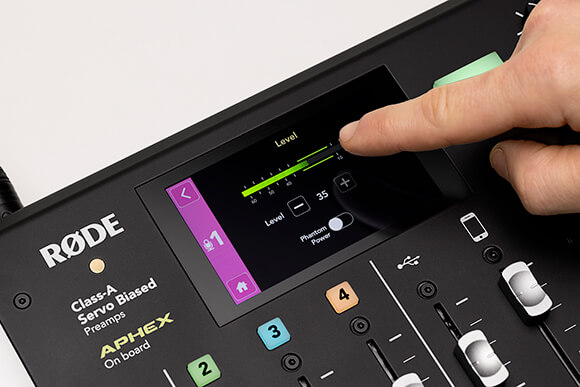
From here, press the back button in the top left of the screen to get back to the main settings screen for Channel 1 and select ‘Level’. If you are using a condenser microphone, this is where you can switch on phantom power. While speaking into the microphone at a natural level (not whispering or yelling), adjust your gain up or down until your level is hovering around the area with two green bars on the level meter. Now you’re ready to record! Hit the ‘Home’ button to return to the main screen.
6. Start Recording
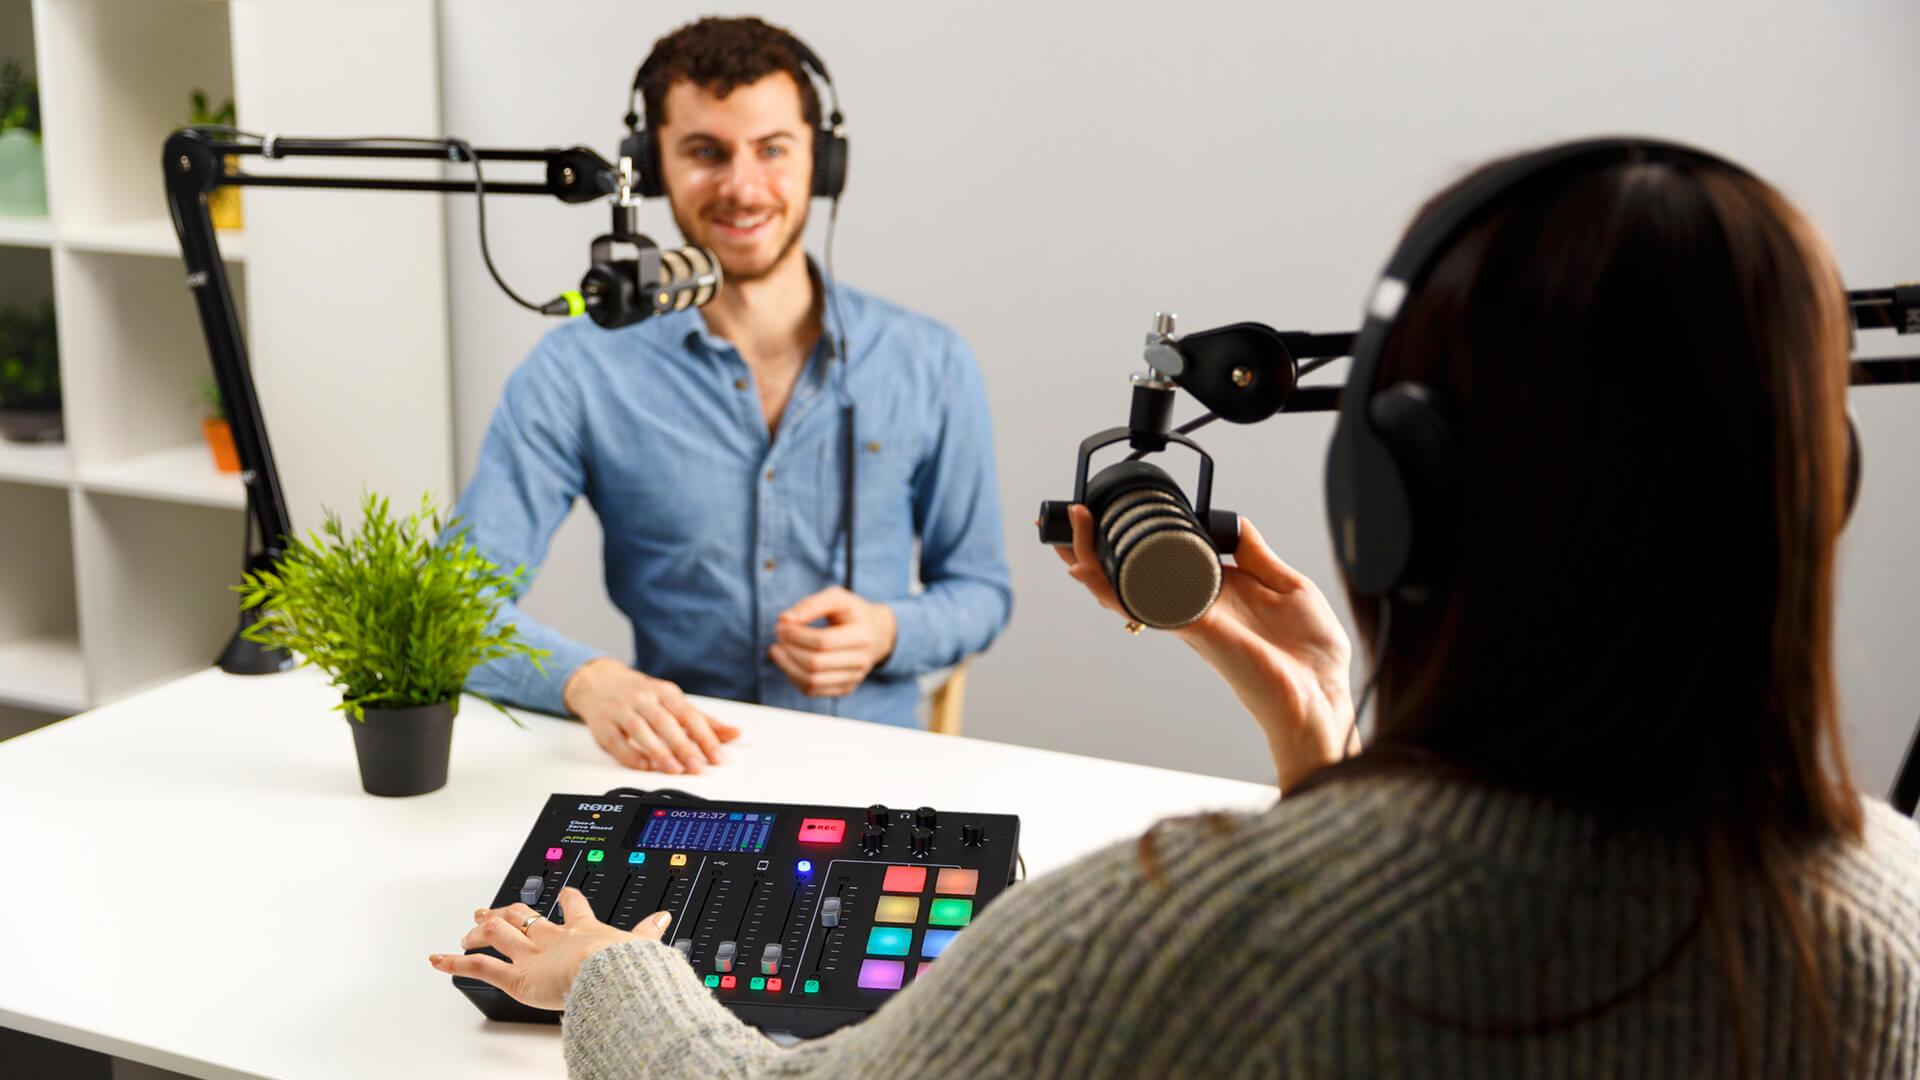
Repeat steps 3-5 for any guests you might have and press the large 'REC' button to start recording. You should see a timer begin to count, indicating you are recording. To stop recording when you’re finished, press the 'REC’ button again. You have just recorded a podcast!
Pro Tip
To change languages, navigate to settings > Advanced > Information and press the 'Change' button next to 'Select Language'. The language can also be changed from the RØDECaster Pro Companion App by going to File > Restart to Change Language.