How To Record Two Microphones Into Your Camera Module
Have you ever found yourself in a situation while shooting in the field where you’ve needed to record two separate sources of audio clearly and discretely? Maybe you’ve been filming a two-person interview, or maybe you’ve been interviewing a subject for a documentary and you’ve wanted to record your questions as well as their answers.
If you record your audio directly into a camera, then you’ve likely hit a roadblock in this scenario – most DSLRs only have one microphone input. However, there’s a really simple workaround for recording two microphones into a single camera that's super affordable and dead-easy to set up. Let’s take a look.
Gear You’ll Need
To connect two microphones to a single camera, you’ll need a cable that will combine two audio outputs into a single input. The RØDE SC11 is perfect. This is a high-quality TRS Y-splitter cable for connecting two mono 3.5mm outputs to a single stereo 3.5mm input, like the one on your camera.
The cable combines your two audio signals so they can be recorded by a single device while keeping them separated, meaning when it comes to post-production you can edit and mix them independently. This is essential – more on this later.
Simply plug the two mono ends into your two microphones (the red end will record to the right channel of your camera, the black end will record to the left), then plug the other end into your camera and you’re ready to go.
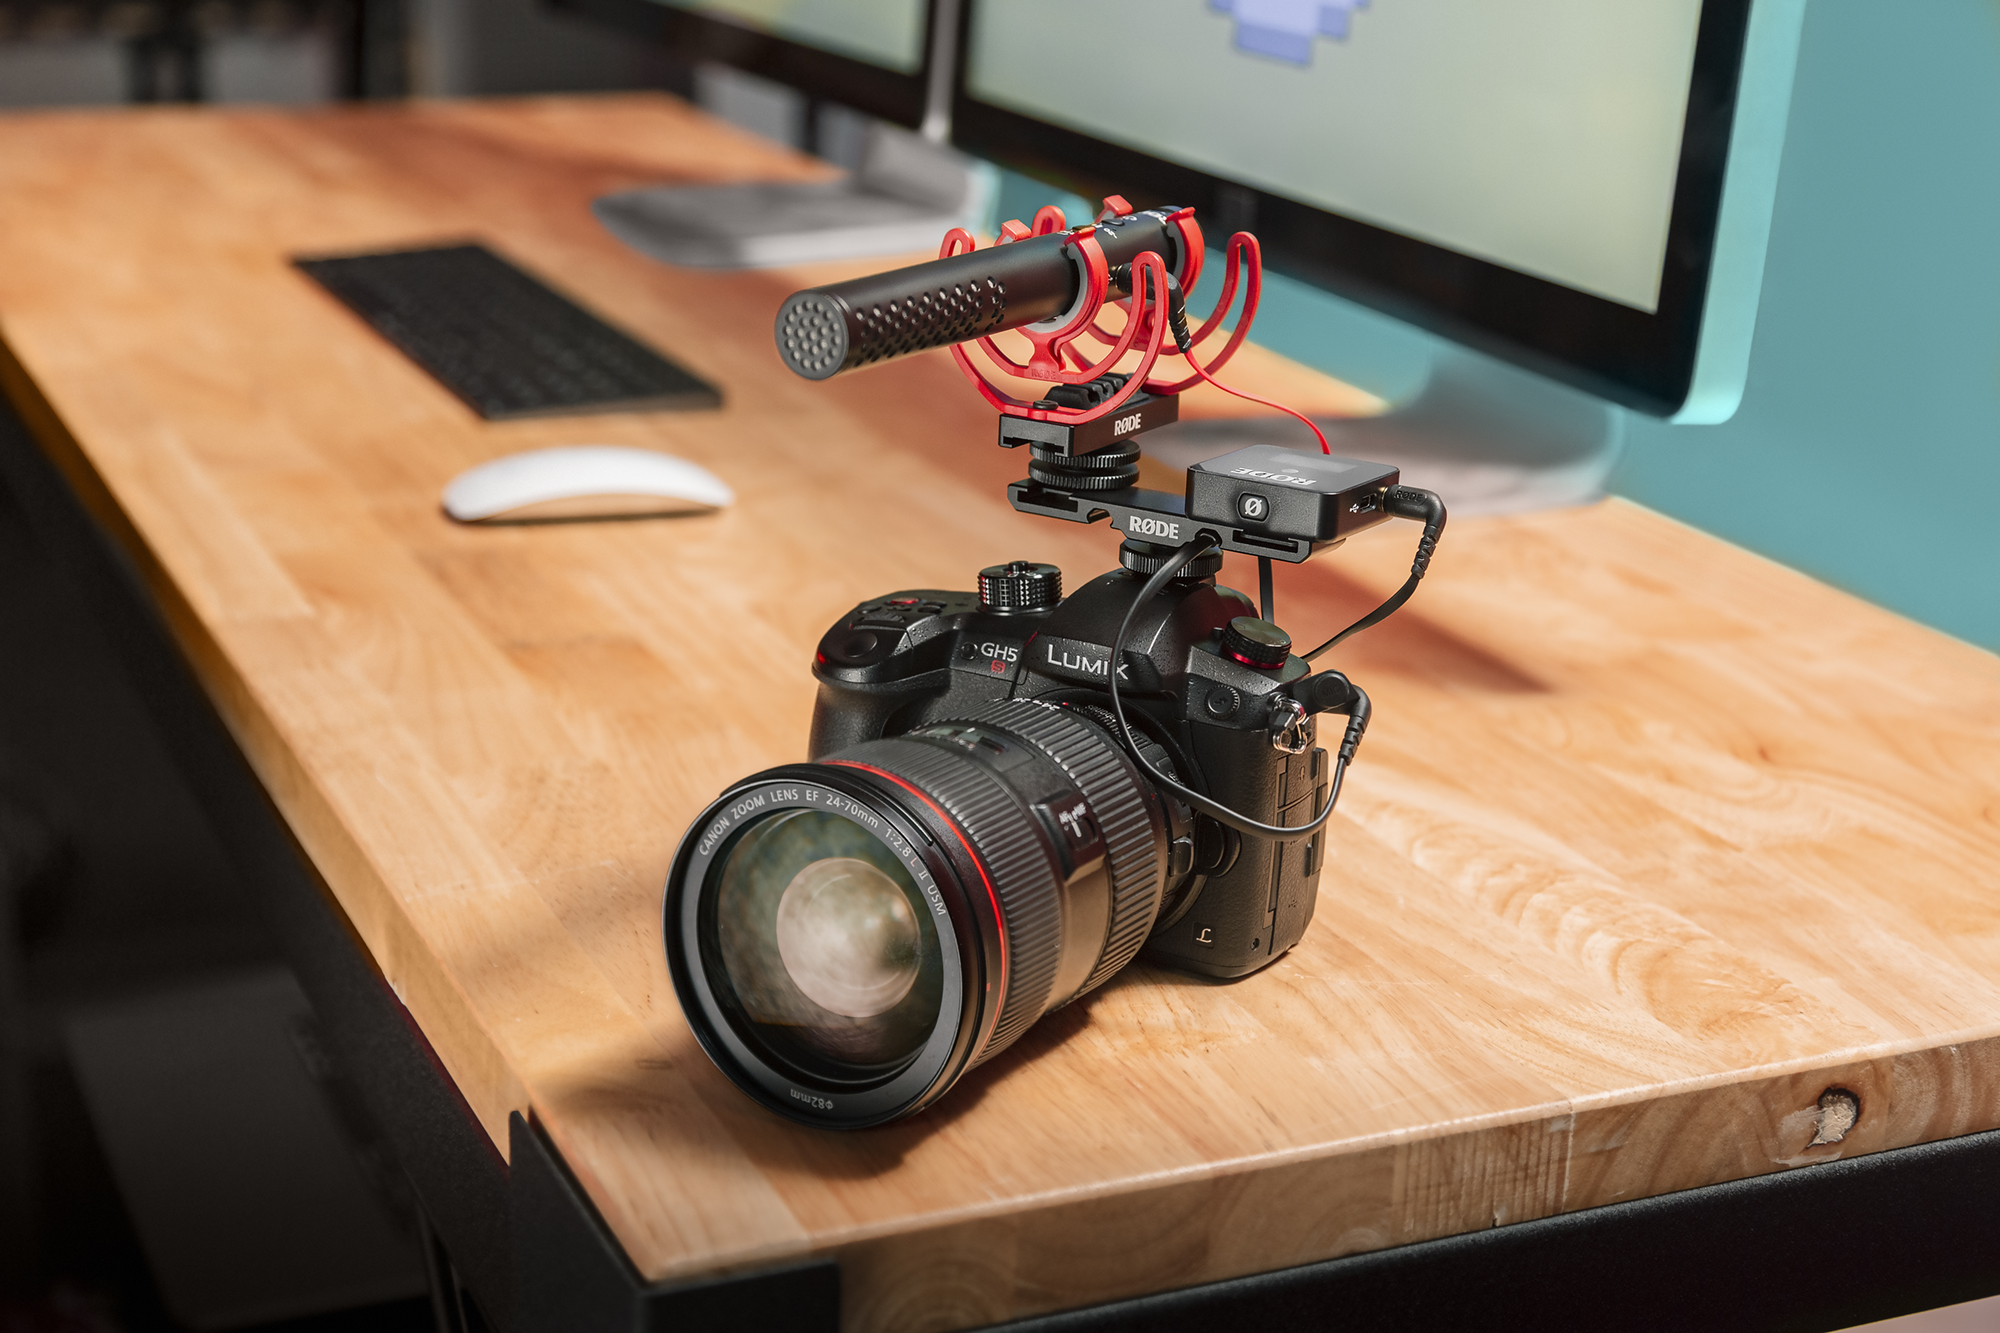
You’ll also need something to mount your mics on to, like the RØDE DCS-1. This is a handy dual cold shoe bar that allows you to attach two mics (or any accessory for that matter) to your camera’s cold shoe.
Together, the SC11 and DCS-1 are the perfect pair for recording dual microphones into a single camera. The DCS-1 even features handy cable management slots that so you can keep your rig neat and streamlined.
That’s it – you’re ready to record.
Different Two Mic Recording Setups and Why You’d Need Them
There are a number of different scenarios where you may need to record two distinct sound sources simultaneously. In fact, we’d highly recommend that you always have a second microphone and the necessary accessories for this kind of setup ready to go in your kit bag – who knows when you might need them? Here are a couple of common scenarios.
Dual Wireless Microphones For Recording Two-Person Interviews or Presentations
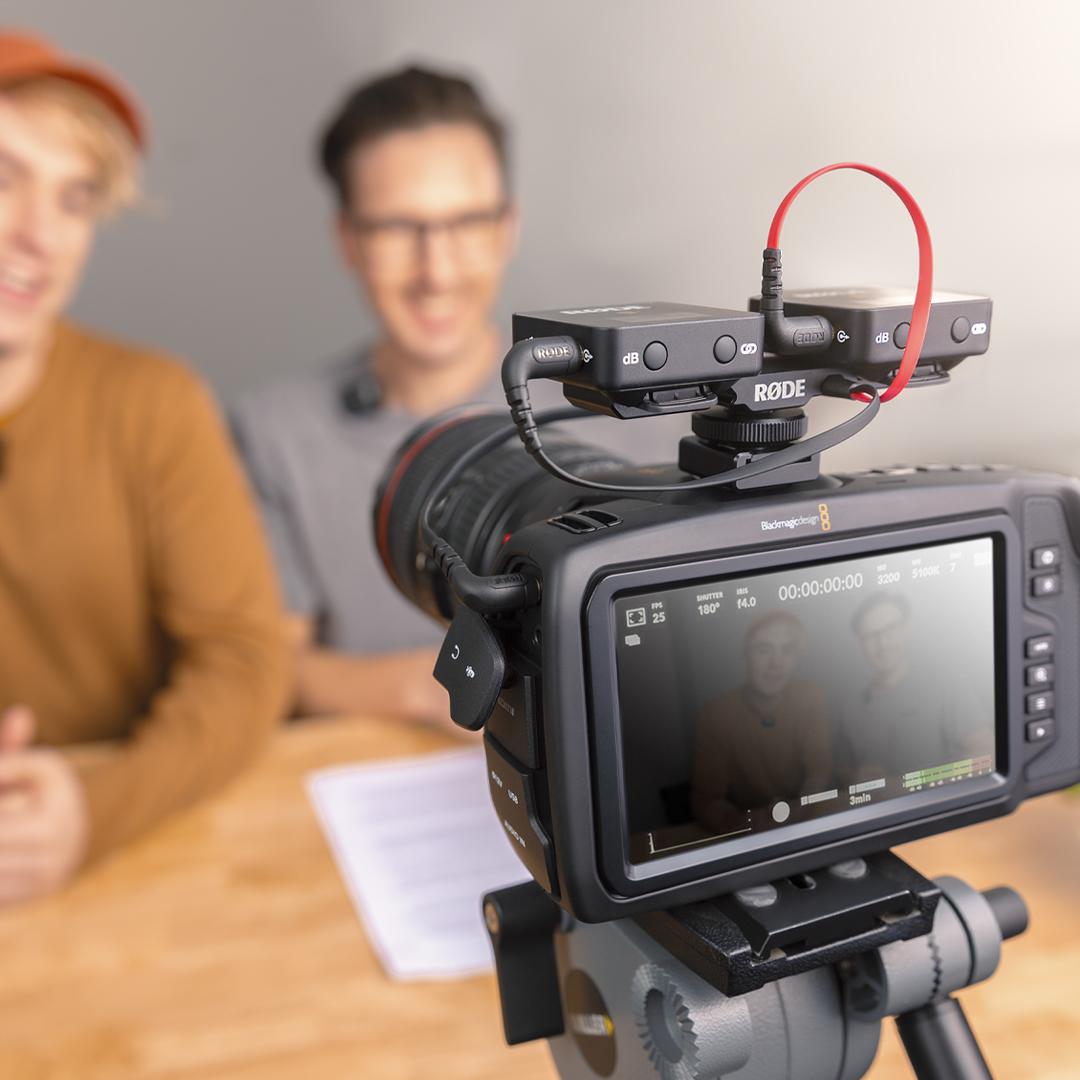
This is probably the most common situation where recording having two mics is essential. When recording a two-person interview or presentation, you’ll want to make sure what each subject is saying is clear and intelligible. Wireless microphones like the Wireless GO are the best solution here, as they allow you to record close to the sound sources while standing further back to get both subjects in the frame.
Using a single on-camera shotgun mic in this scenario will introduce background noise into your recording, particularly if you’re shooting in a crowded or echo-y area, and the end result will suffer. Dual wireless is the way to go.
Suggested setup: 2 x Wireless GO, 1 x DCS-1, 1 x SC11, 2 x Interview GOs (optional), 2 x Lavalier GOs (optional).
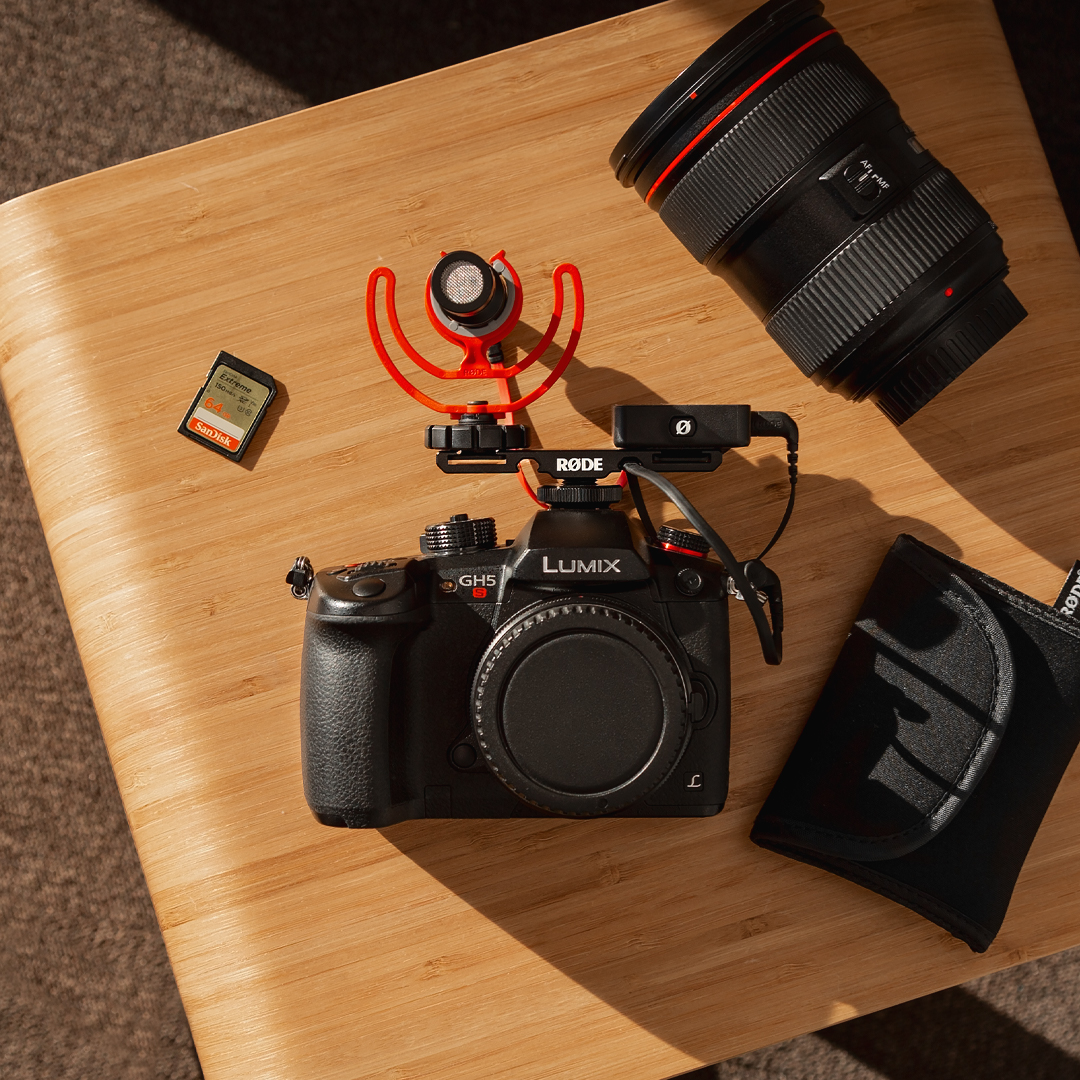
One Wireless Mic and One VideoMic For Vlogging
The go-to setup for many vloggers is one Wireless GO and one VideoMic mounted onto a DSLR. This is useful for two reasons. Firstly, as a foolproof recording setup in case one microphone drops out or the recording doesn’t turn out quite right; for example, due to poor lavalier mic placement.
The second is so you can record yourself clearly behind the camera at all times using the Wireless GO, while the VideoMic captures what the camera is pointed at – whether that’s someone you’re interviewing or the ambience of a scene. Using a compact mic like the VideoMicro will allow you to keep your rig lightweight and stay nimble.
Suggested setup: 1 x Wireless GO, 1 x VideoMicro, 1 x DCS-1, 1 x SC11
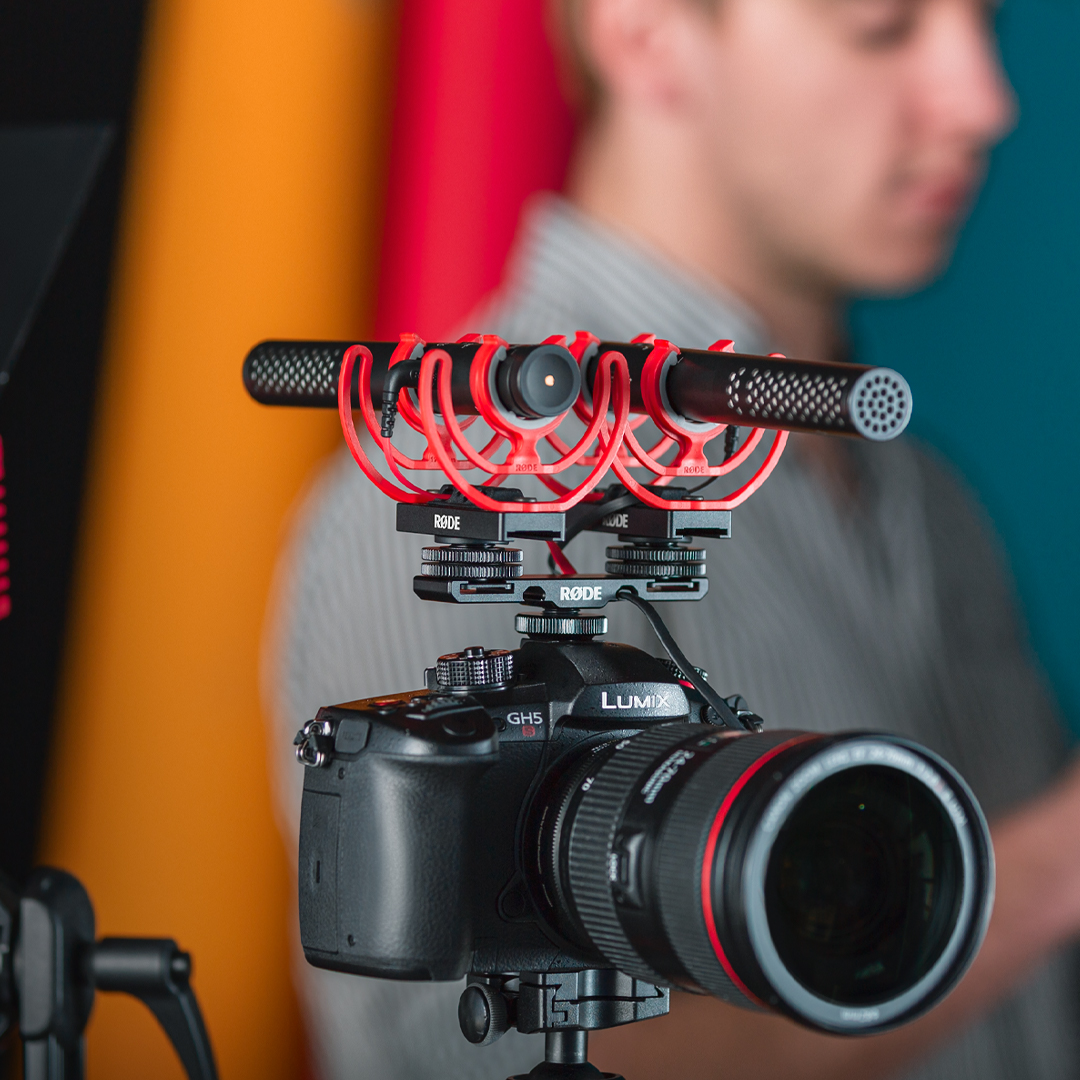
Dual VideoMics For Filmmaking
If you have don't have a wireless mic in your kit bag, you could easily replace it with another VideoMic. The VideoMic NTG is an excellent option for this setup as it has a flexible variable gain control, as well as a -20dB pad, allowing you to precisely balance the levels between the two mics, saving you time in post-production. This will also ensure that your voice – which would be much closer to the mic than other sound sources – doesn't overload your camera's preamp.
Suggested setup: 2 x VideoMic NTG, 1 x DCS-1, 1 x SC11
A Few Notes on Audio Monitoring and Post-Production
As mentioned previously, when recording two mics into a single camera using the SC11, your two audio signals will be combined into a single input while staying separate, recording to the left and right channels of your camera’s stereo microphone input.
The black end of the cable will record to the left channel and the red end will record to the right channel – having this distinction is particularly helpful for monitoring your audio. For example, if you’re recording a two-person interview with a Wireless GO and you notice one channel is louder and close to peaking, you’ll easily be able to identify which mic this is and ask the speaker to lower their voice or turn the gain down on their receiver.
Having the two signals stay on separate channels is also essential when it comes to post-production, as it will allow you to edit and mix the two audio sources independently
For example, if you are using a dual-mic setup to ensure you have a backup of your recording, you can easily slice up audio that is unusable from one microphone and replace it with the clean audio from the second microphone. Or if you're recording a two-person interview and one subject has a softer voice than the other, you can simply boost their track to balance the audio.
How to Import Your Audio
When importing your audio into your editing software, whether that’s a digital audio workstation (DAW) like Logic Pro or video editing software like Premiere Pro, it will load as a stereo file with both channels on the same track. You will need to separate them so you and edit them individually.
To do this in Premiere Pro, you will need to duplicate your audio track by right-clicking it and selecting ‘Duplicate’. Now that you have two identical tracks, you can select which microphone channel you want each track to output.
Right-click your first audio clip and select ‘Audio Channels’. From here you can choose what channel will be used on this particular audio track. Deselect the right channel checkbox on this clip and hit ‘OK’. You should see that this creates a mono track with only one channel of audio on it.
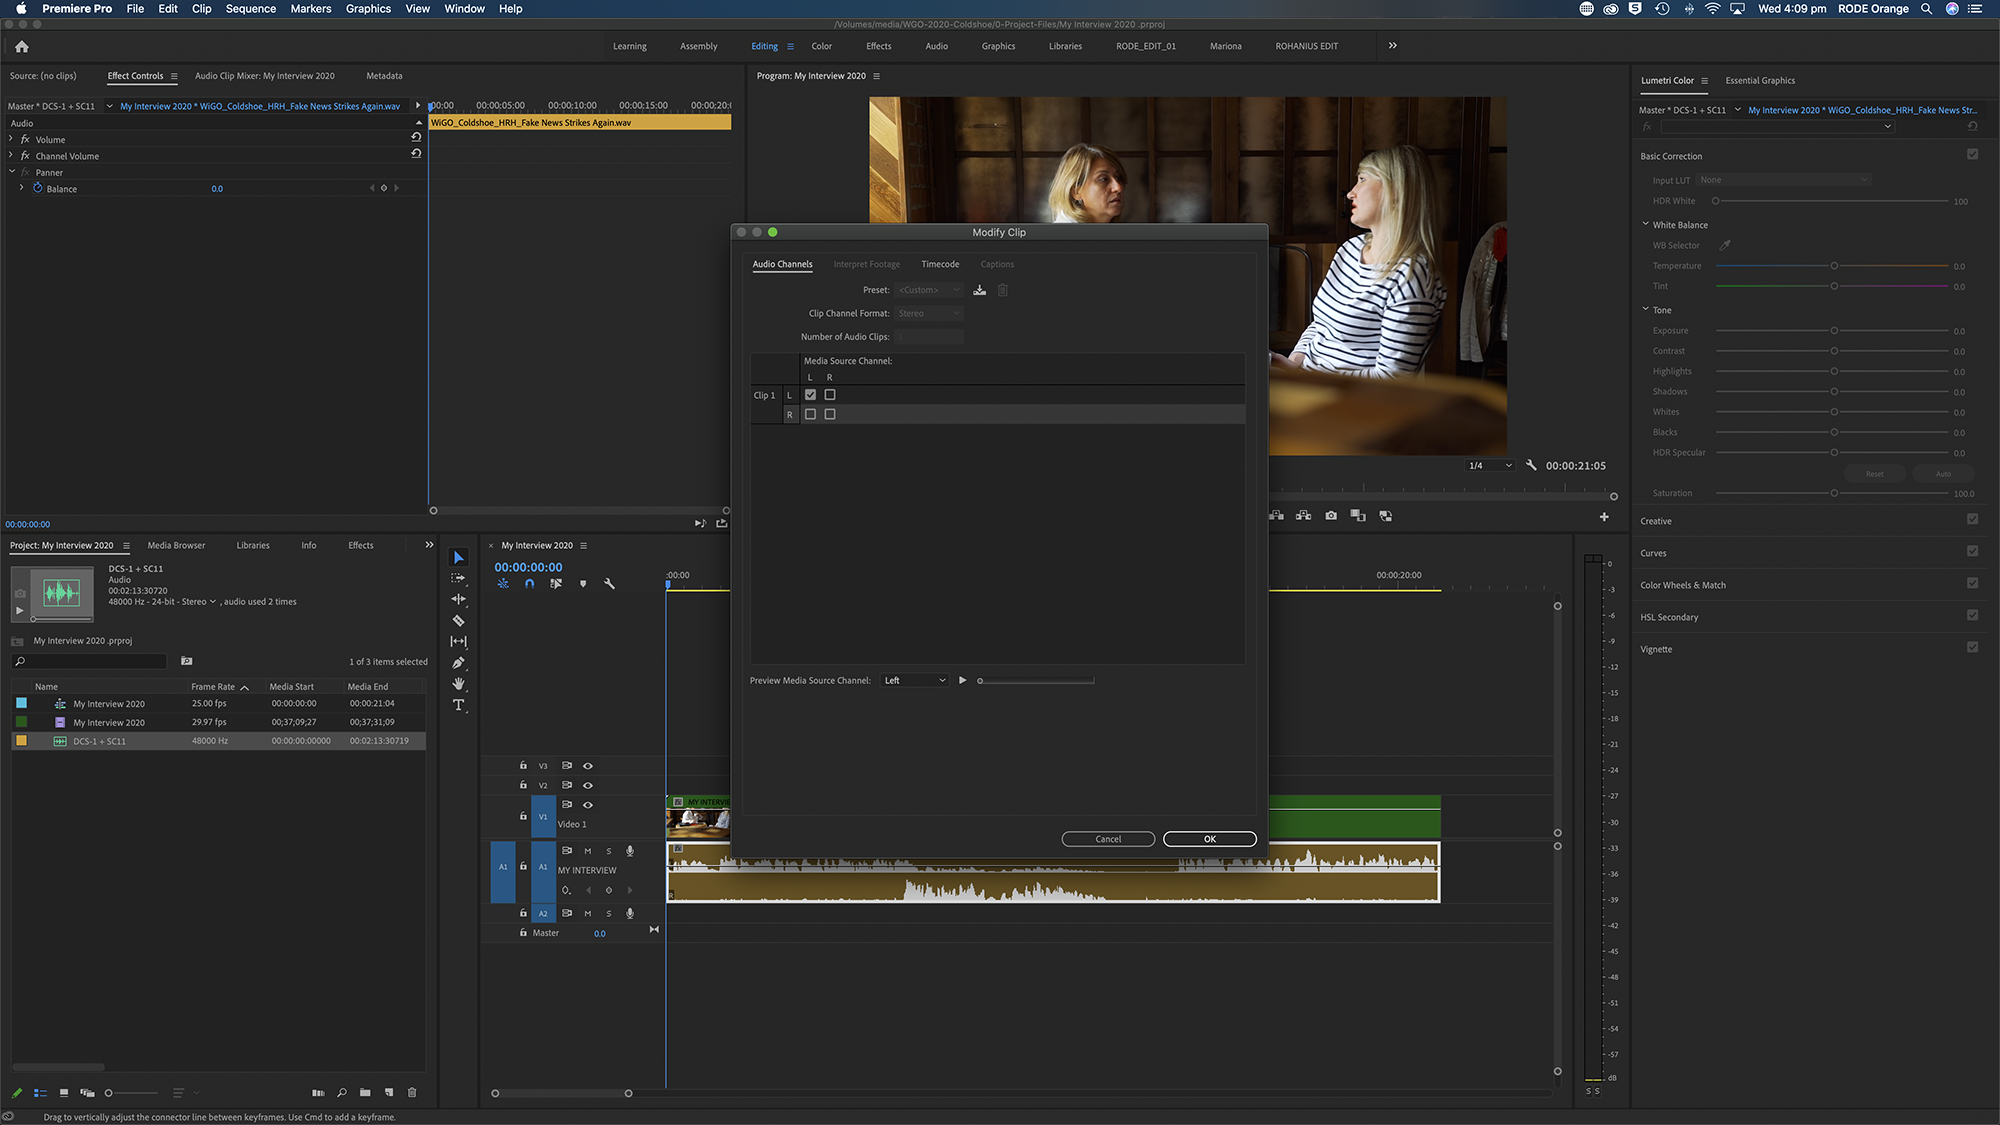
Repeat this process again for the other track, only this time deselect the left channel. After hitting ‘OK’, you will now see two separate mono audio tracks which you can now independently name and edit.
This process will differ slightly depending on what software you are using. However, if you apply the steps above, you should be able to figure it out easily.
There you have it! A super simple solution for recording two microphones into a single camera. No need to go out and buy a dual channel recorder or audio interface – all you need is two RØDE mics, an SC11 and DCS-1.