Video Switching and Auto-Switching
What is Video Switching
Video switching describes a few different things, but at its core it is the process of switching between different video feeds to control exactly what your audience sees. This is incredibly useful in live stream and broadcast scenarios, but it’s also a powerful ‘live’ editing tool.
It allows you to create a more dynamic and engaging experience for your audience by using multiple camera angles in your production, and it’s ideal for showing your audience the most relevant visual at any given time.
You can also use video switching to add graphics, images, videos and other media to your show. You can even display multiple video feeds at once, using picture-in-picture, split screen or other layouts.
To switch between video inputs, scenes and media using the RØDECaster Video, you can use its input buttons (1-6), Scene buttons (A-G) as well as the Media and Overlay Function buttons.
Frame Rate
The RØDECaster Video’s global frame rate determines the frame rate of the stream, recording, HDMI A and HDMI B outputs. It’s important to choose just one frame rate for your project and set all of your cameras and other video devices to output at this frame rate for best results.
To set the global frame rate on your RØDECaster Video, tap the settings cog then navigate to Video > Frame Rate and make your selection using the encoder.
Frame rates: 23.98, 24, 25, 29.97, 30, 50, 59.94, 60

Instant and Studio Switching Modes
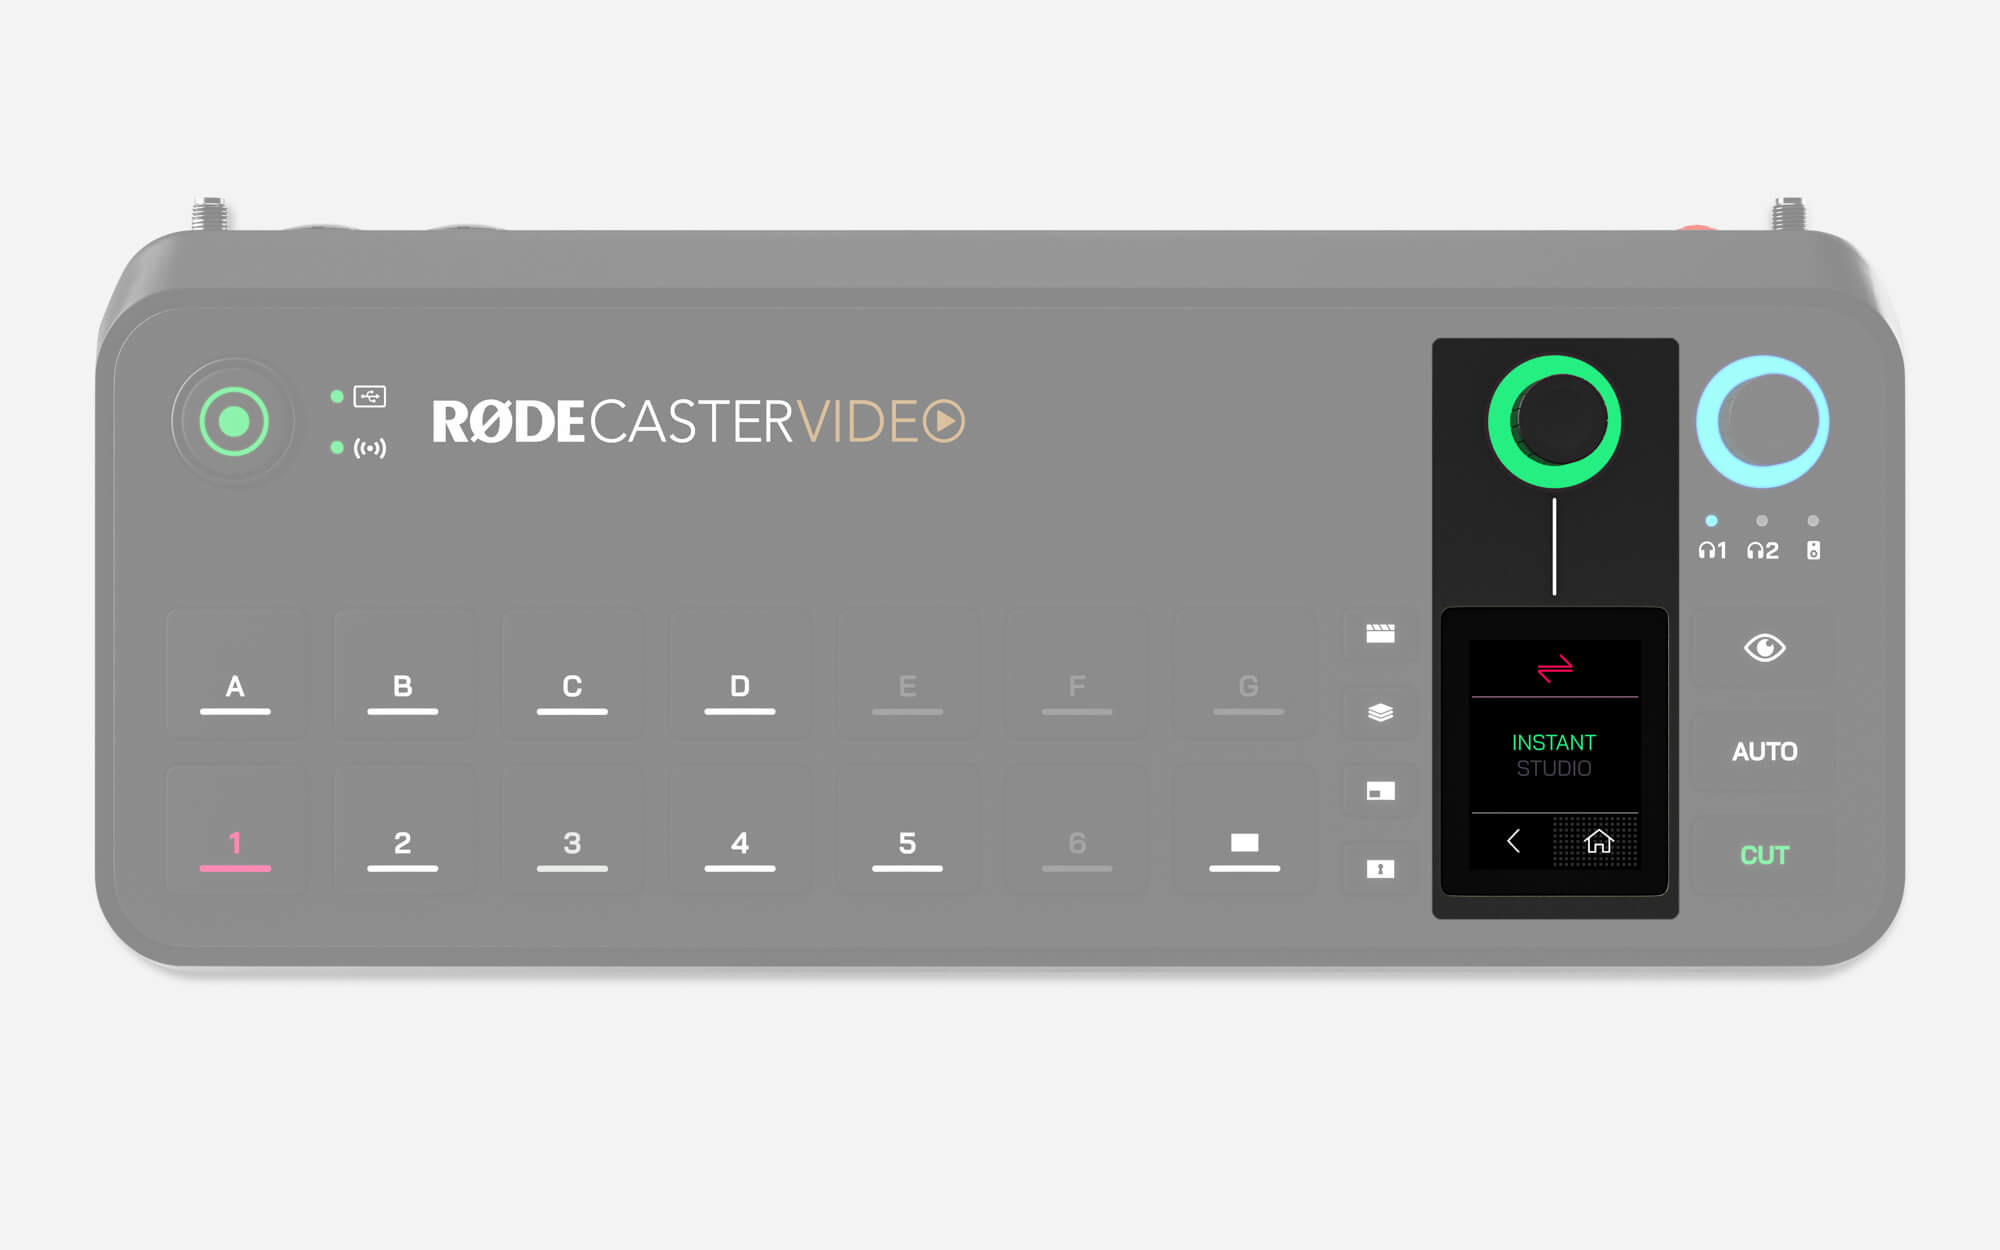
There are two switching modes that change the way you interact with the RØDECaster Video when switching video. To change mode, navigate to Settings > Video > Switching and select either Instant or Studio, or in the RØDECaster App, head to Device Configuration > Video > Switching.
Instant Switching
When pressing an input, scene, media or overlay button in Instant mode, it will immediately appear in the live Program feed. If you have the “Cut” button selected, it will switch instantly, while the “Auto” button enables the switch to occur based on your transition settings.
This is the more immediate of the two modes as you perform your switches with a single button press. This makes it ideal if you’re a solo creator simultaneously operating the RØDECaster Video and appearing on camera or just want a more immediate.
Studio Switching
When pressing an input, scene or media button in Studio mode, it will be sent to the Preview feed, with the live Program feed remaining unchanged. Then, pressing either Cut or Auto will send whatever is in your Preview feed to your live Program feed (either instantly or with a transition).
Studio mode is the mode most commonly used by broadcasters and is better suited to productions where a dedicated operator will be controlling the RØDECaster Video as it allows them to preview an input or scene before sending it live.

Program, Preview, Multiview and Camera Outputs
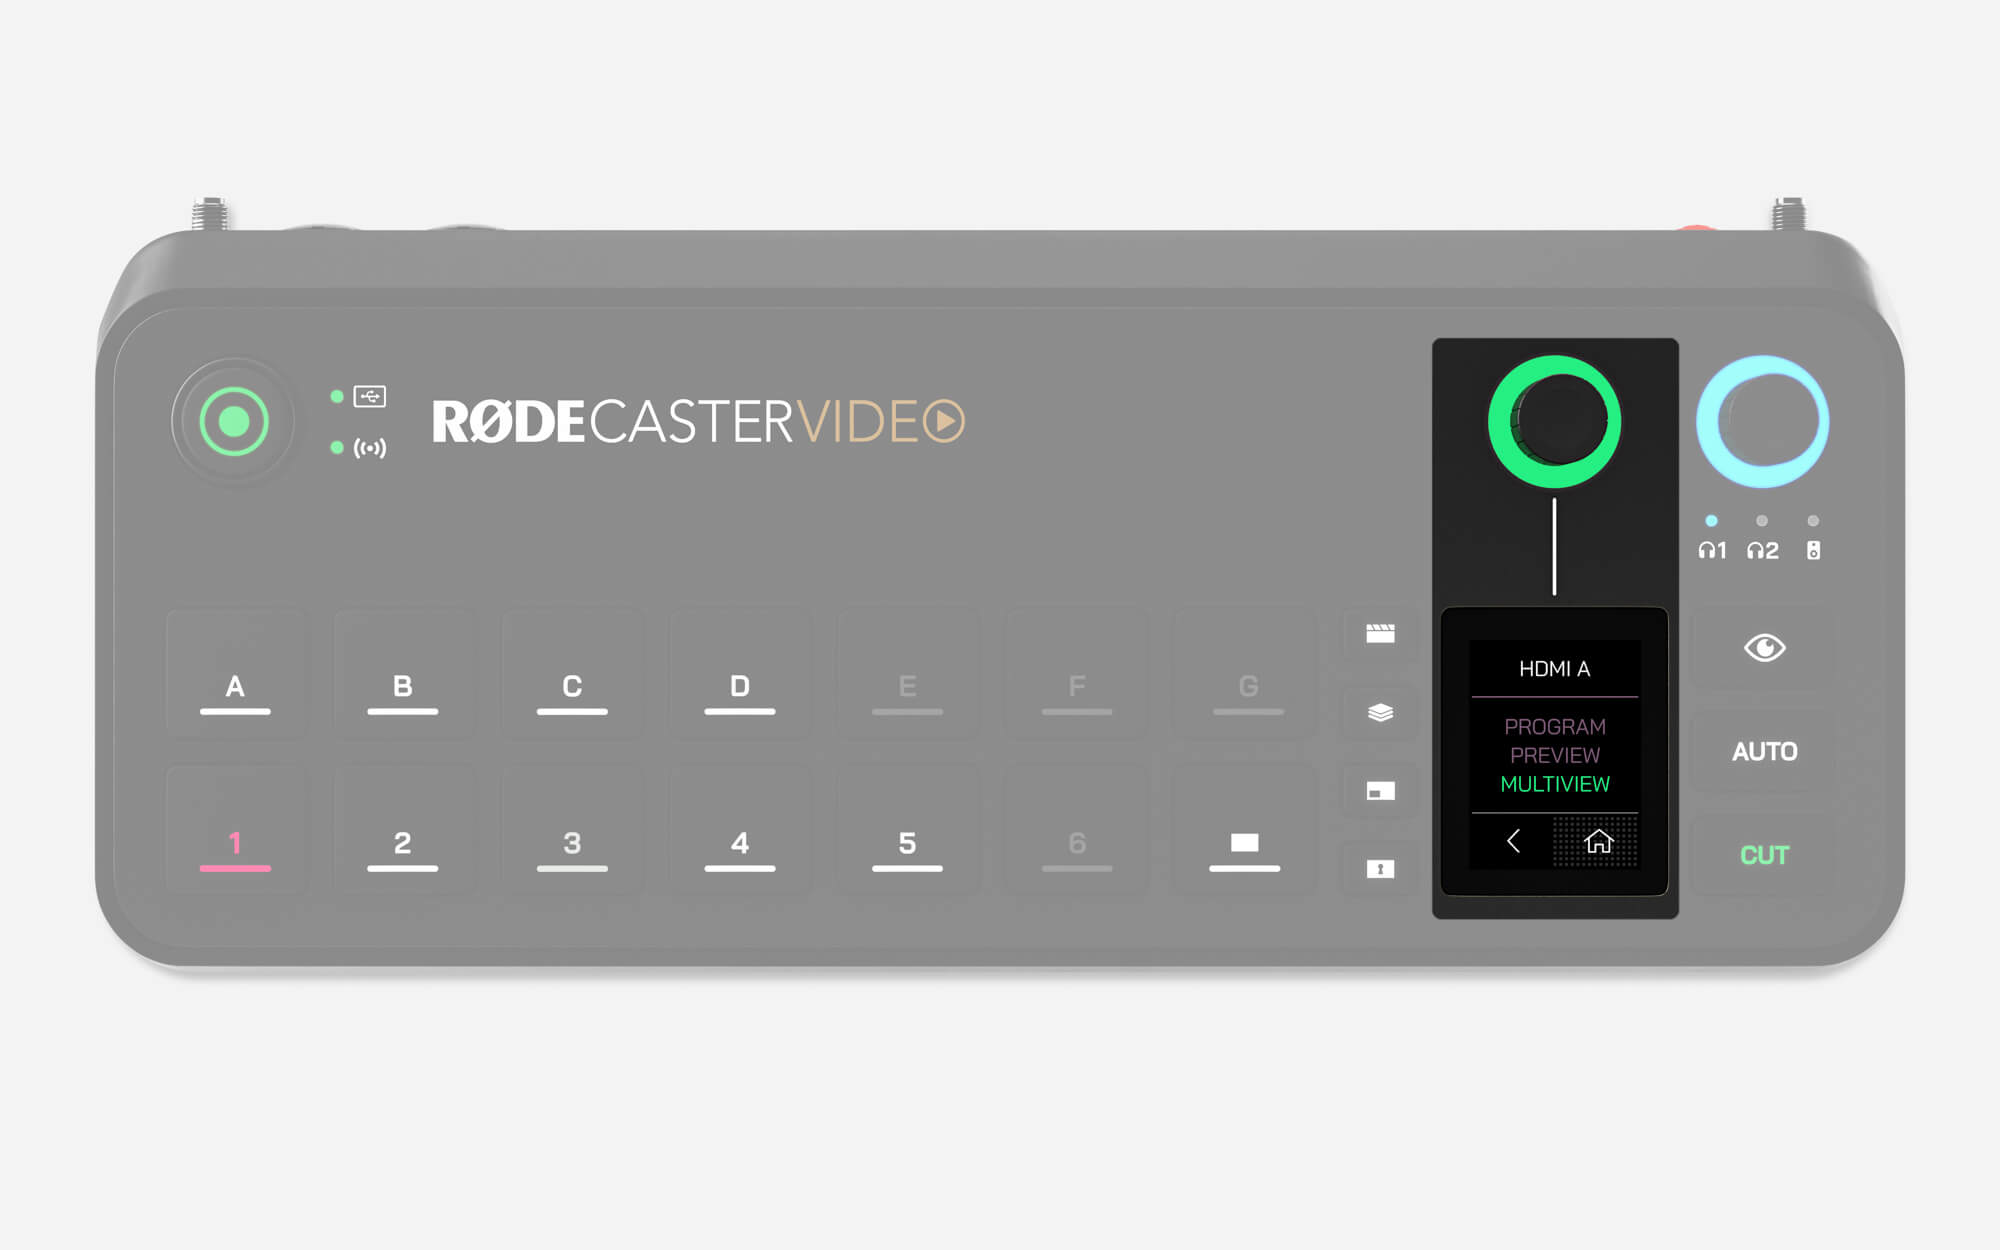
The RØDECaster Video features nine different video output feeds – Program, Preview, Multiview and Camera 1 – 6. You can choose any of these nine feeds to send to your outputs: HDMI A, HDMI B and USB 1. You can adjust this via Settings > Video and then tapping HDMI A, HDMI B or USB 1. In the RØDECaster App, this setting is found in the Device Configuration > HDMI Output menu.
Program
This is the main production, or ‘live’ video feed. It will display exactly what’s being streamed and/or recorded.
Preview
When you’re in Studio mode, the Preview feed allows you to view inputs, scenes, or media before they are sent to the Program feed – this allows you to check, configure and arrange a video source before it goes live. This is not available in Instant mode.
Multiview
The Multiview feed displays all video sources, scenes, media and graphics laid out in one screen. It also displays critical device information such as recording and streaming status, the audio mixer, date and time, and runtime.
Camera (1 – 6)
These six Camera options represent the cameras assigned to your six input buttons, allowing you to send the feed from any of these cameras directly to one of your three outputs. For example, if your camera connected to HDMI 1 is assigned to Input Button 1, you can send this camera’s feed directly to the HDMI B output by choosing the “Camera 1” option.

Cut, Auto and Transitions
The Cut and Auto buttons offer two different ways to switch between video feeds, and will behave differently depending on whether you’re in Instant or Studio mode.
Cut
Cut is the default mode and allows you to instantly switch between inputs, media and scenes in Instant mode, and between the Preview and Program video feeds in Studio mode.
Auto
In Instant mode, Auto will switch between your input, media or scenes using your transition settings, or between the Preview and Program feeds when in Studio mode.
Transition Settings
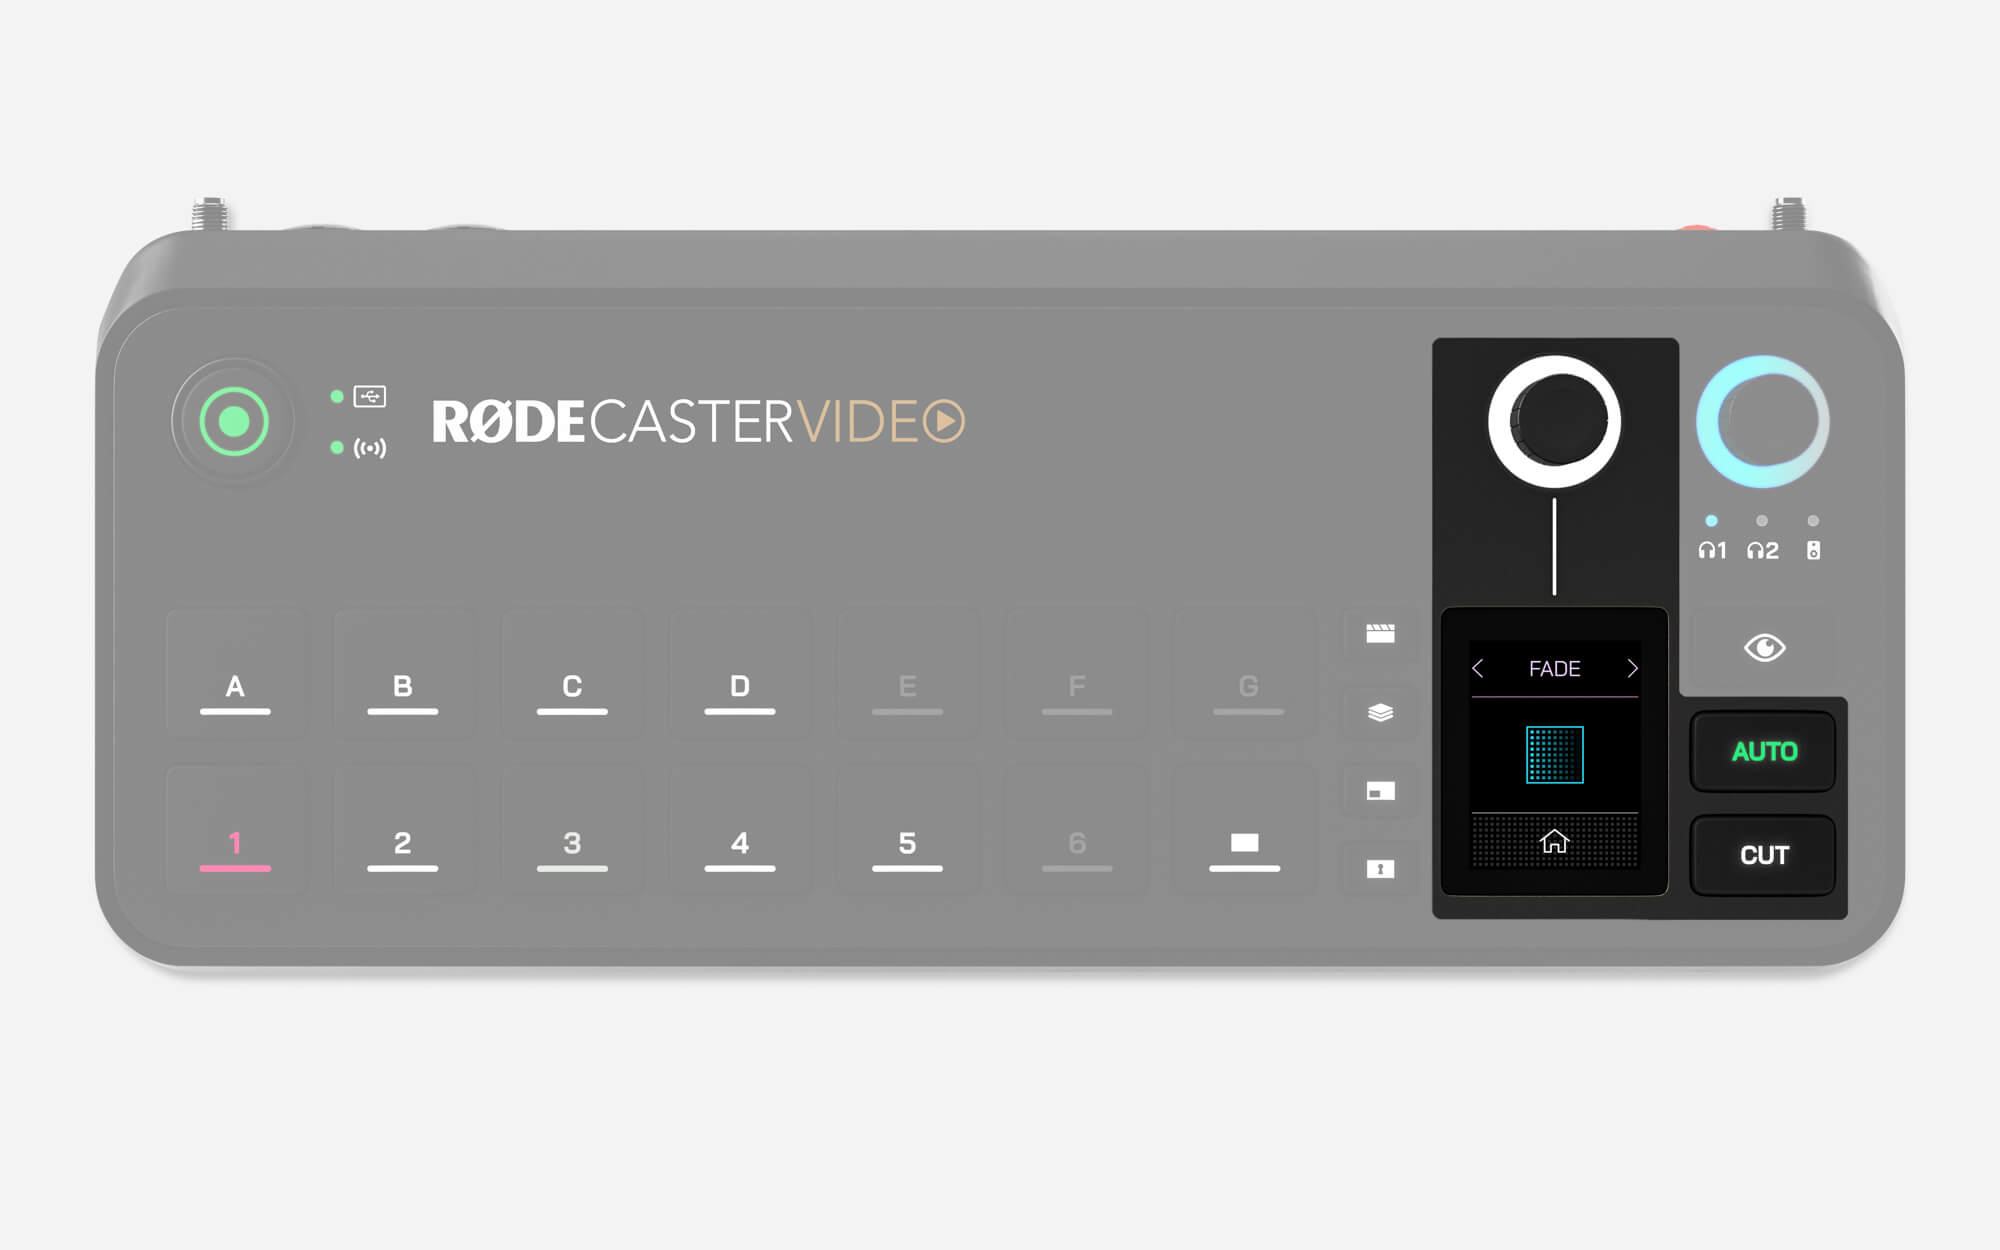
To adjust transition timing, simply tap the on-screen icon with the stopwatch, adjust the rotary encoder, and click the encoder to confirm. To change transition type, tap the on-screen icon to the left of the stopwatch and use the encoder to select Fade, Dip or Wipe (the latter of which has multiple sub-types).
Note
Transition timing also dictates how long it takes to transition when pressing the Fade to Black button.
-2395x1429-ec9dd10.jpg)
Auto-Switching
The RØDECaster Video features unique and innovative auto-switching technology that automatically switches between inputs and scenes to simulate an organic switching process, based on when it detects audio on a particular channel. For instance, it can be used to switch between shots of the interviewer and interviewee as each person talks in a video podcast.
RØDECaster App
To set up auto-switching, make sure your RØDECaster Video is connected to the same network as your computer (or directly to it via USB 2), open the RØDECaster App and open the auto switching menu.
Inputs and Scenes
With the auto-switching menu in the RØDECaster App, select one of the Input Buttons (1-6) or Scene Buttons (A-G) to link to an audio source and toggle the setting ‘On’.
Priorities
You can select a priority (low, medium or high) for each input or scene. The higher the priority, the more time an input or scene will be given in the overall production. For instance, with a video podcast or interview, you can set the close-up shots on each speaker as a higher priority than a wide-angle shot of the full conversation.
Audio Links
Click the ‘+’ button under the Audio Links section and you can assign one or more audio inputs to the currently selected input or scene button. Assigning more than one audio input is ideal for camera angles that include multiple microphones (and speakers) in a single shot, allowing your production to dynamically follow the conversation.
Linking a RØDECaster Pro II or Duo
The auto switching feature can be linked to audio channels on the RØDECaster Pro II or RØDECaster Duo. Connect your RØDECaster Pro II or Duo USB 2 port to the RØDECaster Video USB 4 or 5 ports. This is the same processes for passing audio between devices. Once connected, your RØDECaster Pro II or Duo audio channels will appear as options when linking audio.
Relaxed, Neutral or Fast
In the top-right of the Auto Switching menu, you can toggle between Relaxed, Neutral and Fast. These options allow you to tailor the feature to better suit the pacing of your show – if you find that it’s switching too frequently, or not frequently enough, this is how you can fine tune it.
Enabling Auto-Switching
Once you've set up your auto-switching using the RØDECaster App, press-and-hold the 'Auto' button on the RØDECaster Video to enable auto-switching mode. Pressing any of the input or scene buttons will exit this mode and return you to manual operation – much like cruise control in a car.