Exporting Podcasts
Now that you’ve recorded your podcast, the next step is to upload it to streaming platforms so that people can listen to it. The RØDECaster Pro has some incredibly handy functions for exporting and optimising your podcasts, ready for distribution.
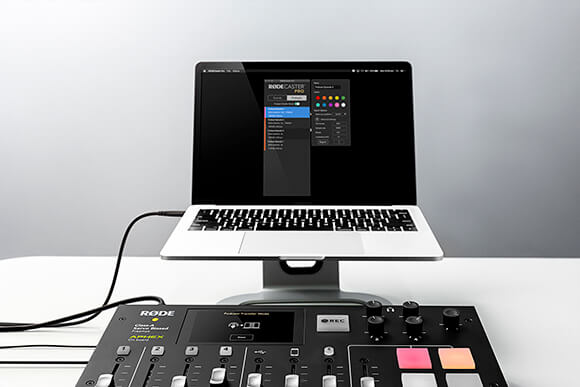
Exporting Podcasts from the RØDECaster Pro to a Computer
First, connect your RØDECaster Pro to a computer via USB and open the Companion App, then set it to ‘Podcast Transfer Mode’ either by navigating to the microSD card settings (tap the card icon from the main screen) or by clicking on the ‘Podcasts’ tab in the Companion App and clicking the ‘Podcast Transfer Mode’ slider.
‘Podcast Transfer Mode’ allows the podcasts stored on the microSD card to be read by a computer. From here, you can access the various exporting options.
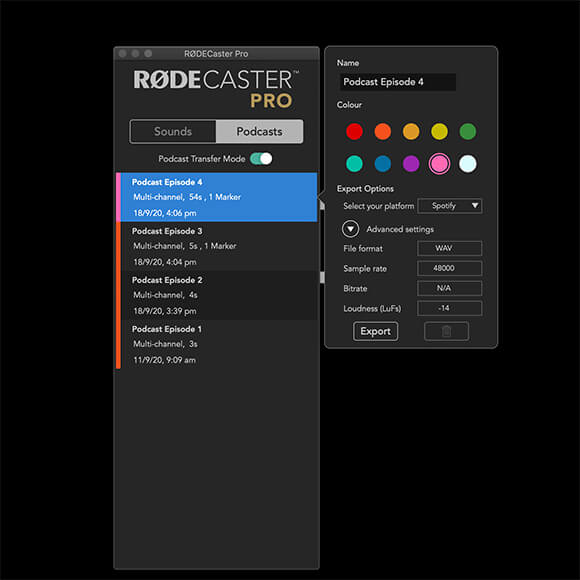
First, click on the podcast that you want to export. You will see a pop-up box with options for editing the name of your podcast and its assigned colour. You can also optimise your podcast for different distribution and streaming platforms.
There are two ways of using this tool. The first and easiest option is to select the distribution or streaming platform you will be uploading your podcast to, and then click ‘Export’. This will automatically optimise the podcast for that particular platform. If you want to see what settings are used for each platform, click on the drop-down tab for ‘Advanced Settings’.
The other option is to select ‘Custom’ as your platform and click on the drop-down tab for ‘Advanced Settings’. This will allow you to tweak each parameter as required. Once you have made your changes, click ‘Export’ to create a custom audio file ready for uploading.
Pro Tip
Optimising your podcast will not only ensure that your podcast is the correct file type for your preferred platform, it will also adjust its loudness (measured in LUFS) to the ideal level for streaming. You can think of this process as ‘mastering’ your podcasts and getting them ready for consumption.
Transferring Podcasts to a DAW
The alternative to exporting finished podcasts using the Companion App is to take the raw audio files off the RØDECaster Pro and optimise the podcast within a DAW. This method can be useful if you also need to add extra elements, sounds or pre-recorded interviews to the podcast before uploading.
If you have already recorded your podcast directly to a DAW via USB, your podcast files are in the right place to begin editing. But if you need help importing the files from the RØDECaster Pro into your DAW, see the methods below.
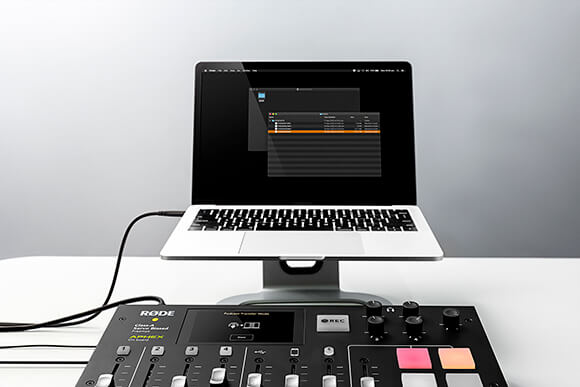
The first option is to connect the RØDECaster Pro to a computer via USB and turn on ‘Podcast Transfer Mode’. Your computer will automatically recognise the RØDECaster Pro as a device called ‘RODECASTER’ in the Finder or File Explorer. You can then access the audio files saved on your microSD card. You could alternatively insert the microSD card into your computer with a card adaptor or card reader.
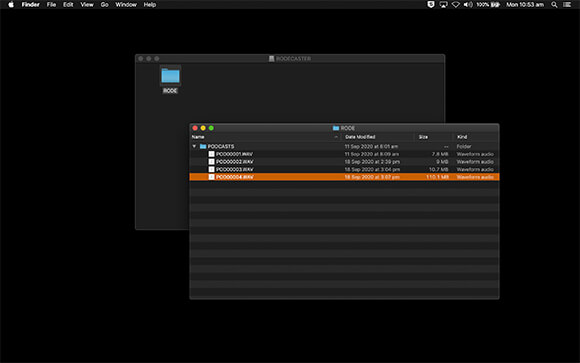
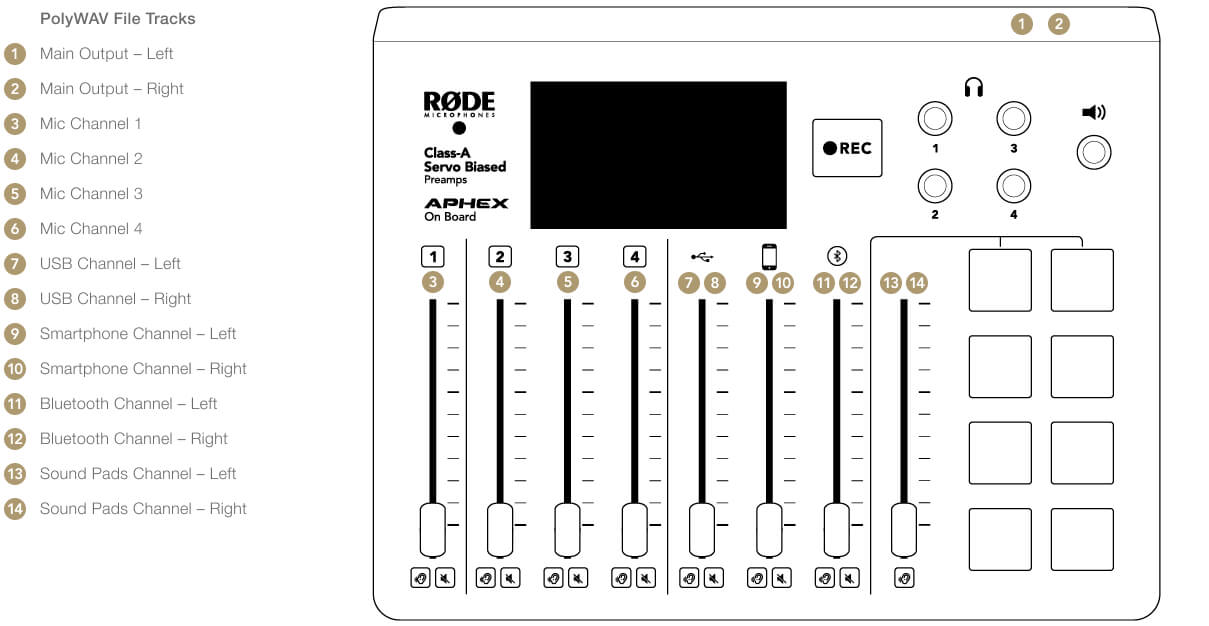
If you recorded your podcast as a stereo file, this will appear as a WAV in your Finder or File Explorer. If you recorded your podcast in multitrack, it will be a polyWAV file, which contains all 14 tracks of audio from the RØDECaster Pro.
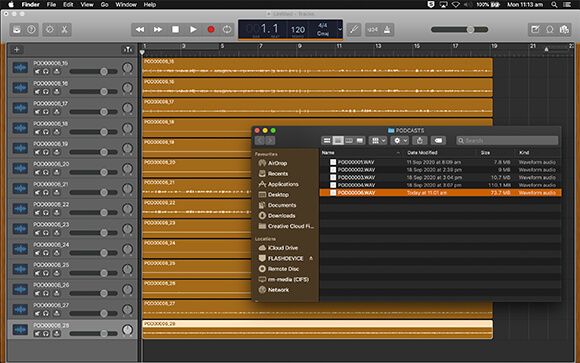
PolyWAV files can be dragged or imported into a DAW. Depending on the DAW you are using, you may need to manually split the audio up into individual tracks. Once this is done, you can add extra elements to your podcast, continue mixing and editing, or optimise your podcast for distribution.
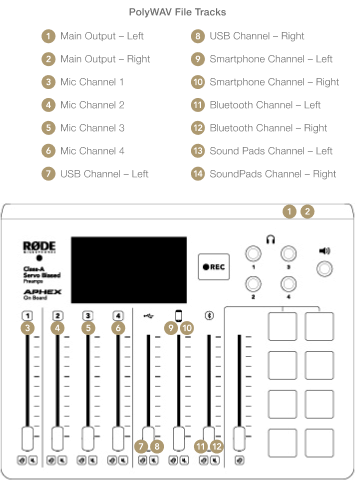
Use the diagram below to determine which channels are assigned to each track within the PolyWAV file. If you need further help setting up a multitrack session within your DAW, check out the section on recording to a computer via USB.
Check out the blog on starting a podcast to learn more about the basics of recording a podcast, including choosing the right recording space and good mic technique.