Getting Started
Quick Start
- Ensure all transmitters are updated to the latest firmware using RØDE Central for full compatibility
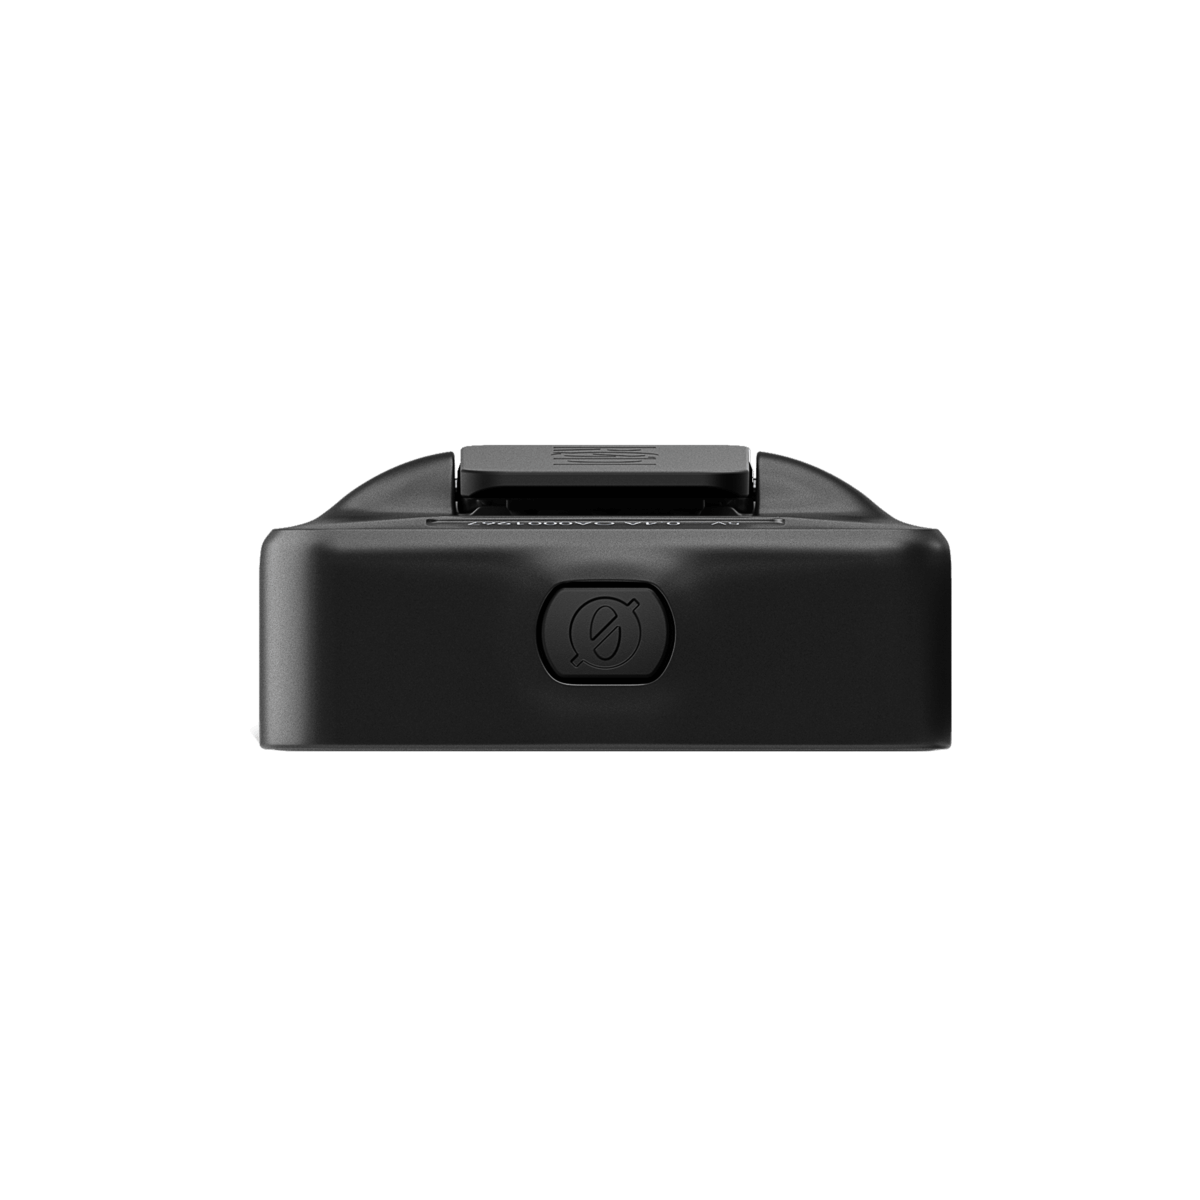
- To power on the Wireless Micro Camera Receiver, press and hold the Power Button until the centre LED lights up
- To enter pairing mode, press and hold the Pairing Button on the Receiver. You can pair up to two transmitters during this process
- Connect the Wireless Micro Camera Receiver to your camera with the included 3.5mm TRS cable
Your Wireless Micro Camera Receiver is now powered on and paired, ready to record wireless audio to devices like your camera, mobile phone, or computer.
Note
The Wireless Micro transmitter(s) must be updated to v2.0.3, or later, in order to ensure compatibility with RØDE Wireless Micro Camera Receiver (RX)
Powering On Your Wireless Micro Camera Receiver
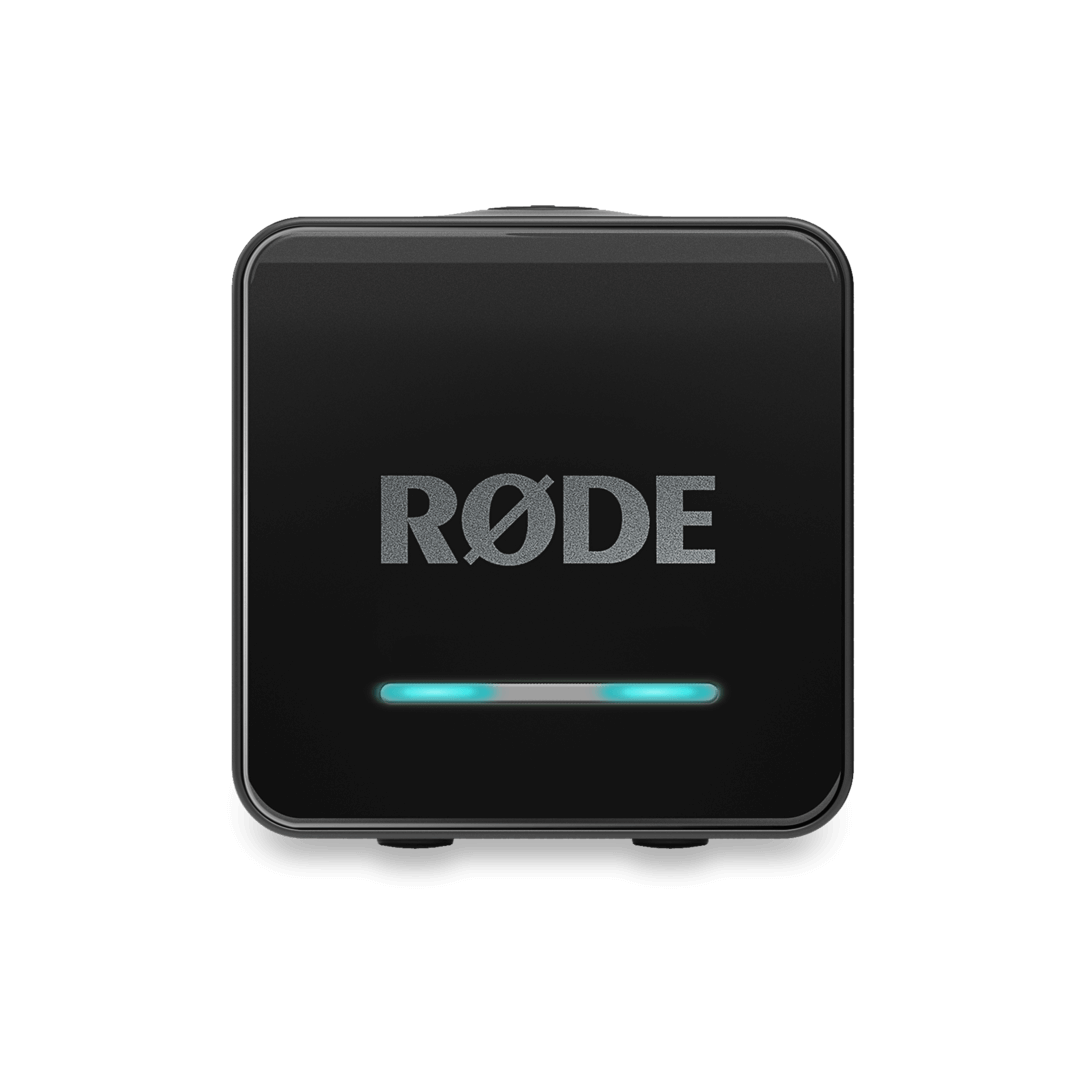
To turn on the receiver, press and hold the power button for two seconds. The front lights will flash teal from left to right, followed by a solid green light in the middle to show it's on and ready, this is the devices “home state”. The device will remain on until you turn it off or the battery is depleted.
To power it off, simply press and hold the same button for another two seconds. The teal lights will sweep from right to left before all lights extinguish, confirming it has been turned off.
Pairing your Wireless Micro Transmitters
Connecting the Wireless Micro Camera Receiver (CRX) to the transmitters is a straightforward process that can be accomplished with ease.
The Wireless Micro kit comes pre-paired out of the box, ensuring an instant connection between the transmitters and the included USB-C or Lightning receiver; this remains its primary, permanent link. The transmitters also feature a secondary pairing slot, allowing you to connect a Wireless Micro Camera Receiver.
Once paired, the transmitters will automatically detect and connect to whichever receiver—either the primary Micro Receiver or the secondary Camera Receiver—is powered on. This seamless switching means you don't need to re-pair devices, as pairing a Camera Receiver does not unpair the original Wireless Micro Receiver.
To initiate pairing mode, press and hold the right sync button for two seconds to begin the pairing process. Hold this button until you notice a blue LED light that is moving from left to right. This signifies that the CRX is now in pairing mode and ready to connect with the transmitters.
Now remove your Wireless Micro Transmitters from your charging case to initiate the pairing, the small green pairing indicator on the Wireless Micro transmitter will begin flashing. If the transmitters are within range, they will pair automatically.
Note
When connecting to the Wireless Micro Camera Receiver, it is recommended that you keep the Wireless Micro Receiver in its case, unpowered.
Once both transmitter are successfully paired, you will see a green LED light illuminate on the left and right side of the CRX, confirming that the connection has been established. If you’re only pairing a single transmitter, only the left side will illuminate green.
Connecting To External devices
Using the 3.5mm Port
The RØDE Wireless Micro Camera Receiver (RX) features a 3.5mm TRS output on the side panel. The 3.5mm TRS output sends the audio output to a connected camera or other recording device. The output gain mode for the 3.5mm TRS output may be adjusted via the mode button.
The RØDE Wireless Micro Camera Receiver (RX) comes equipped with plug-in power detect.
By default, the Wireless Micro Camera Receiver (RX) receiver will automatically power on or off when the camera it’s connected to also powers on or off, as long as the receiver detects power. Just be sure that your receiver is powered off before first turning on your camera for this mode to function correctly.
Using the USB-C Port
The USB-C Port on the RØDE Wireless Micro Camera Receiver (RX) has multiple functions, including charging and functioning as an audio input device. Additionally, it can also be used to update the device’s firmware.
Audio Input device
The USB-C port also functions as an audio input device which enables a direct connection to a computer (or other compatible device) for seamless audio capture. Here's how:
- Connect a RØDE Wireless Micro Camera Receiver to an open USB port on the computer
- Open the audio settings and select “Wireless Micro Camera RX" as the input device
- The same steps will need to be followed for any additional audio software that is being utilized (such as Zoom®, Discord®, etc)
Charging your Wireless Micro Camera Receiver
The Wireless Micro Camera Receiver has an outstanding operating time of 18 hours.
The Wireless Micro Camera Receiver is charged simply by attaching a USB-C cable to the receiver and the other end to a computer, USB hub, or other charging outlet.
If the RØDE Wireless Micro Camera Receiver (RX) is powered off, all three LEDs on the front panel will illuminate and slow-flash purple as a bar graph.
- A single flashing LED (left) indicates 0-33% charge
- Two flashing LEDs (left + middle) indicates 34-66% charge
- All three flashing LEDs indicates 67-99% charge
- All three LEDs illuminated without flashing indicates full battery
As mentioned, the ‘home state’ of the device is the centre LED illuminating a solid green. The left and right LEDs display the connected status of the transmitters (TX1 + TX2). If it is powered on and running out of battery life, the LED will turn amber (11-19% battery life), followed by red (<10% battery life).