What are the best settings for your RØDE VideoMic?
So, you've done your research, watched unboxing and review videos, and scored yourself a brand-new RØDE VideoMic to improve your on-camera or mobile audio. Now, depending on which model you have invested in (don't worry, they're all great!), you may be looking at a microphone with a few buttons and dials on-board, or one that has no controls at all. In this article, we're going to take a look at what each of these settings actually does, as well as when and why you'll need to use them.
Basic VideoMics
In this category, we have the VideoMicro II, VideoMic GO and the VideoMic Me range. All of these microphones feature simple plug-and-play operation and are fine-tuned to enhance your camera or smartphone’s audio recording without the need for any extra controls.
The RØDE VideoMicro II is a simple and powerful tool for upgrading your camera (or similar device’s) audio.
These VideoMics are powered directly from your camera or other device’s 3.5mm mic input (or the USB-C or Lightning connector in the case of the VideoMic Me-C and Me-L respectively), so as long as everything is plugged in properly, these mics switch on automatically. This tidy feature means that you don't have to worry about batteries or power switches, which comes in very handy when you want to capture a spur-of-the-moment event.
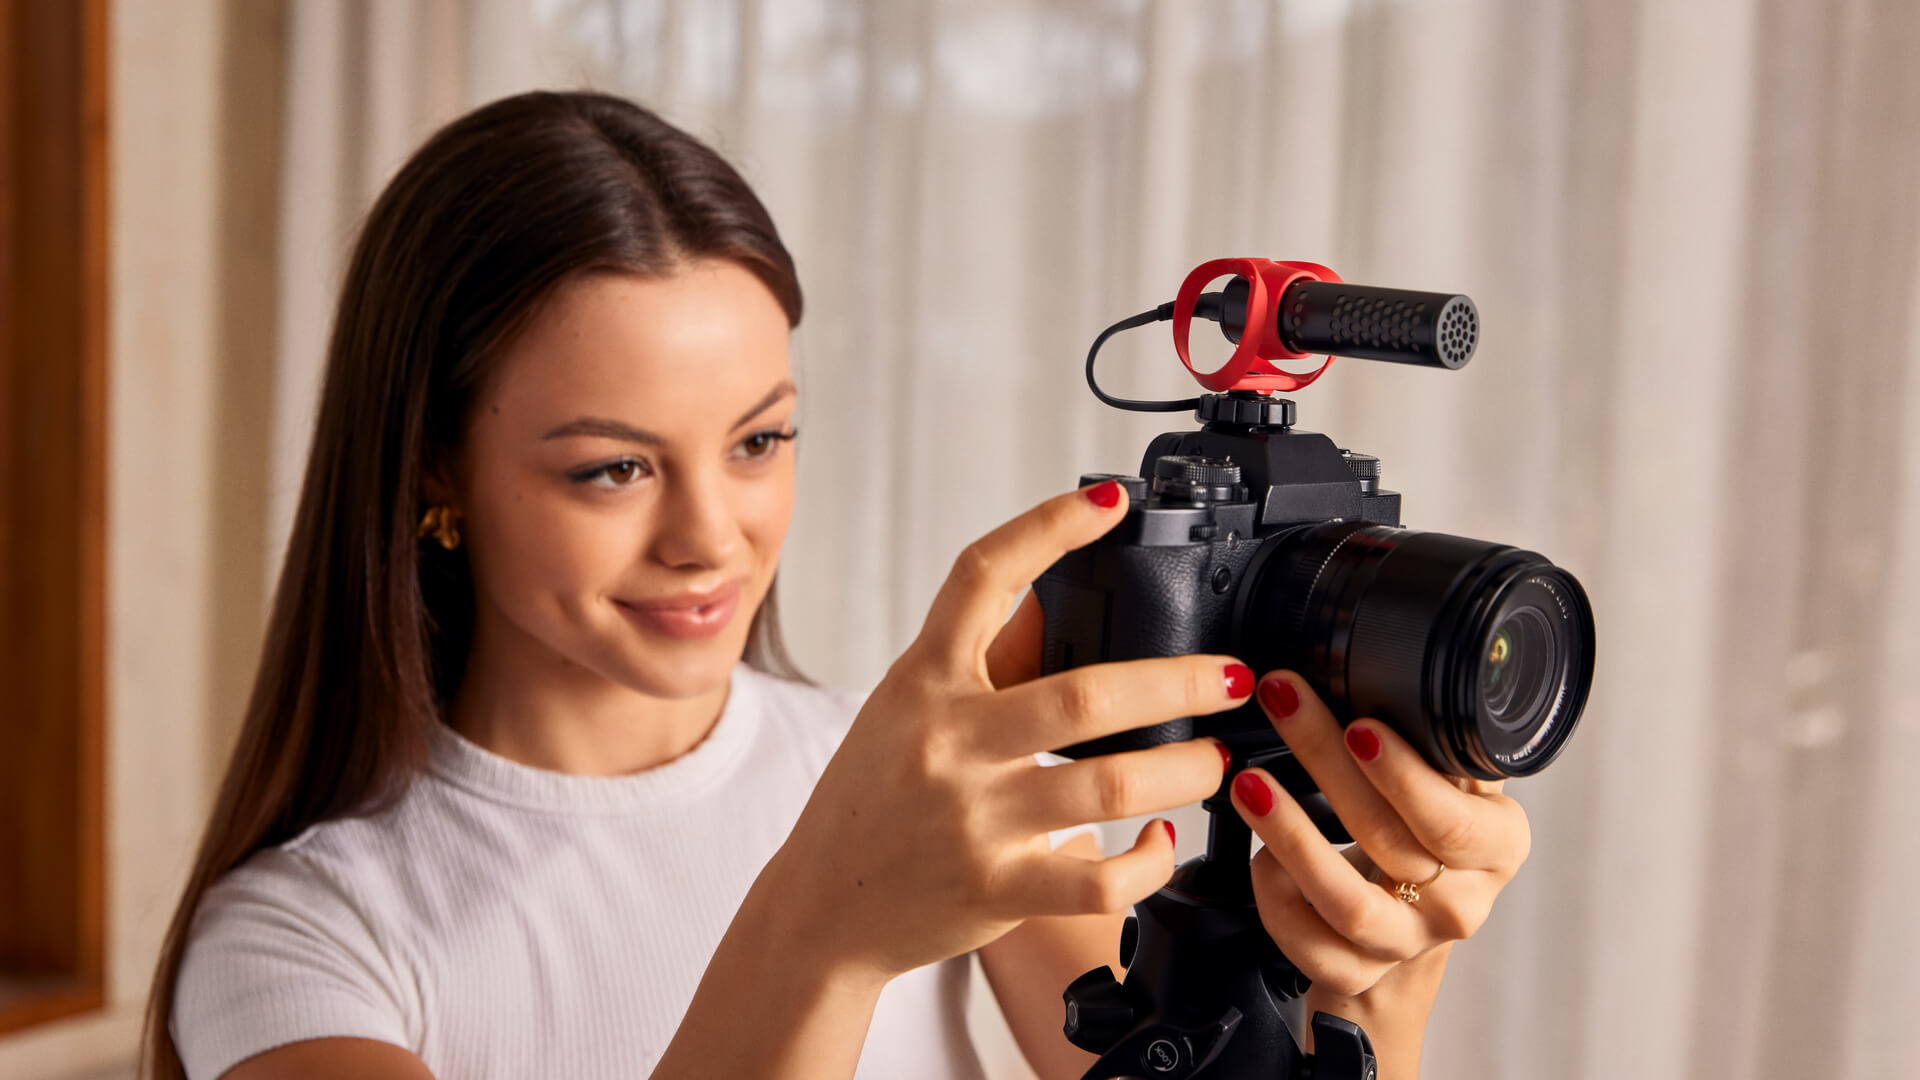
All you have to do is ensure that your camera's audio input is set to 'external mic' when it's plugged in – this should happen automatically, but it's worth checking anyway. For the VideoMic Me range, these mics will work seamlessly with the RØDE Reporter app on your iOS or Android device, as well as a number of other options like your device’s default Camera app.
Intermediate VideoMics
The VideoMic, VideoMic GO II, VideoMic Pro and Stereo VideoMic Pro feature a few extra settings to help you control and tailor your audio recording, chief among them being a high-pass filter and gain control.
High-Pass Filter
The high-pass filter is represented by the 'curved line' icon you’ll see as the third option on the power switch for the VideoMic, VideoMic Pro and Stereo VideoMicPro. When activated, the low-frequency sound (mostly sub-bass) captured by your microphone is reduced or removed completely.
This can be useful when looking to minimise the rumble from traffic, wind, air conditioners, footsteps, or any other deep noise in close proximity. This feature is named the 'high-pass filter' as the high frequencies pass through into your recording, while the lower frequencies do not.
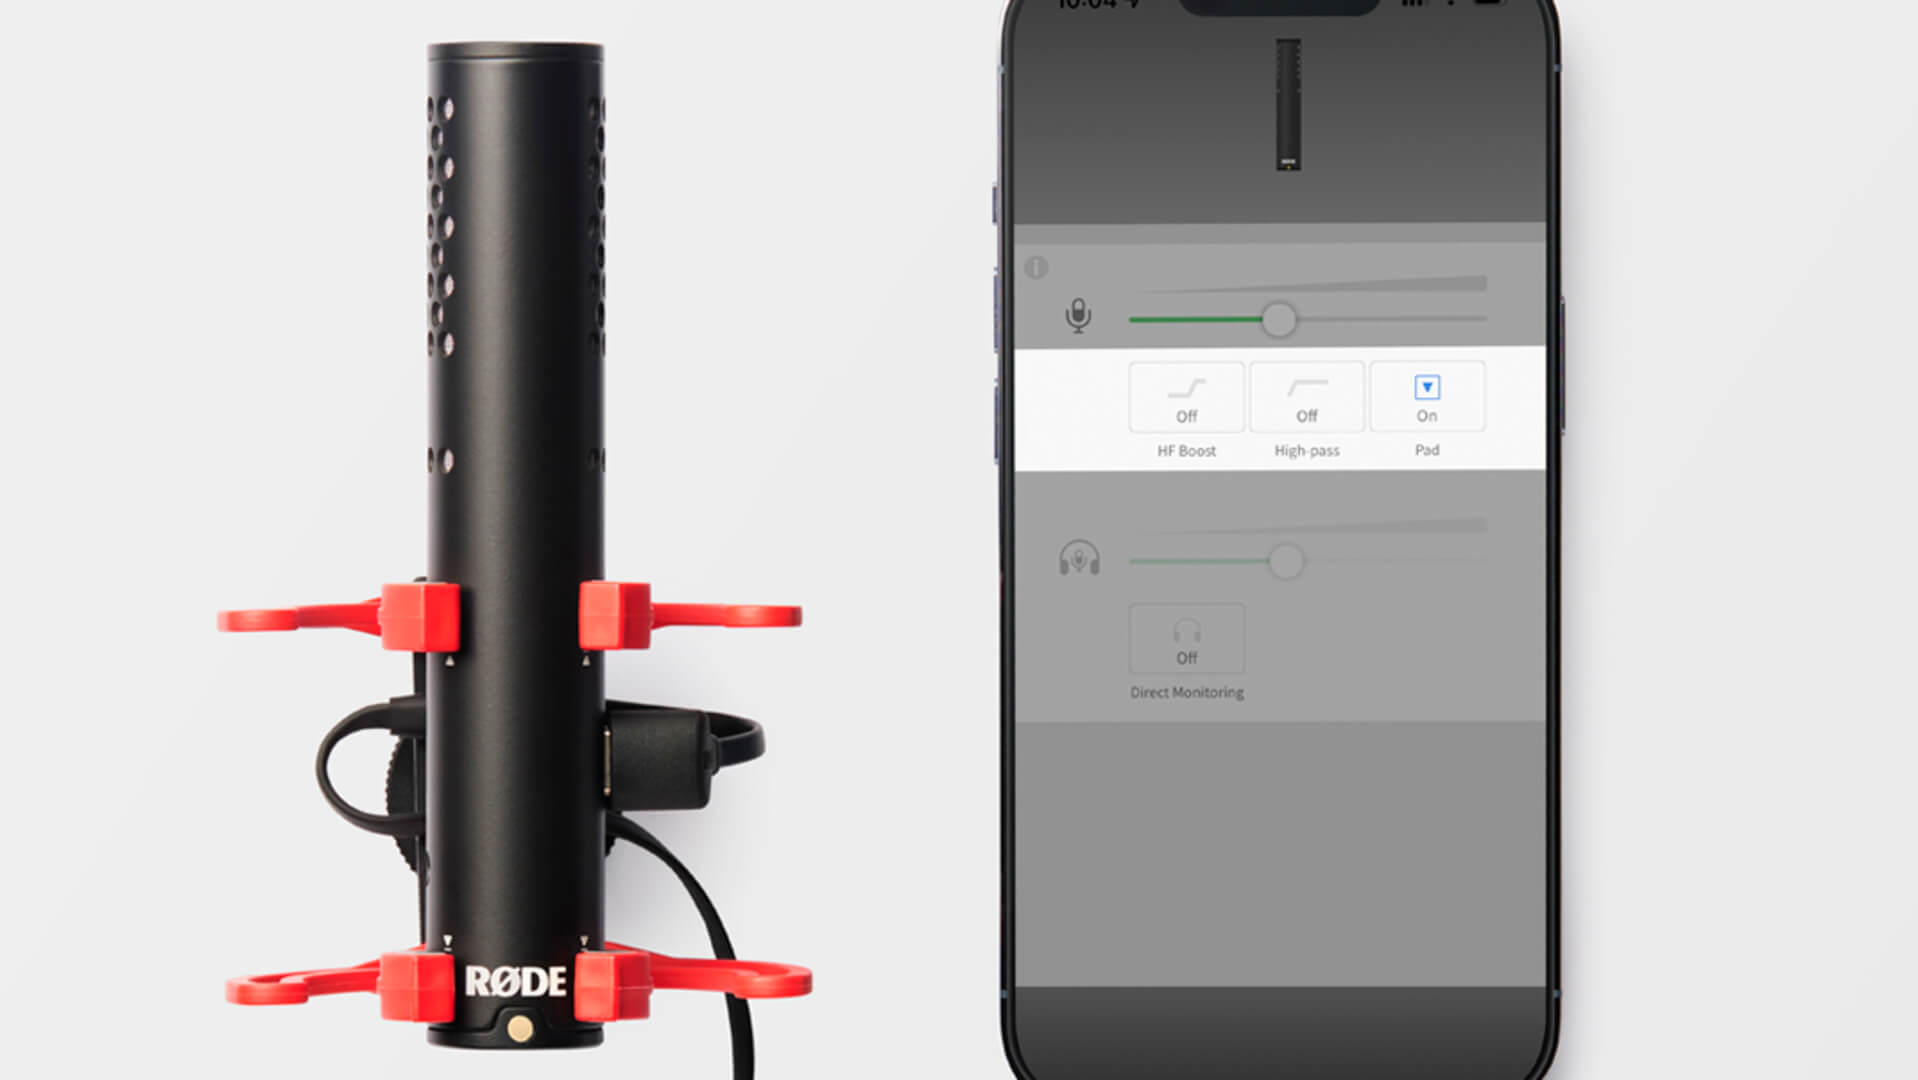
VideoMic GO II has a suite of settings you can access via RØDE Central when plugged into a computer or mobile device via USB.
For most RØDE on-camera microphones, the frequencies rolled off by the high-pass filter are set to cut off at either 75Hz or 80Hz, but some others like the Stereo VideoMic X and the VideoMic NTG give the option for both 75Hz and 150Hz cutoffs for more flexibility.
When the VideoMic GO II is connected to a computer or mobile device, you can use the RØDE Central app to activate the high-pass filter, adjust the input gain for the microphone as well as employ more advanced features like a high-frequency boost (which we’ll talk about later in the article).
Gain Control — Pad
The VideoMic, VideoMic Pro and Stereo VideoMic all have physical controls to alter the input gain of the microphone, whereas with the VideoMic GO II you can only access these settings in RØDE Central via USB.
These controls come in two flavours: pads and boosts. The role of a pad is to lower the sensitivity of the microphone, thus reducing its input gain. The VideoMic Pro and Stereo VideoMic Pro both feature -10dB pads, which lower the sensitivity by 10dB, while the VideoMic features an additional -20dB pad setting.
Pads are useful when you're recording something so loud that the audio signal captured by your microphone distorts or clips, for example, a concert. By lowering the microphone's sensitivity, you'll be able to send a much cleaner, less-distorted audio track into your camera. As a rule of thumb, capturing the strongest possible audio signal without clipping or distorting will give you the best results.
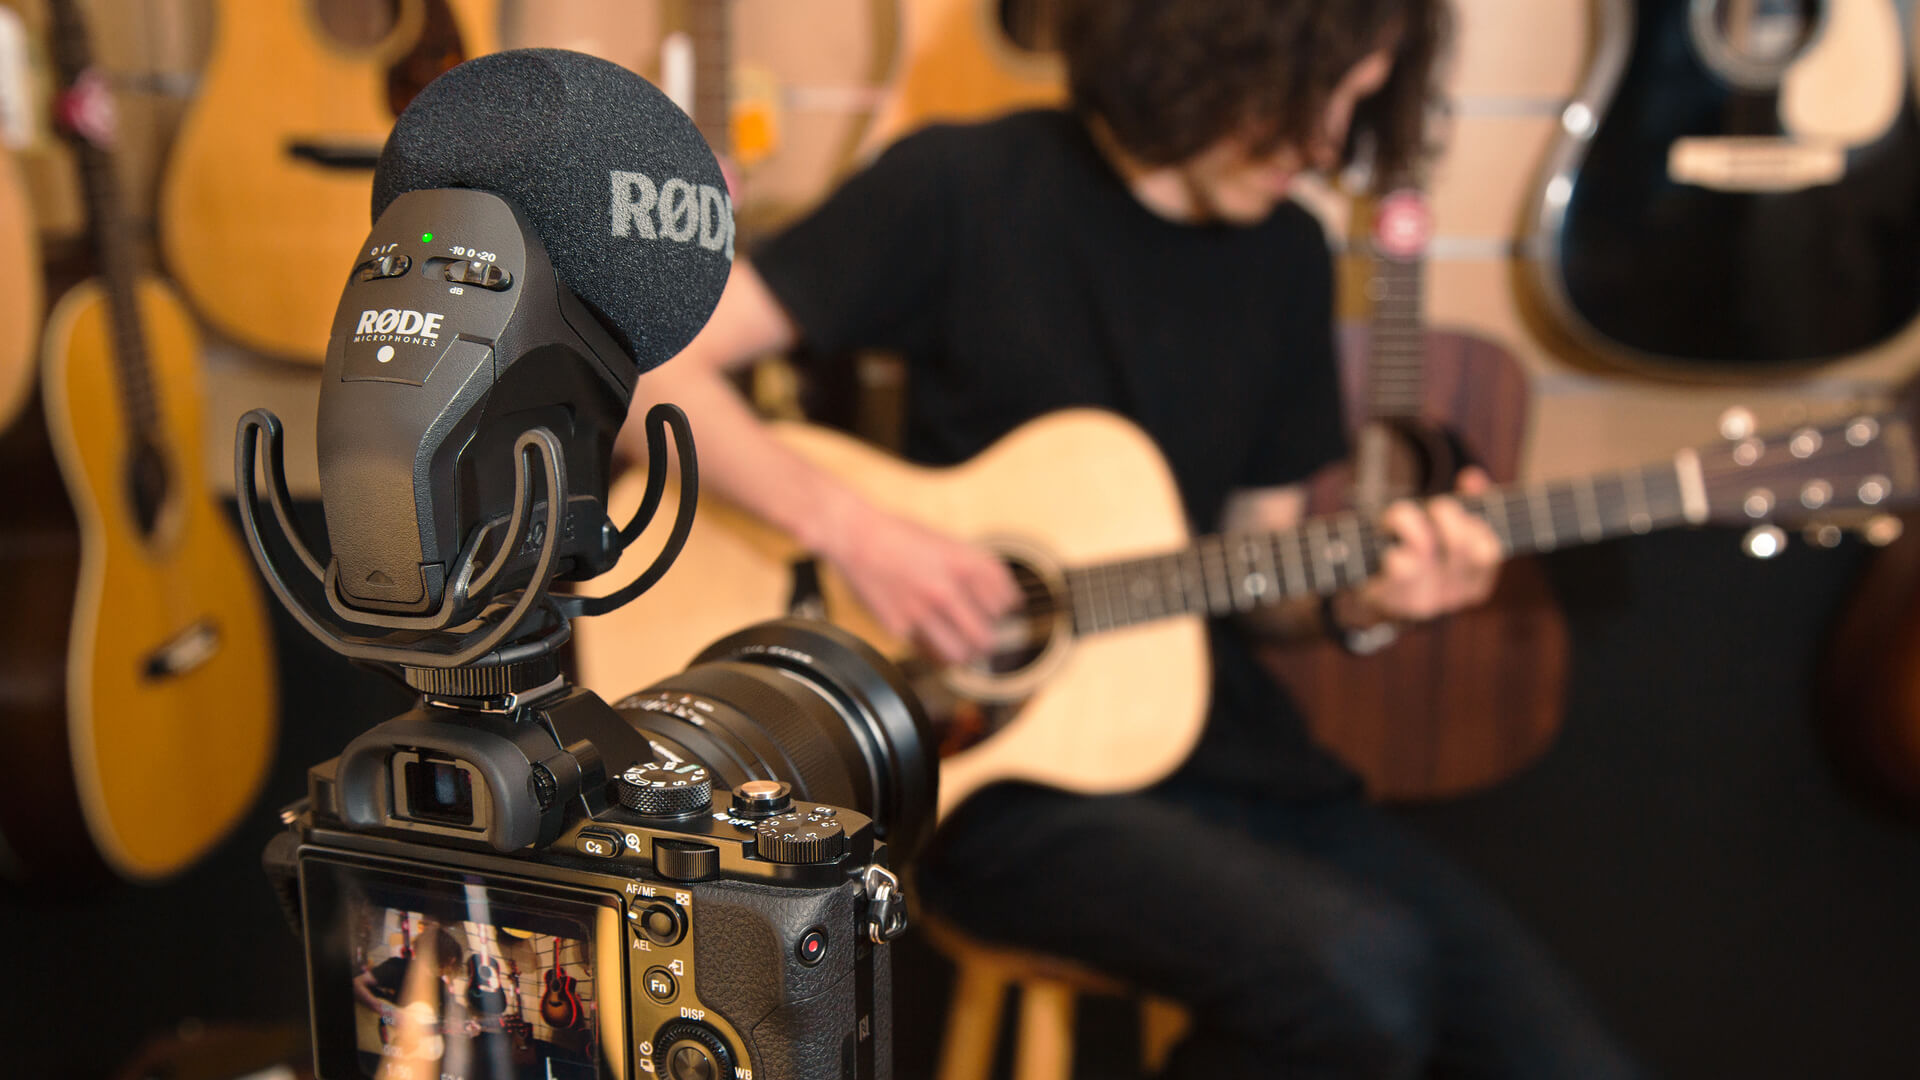
The Stereo VideoMic Pro features a switch to engage a -10dB pad or a +20dB boost, as well as another to enable a high-pass filter for reducing low-end rumble.
Gain Control — Boost
Boosts, as their name would suggest, achieve the exact opposite of pads, increasing the overall recorded signal. In the case of the VideoMic Pro and Stereo VideoMic Pro, there’s a +20dB boost available on the same switch as the -10dB pad.
These boosts are designed with DSLR and mirrorless cameras in mind, as their integrated audio componentry can often result in poor quality sound. By activating the +20dB boost on the microphone and lowering the audio input volume on the camera, you'll be able to capture more of the microphone's crystal-clear audio, and less of the camera's noisy on-board sound.
To use this feature, you'll need to be able to manually set up the audio levels in your camera, so check its instructions to find out how to do this. Again, the ideal audio level is one of a strong signal with no clipping, so if you find the +20dB boost gives you too much gain even when the camera's audio is lowered, it may be best not to use the boost.
Advanced VideoMics
For the ultimate in flexibility when it comes to on-camera microphones, the VideoMic NTG, VideoMic Pro+ and Stereo VideoMic X offer a huge amount of control. On top of the pads, boosts and filters we’ve already discussed, these cameras also offer extra settings like high-frequency boosts and safety channels.
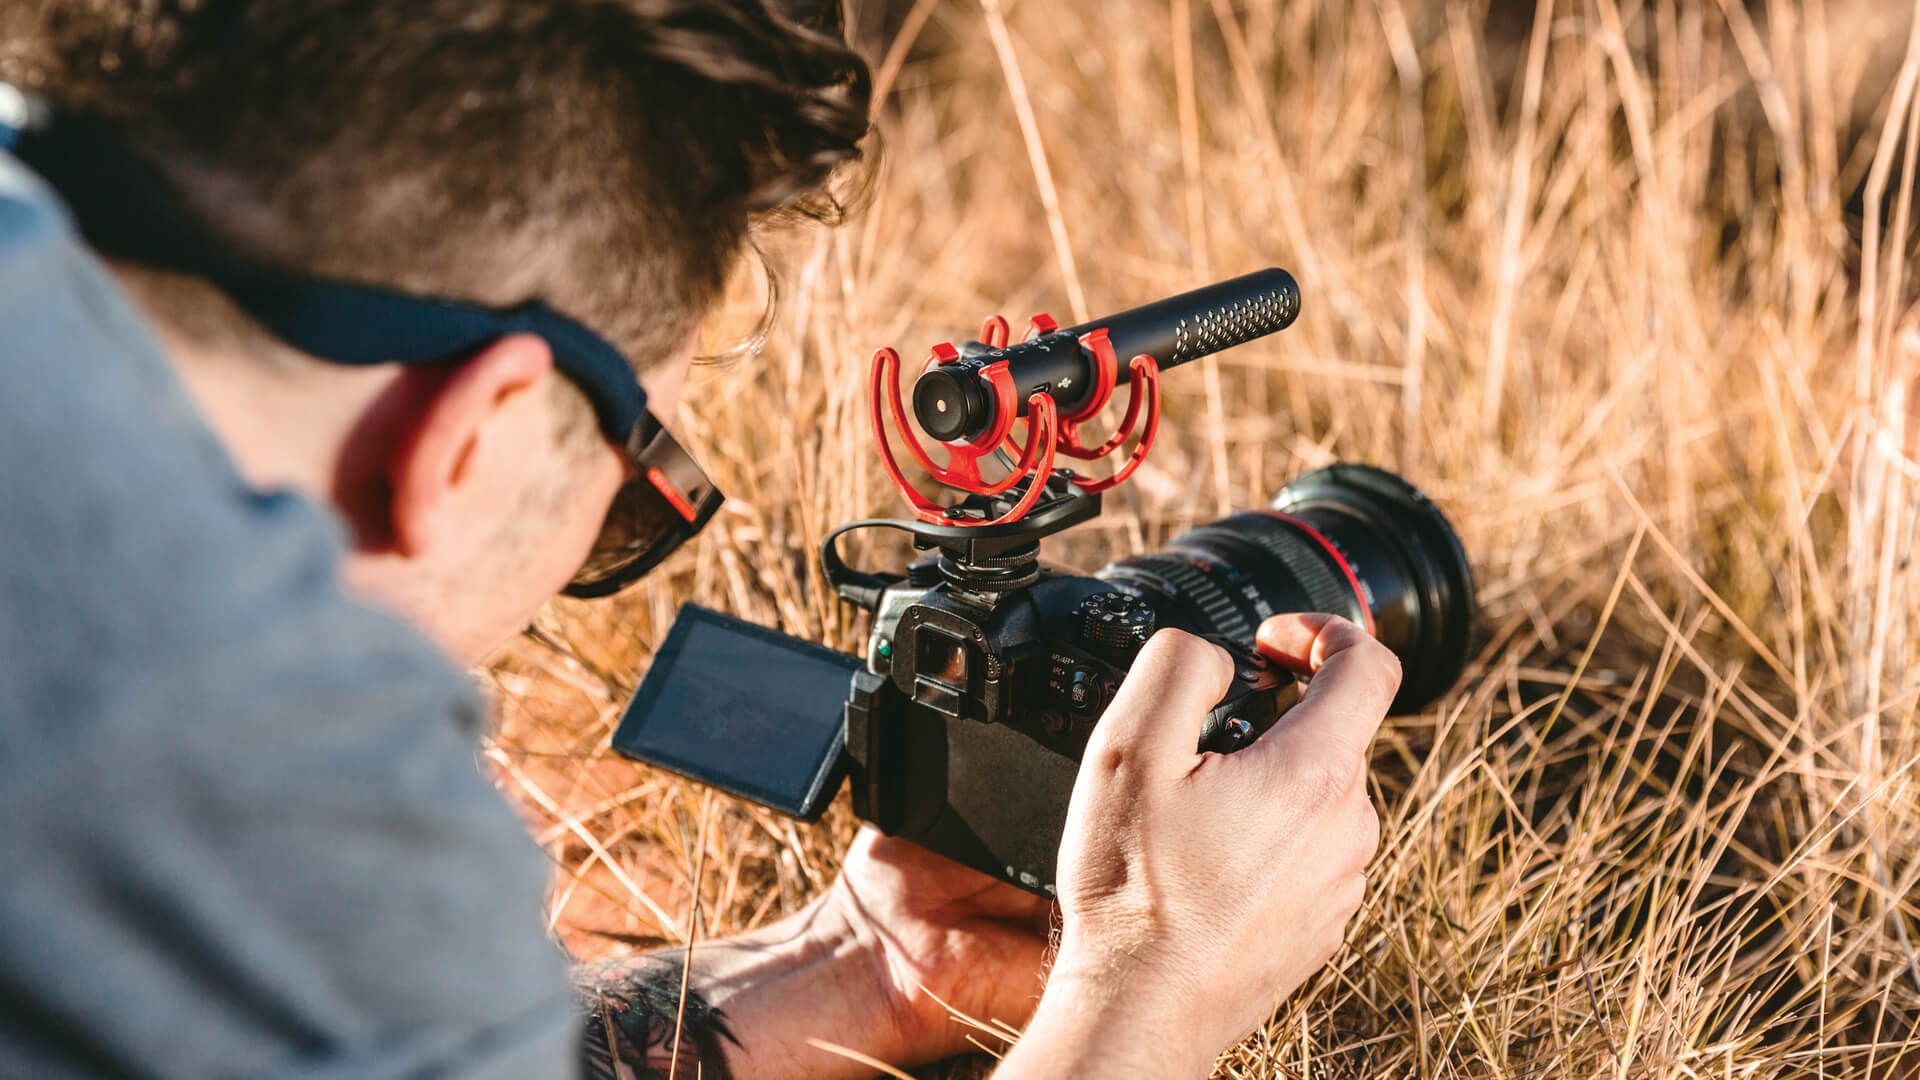
For the ultimate in control, the VideoMic NTG features a -20dB pad, high-frequency boost, safety channel, high-pass filter and infinitely variable gain control.
High-Frequency Boost
It may seem self-explanatory – the high-frequency boost raises the level of the higher frequencies – but let’s take a look at when you’d use this feature.
This boost can increase the presence of anyone speaking directly into the microphone in an otherwise noisy environment, as these higher frequencies are typically associated with the human voice.
Similarly, you can use for this boost to compensate for any high frequency muffling and dulling that may be caused by using a windshield on your microphone. Using this boost alongside a windshield like the RØDE WS11 will reduce those unwanted wind noises but retain the audio’s high-end shine.
Safety Channel
Two of our microphones – the VideoMic Pro+ and VideoMic NTG – feature safety channels as well as the filter, boost and pad options we’ve covered earlier. Much like a pad, a safety channel records audio at a lower volume than usual, but it's recorded simultaneously with the primary audio.
This is achieved by recording the audio in stereo, with the left channel containing the primary audio, and the right channel capturing exactly the same signal, but at a lower sensitivity. For the VideoMic NTG, the safety channel is -20dB lower, while the VideoMic Pro+ has a -10dB safety channel.
When editing your audio in post, you may find that your primary recording has a few moments where it clips or distorts. In these cases, you can substitute snippets of the safety channel (boosted in your editing software to match the primary audio’s volume) in order to save an otherwise ruined recording.
Check out the wide range of on-camera mics and mobile mics that RØDE has on offer to find the right tool for the job, whether it’s filmmaking, content creating, streaming or to fill your needs.