Overview
The XDM-100 is a professional dynamic USB microphone for streaming and gaming.
Learn how to set up, use and get the most out of your XDM-100 with the included UNIFY software here.
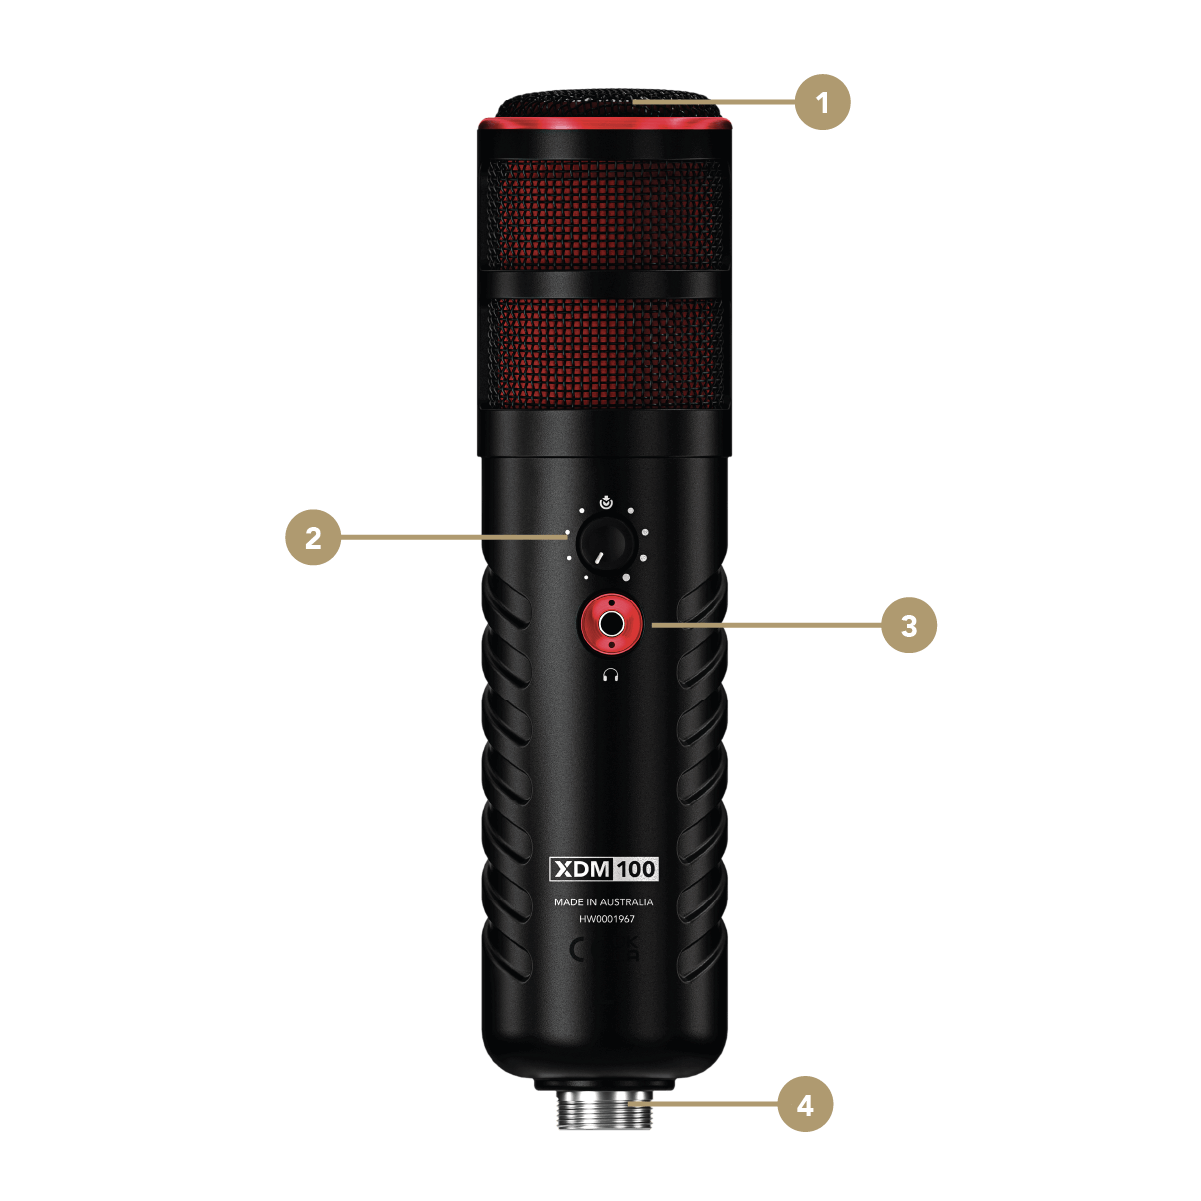
XDM-100 Front Overview
1Front of Microphone (Talk Here)
2Mute Button/Level Control
3Headphone Output
4USB-C Connector
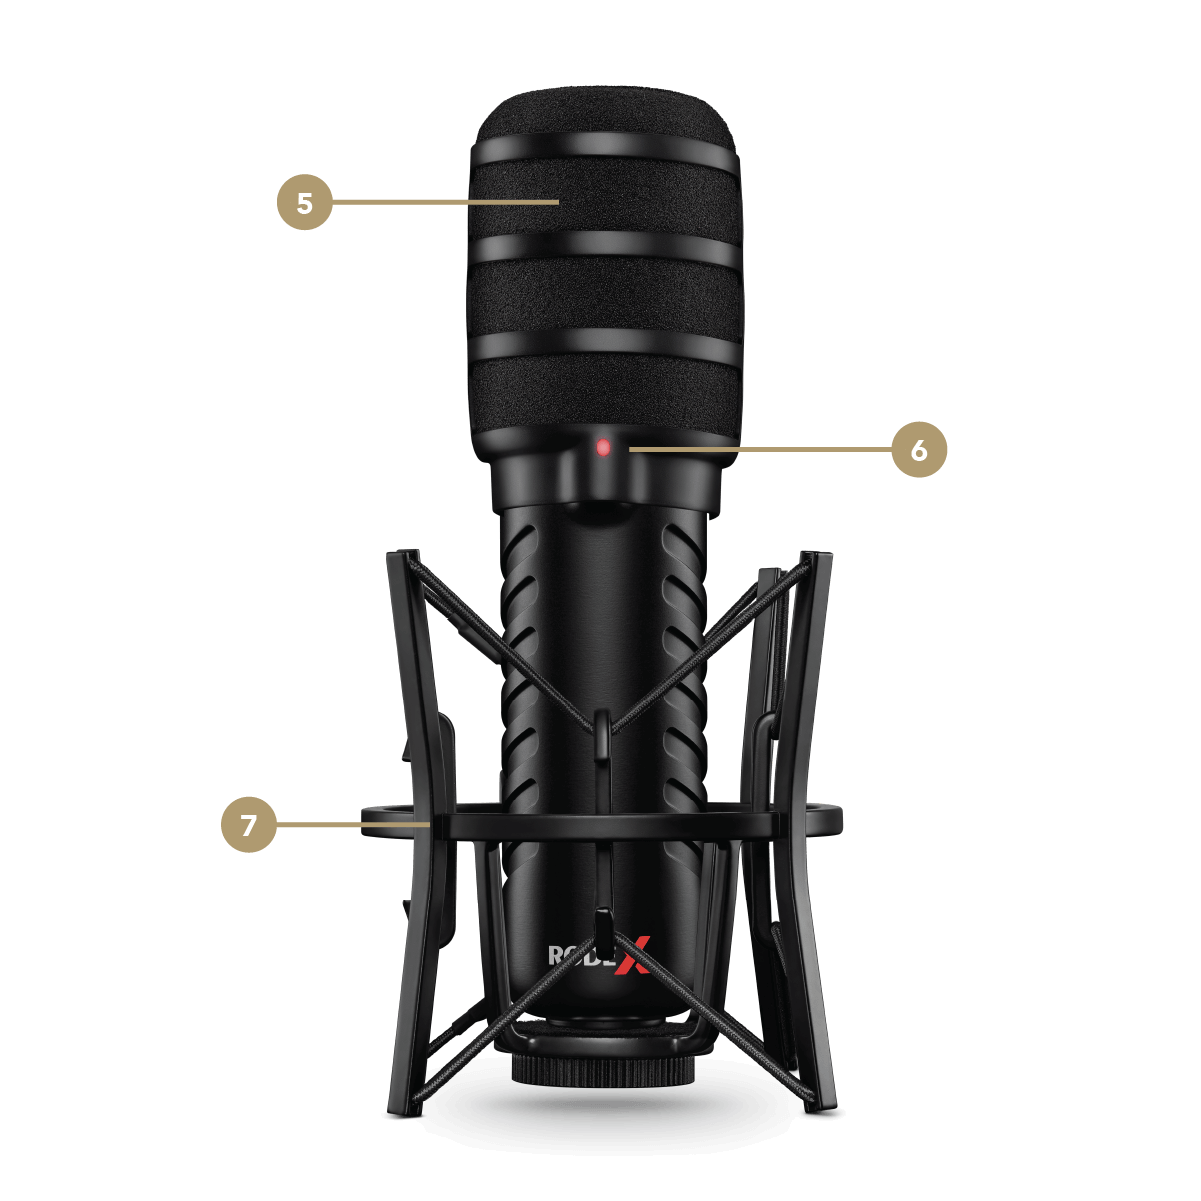
XDM-100 Back Overview
5Pop Shield
6Status LED
7Shock Mount
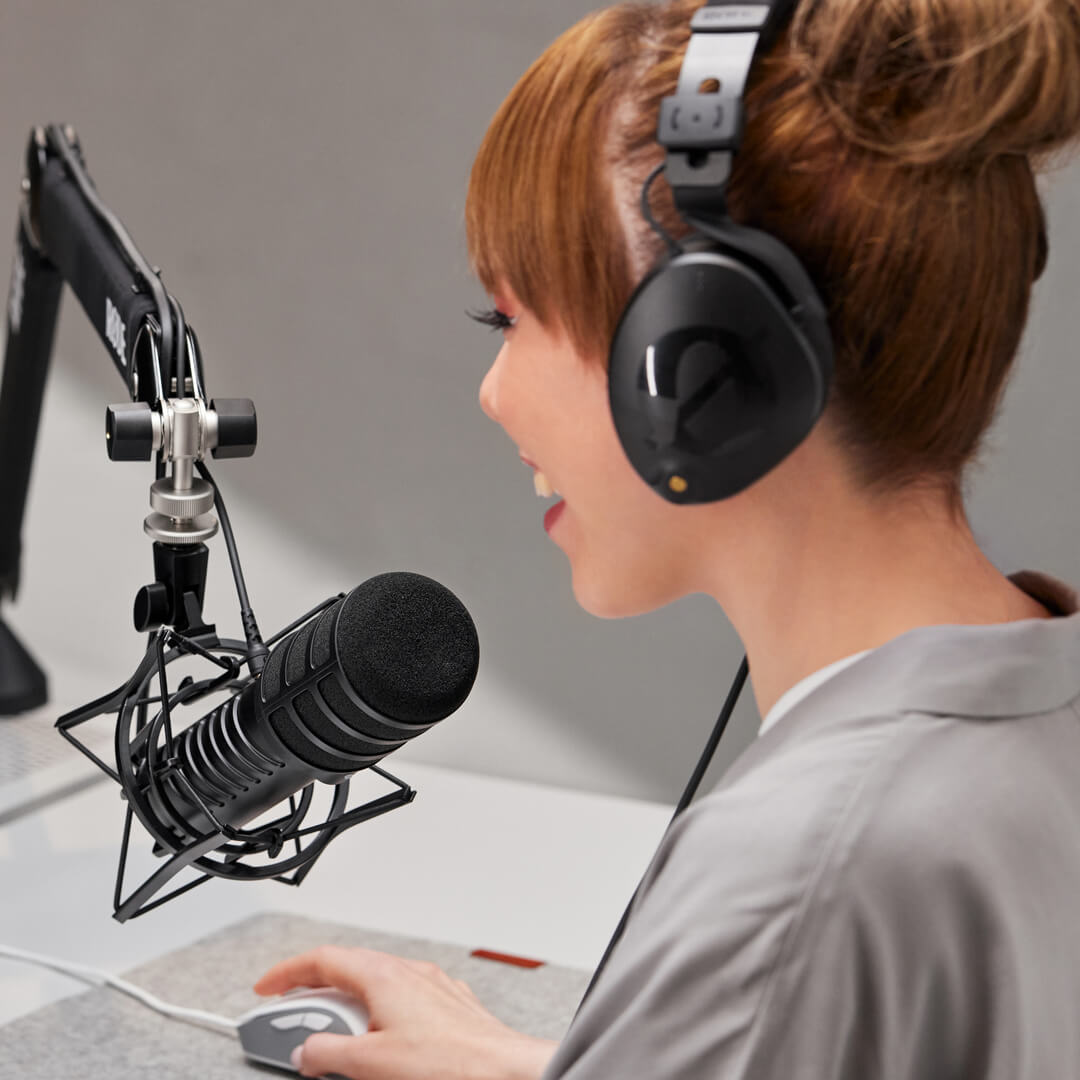
Microphone Technique Basics
The XDM-100 is an end-address microphone. This means you talk into the top (or end) of the microphone body rather than the side. It’s also important to note that the XDM-100 is a dynamic microphone. This means it is less sensitive than other mic types, such as a condenser like the XCM-50, and will sound better if your mouth is closer to the microphone – around 2-6 inches away is a good position to aim for. To ensure you don’t capture any plosives (loud puffs of air hitting the microphone capsule), we recommend using the included pop shield unless you are recording from further away (see below).
Using the Shock Mount
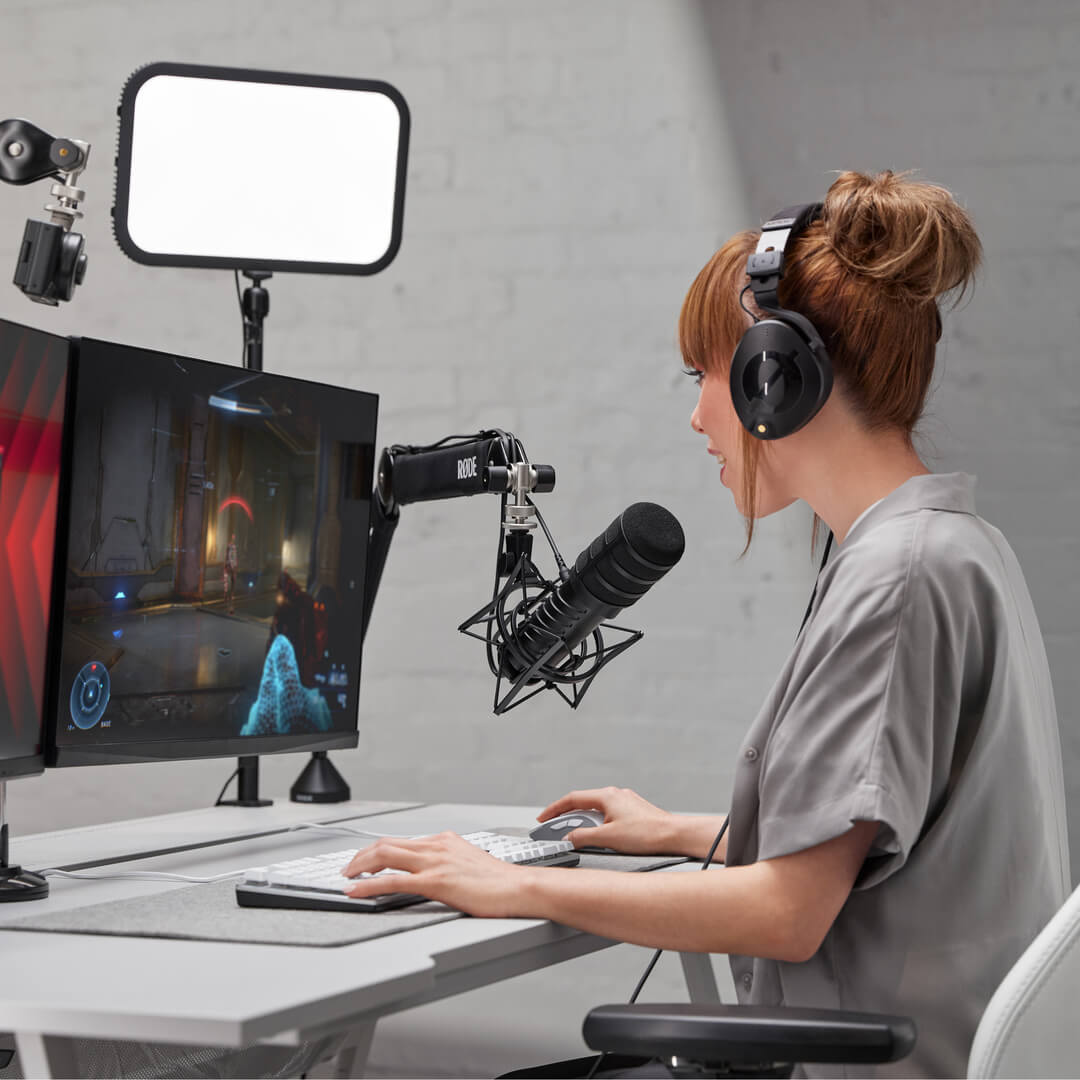
The XDM-100 comes with a studio shock mount, which can be used to attach it to a studio arm, such as the PSA1+, or another desktop mount like the Tripod 2. It also secures the microphone in place using an elastic suspension system providing isolation from external vibrations that may cause unwanted rumble in your audio.
Attach the shock mount to your microphone mount using the threaded attachment. If you’re using a studio arm, we recommend placing the mount in a downward position. Insert the threaded end of the XDM-100 into the base of the mount and twist clockwise to tighten whilst holding the ring on the base. Rotate the microphone so that the ‘RØDE X’ logo is facing upright. This will give you easy access to the level control.
-1080x1080-ea02c3f.png)
Using the Pop Shield
The XDM-100 comes with a high-quality foam pop shield for protection against plosives, which are loud puffs of air caused by hard syllables starting with ‘p’, ‘b’ and other consonants hitting the microphone capsule. We recommend always using this while speaking up close to the microphone. Simply slide it over the microphone grille and rotate so that the transparent portal aligns with the status LED.
-1080x1080-86f3174.png)
Connecting to a Computer
The XDM-100 features a USB-C output and comes with a 3m USB-C to USB-C cable for plugging into a computer. Simply plug one end of the cable into the output on the microphone, then connect the other end to a USB port on your computer. If your computer only has a USB-A input, you can use a USB-C to USB-A cable like the RØDE SC18.
The XDM-100 runs off USB power supplied by your computer. Plugging it in will turn the microphone on, indicated by the status LED. Unplugging it will turn the microphone off.
Connecting Headphones
The XDM-100 features a 3.5mm output for connecting a pair of headphones, allowing you to monitor your audio directly from the microphone with no latency (i.e., echo or delay). If you are using the XDM-100 with UNIFY and have audio processing activated, you will be able to hear this directly in your headphones, as all the processing is handled internally by the microphone. See the ‘Using with UNIFY’ section for more information. It also comes with a 3m headphone extension cable for keeping your setup tidy and organised.
Using the Level Control and Mute Button
The XDM-100 features a single knob, which controls the level for the headphone output. This is a high-power output with plenty of volume available.
When using the XDM-100 with UNIFY, this also functions as a mute button. Pressing it will mute the microphone. When not using with UNIFY, pressing the button will turn the microphone's zero-latency monitoring on and off. When this is activated, you will hear your microphone signal directly in your headphones; when deactivated, you will only hear audio coming from your computer.
.png)
Note
Zero-latency monitoring is activated by default when using the XDM-100 with UNIFY and cannot deactivated.
Setting as Your Audio Input and Output Device
Once connected to your computer, the XDM-100 will be recognised as an audio input/output (IO) device. You can use it with any app or software by selecting it as the input (microphone) and output (speaker/headphones) device in the audio preferences.
-1080x1080-9e09f73.jpg)
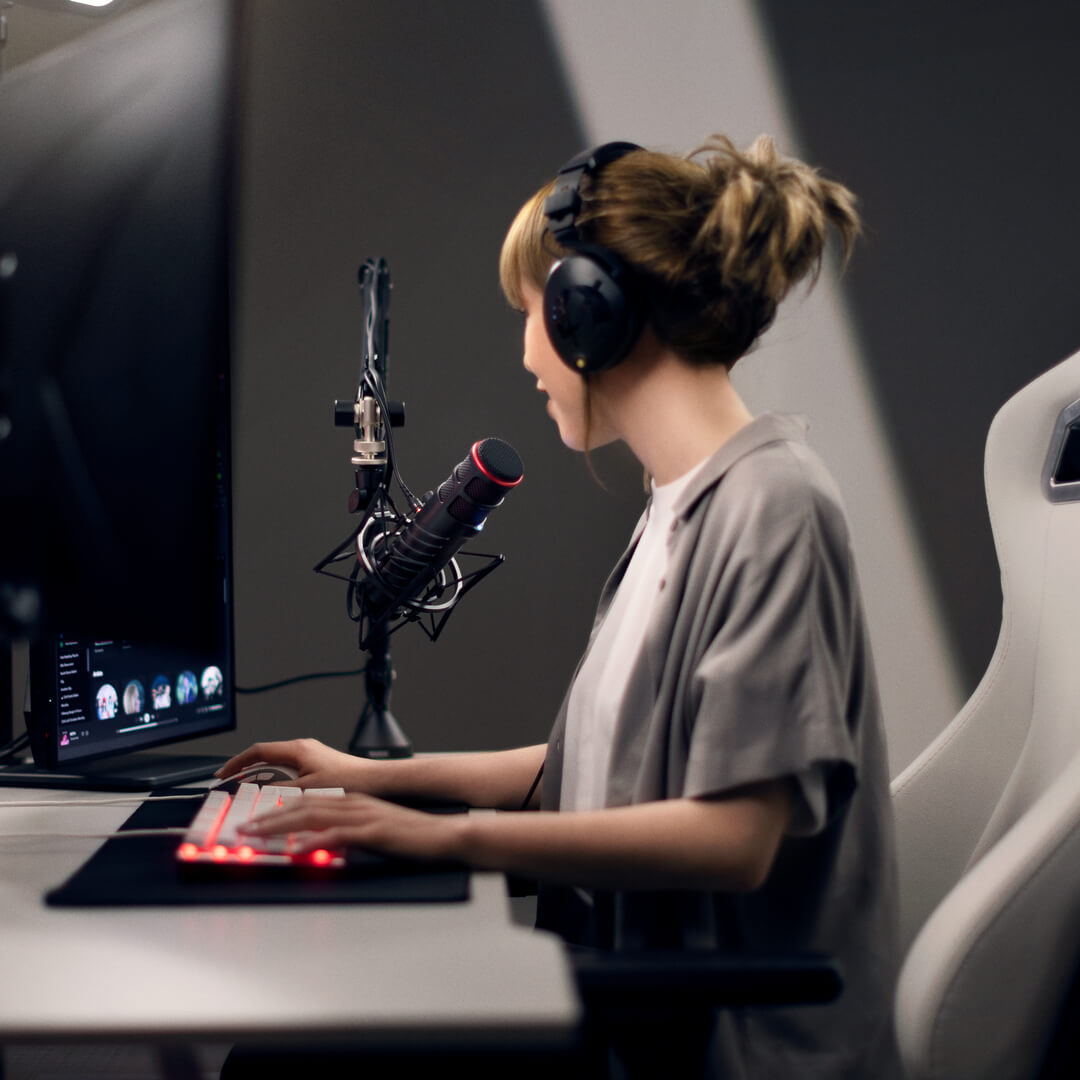
Using with UNIFY
The XDM-100 is optimised for use with UNIFY. Together they are a complete audio solution for gaming and streaming, with the microphone functioning as your audio input and output and the software offering complete control of your microphone audio (including the ability to add processing to your voice), as well as other sources like game, chat, music, system and browser audio. You can also create independent sub-mixes for each of your audio outputs, trigger voice FX like reverb, echo and pitch-shifting on the fly, record, edit and export your audio internally, and more.
UNIFY is free to download and use with any RØDE X microphone and is available for Windows.
-1080x1080-6d1b1a6.jpg)