Tips on Microphone Technique
Recording great audio is about more than just having great gear (although with RØDE in your kit bag, you’ve got that part covered). It’s also about using it correctly to deliver a professional result. And one of the most critical aspects of recording is proper microphone technique. Where you place your mics and how you use them will have a significant impact on your overall sound, whether you are podcasting, livestreaming, or recording music. Poor microphone technique can be hugely detrimental to audio quality and the listening experience, which often cannot be fixed in post-production. But if you take the correct approach and follow some simple rules, you’ll be able to get the best from your microphone in any recording scenario.
Microphone Placement
Getting your microphone in the right position is 80% of the job of capturing a great recording. In general, that means placing the microphone close to the audio source, particularly with voice recording applications like podcasting and livestreaming. The biggest mistake many content creators make is having the microphone too far away. This will result in audio sounding distant, reverberant, and increase the presence of background noise. Let’s look at some common scenarios, and what ideal mic placement looks like.
Podcasting, Speech and Singing
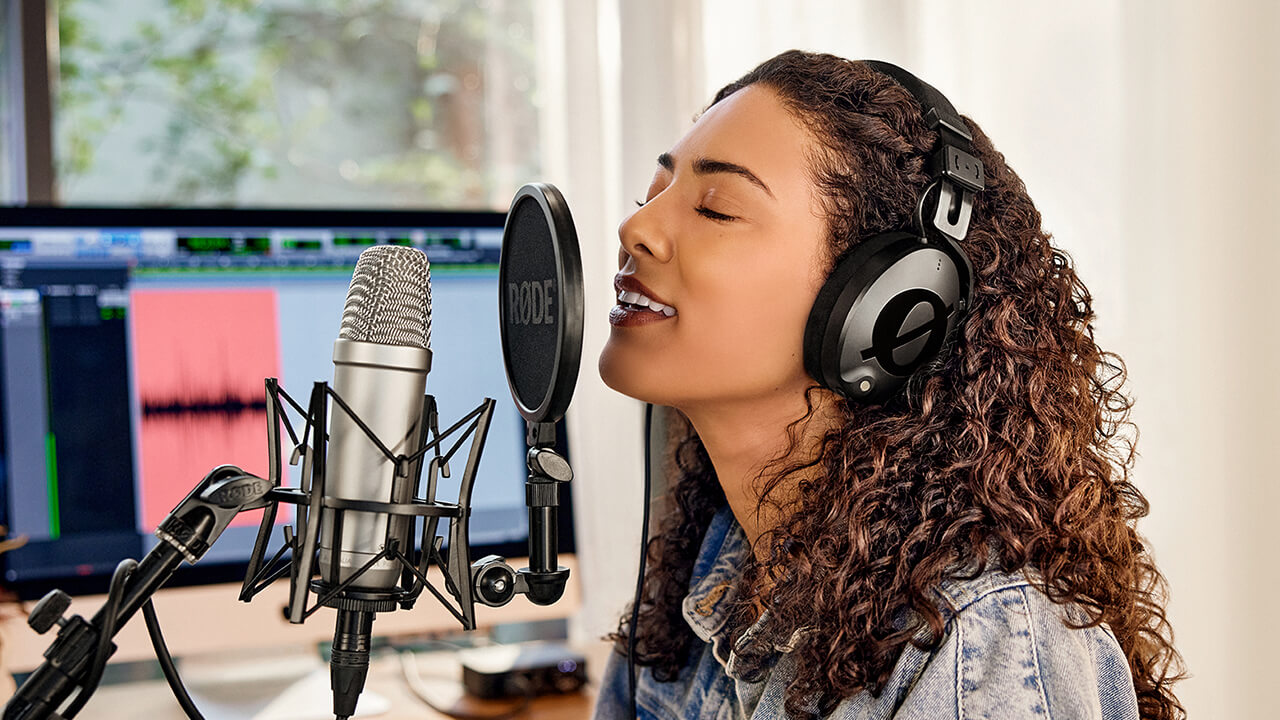
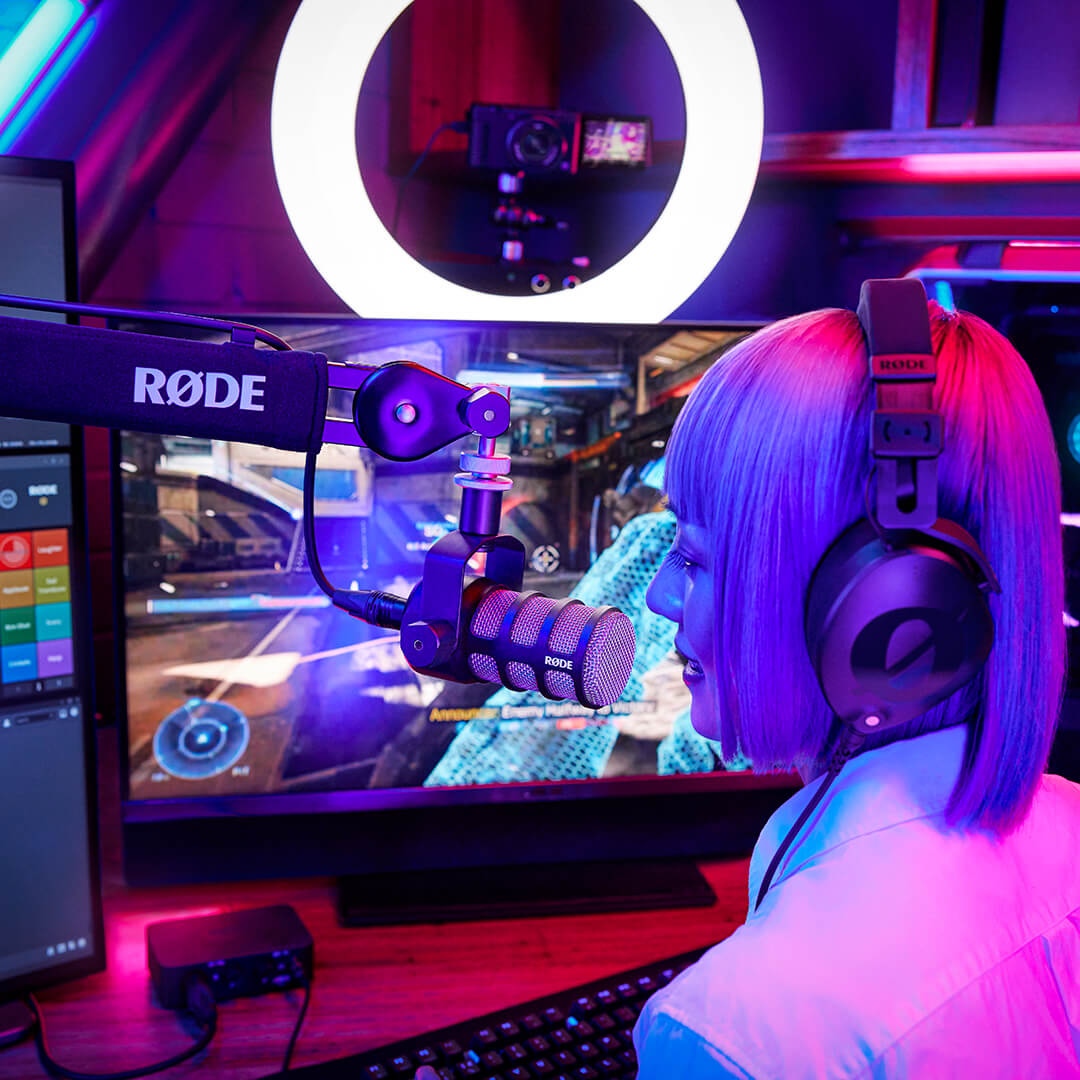
If you are singing, recording a podcast or a voice-over, you generally want to get nice and close to the microphone. If you have a dynamic microphone (such as a RØDE PodMic or Procaster), your mouth should be 2-6 inches away from the grille. If you have a condenser microphone (such as an NT1-A or Broadcaster) you can be a little further back – roughly 6-12 inches – but you should still be up nice and close. This will give your voice a rich, professional sheen and help reduce background noise.
Using a Lavalier
If you need a more unobtrusive solution where the microphone is less visible in your video, then a lavalier is a great option. Lavaliers are small clip-on mics that you attach to your clothing. Again, getting the lavalier close to the mouth is ideal – about a single hand-span away. They can be mounted on the chest to a shirt or lapel, or you can get creative and, for example, mount it on the brim of a hat. Check out this video for great tips on using a lavalier microphone.

Using a Boom Mic
Another way to get the mic out of your shot is to use a microphone mounted on a boom or stand. Again, the closer you can get the mic to your mouth, the better. Typically, this means putting the mic just above and about a foot in front of you, so it is just out of frame, with the mic pointed towards your face or chest. In a static studio shot, you can also get creative by putting the mic even closer, so it is in the frame, and then blanking it out with a matte of your set that starts just above your head.

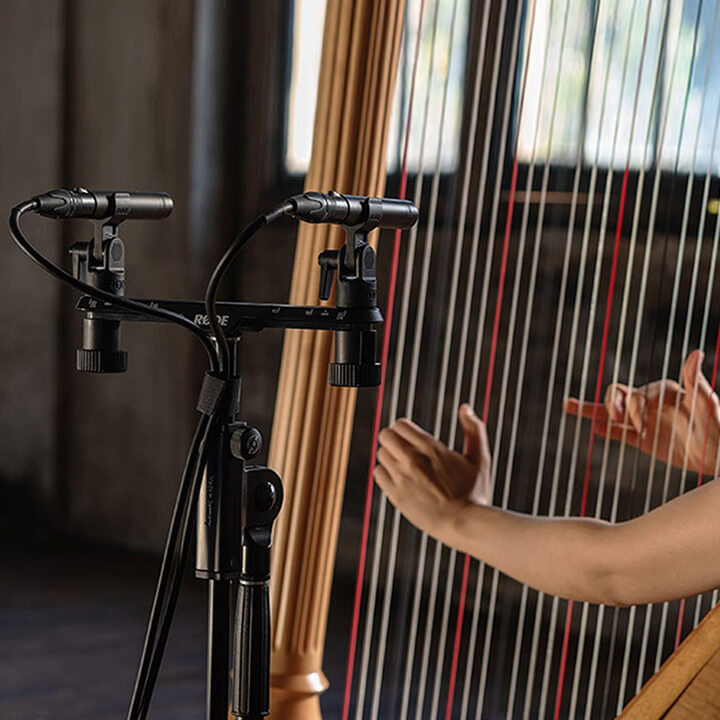
Recording Musical Instruments
There is no right and wrong way to record a musical instrument, but in general, the closer the microphone is to the instrument, the more dynamic and exciting the sound will be. For a more natural sound, position the microphone around 1 to 3 metres away from the source. For a very tight, exciting sound, you can get as close as you like. As always, monitor on headphones as you go and experiment to get the best sound. It’s worth noting that, in general, microphones need to be closer to the source than a listener would be in the room. Putting a microphone in the spot where the audience is situated is usually too far back and will yield a distant-sounding recording.
Setting Gain Correctly
Once you have the microphone in the right spot, the next most important thing is to set gain on your recording device or software correctly. Too low and your recording will be too quiet, and you may get unwanted hiss when you increase your levels in post-production. Too high and your recording may sound unpleasant and distorted, especially in louder sections.
Preparing to Set the Gain
To set the gain, you need to put the microphone into the correct position, and then get the performer (or you, if you are the performer) to rehearse their material. It’s important that this rehearsal is the same as it will be during the recording or livestream. For example, if you know you will get excited and raise your voice during your show, make sure you rehearse that way to ensure your gain setting compensates for this sudden peak in volume. Whilst rehearsing, watch the level meter on your recording device or software and adjust the gain to ensure you have a good level showing on your meters, but it is not going into the ‘red’, which may result in clipping/distortion.
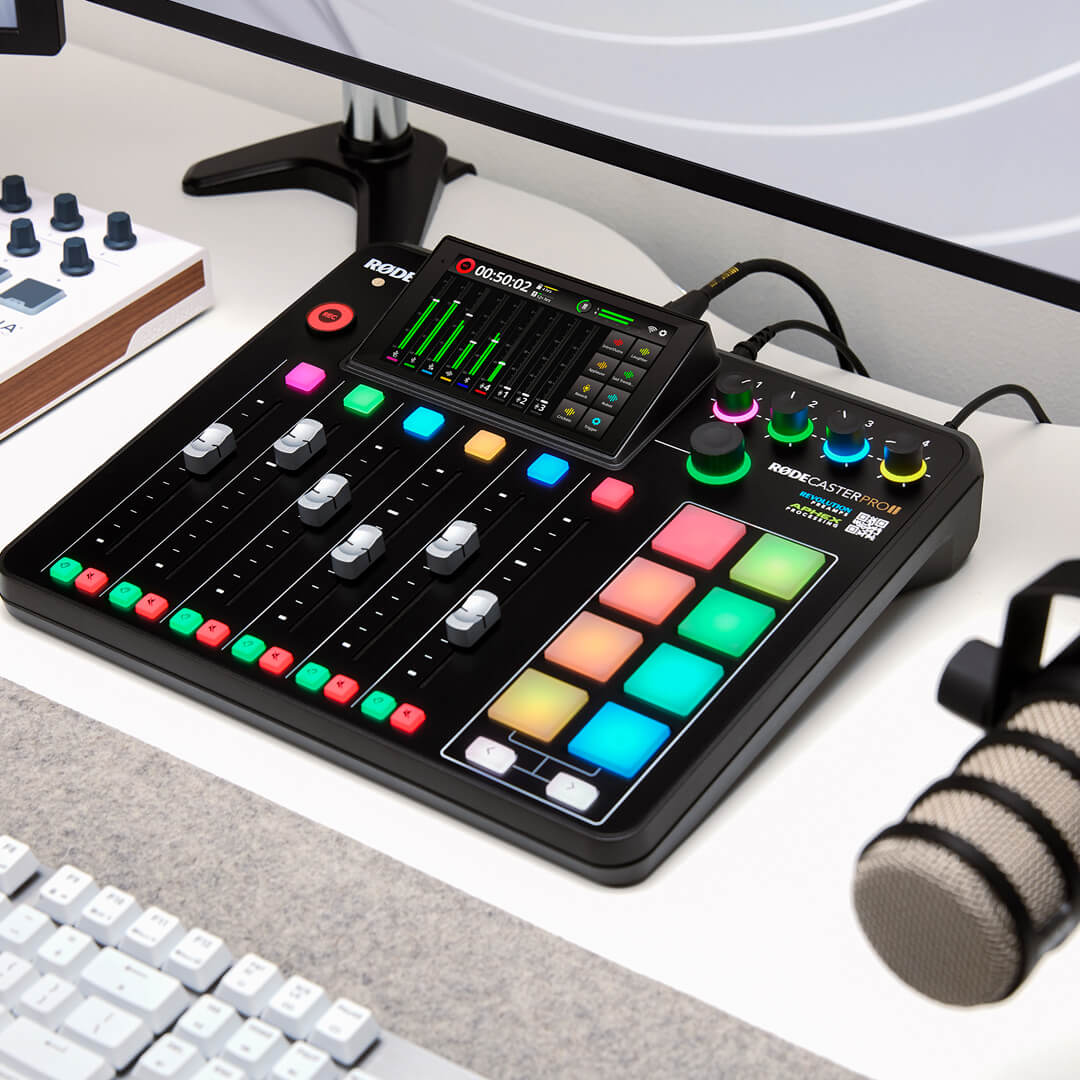
Setting Gain on RØDE Products
On the RØDECaster Pro, the RØDECaster Pro II and RØDE Connect software, there is an easy-to-read gain meter for each channel. Go to the gain setting and ensure that the level is comfortably inside the green section. On the AI-1, simply turn up the gain knob until the level LED is green, with occasional flashing of yellow when the audio source is louder. If you see red, turn the gain down. For USB microphones, go to the sound settings on your computer, look for the microphone level, and check that the level on the meter ‘peaks’ at about three-quarters of the way when you are performing.

Setting the Gain on your Camera
If you have a microphone connected to your camera, there are a few things you can do to ensure a clean, clear recording. Firstly, turn off Automatic Gain Control (AGC) and set gain to manual. You should also disable any processing (for example, wind reduction). Then adjust the recording level so the audio ‘peaks’ at about three-quarters of the way across the meter. It is also good practice to turn up the output level of the microphone (if your microphone has adjustable output) and use as little camera gain as possible. To learn more about setting gain in a camera, check out this blog post.
Advanced Microphone Techniques
Getting the mic in the right spot and setting your gain correctly will give you a great result every time. But to add that extra level of professionalism, you can learn to use the microphone like a musical instrument to get the exact result you want at any moment.
Reducing Plosives
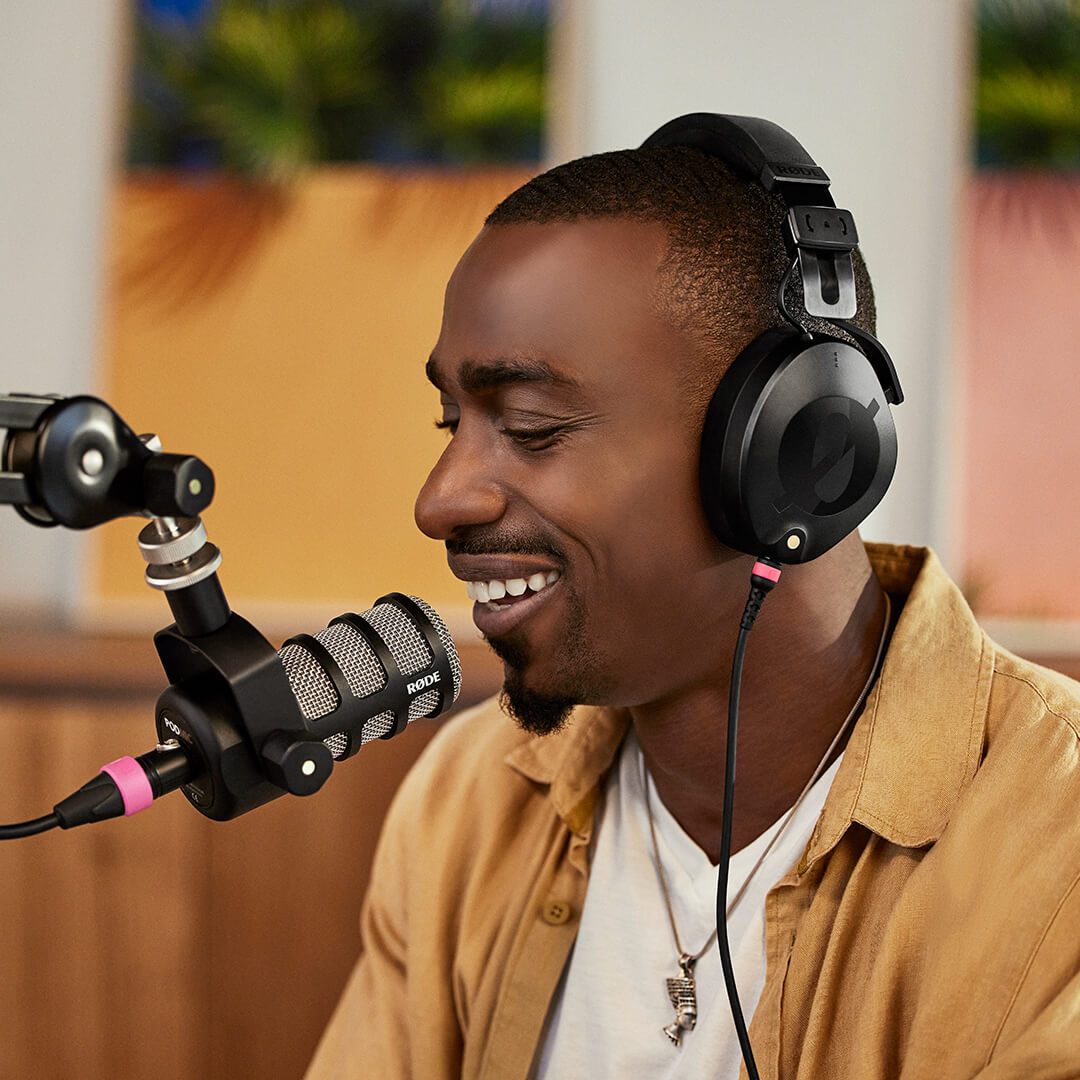
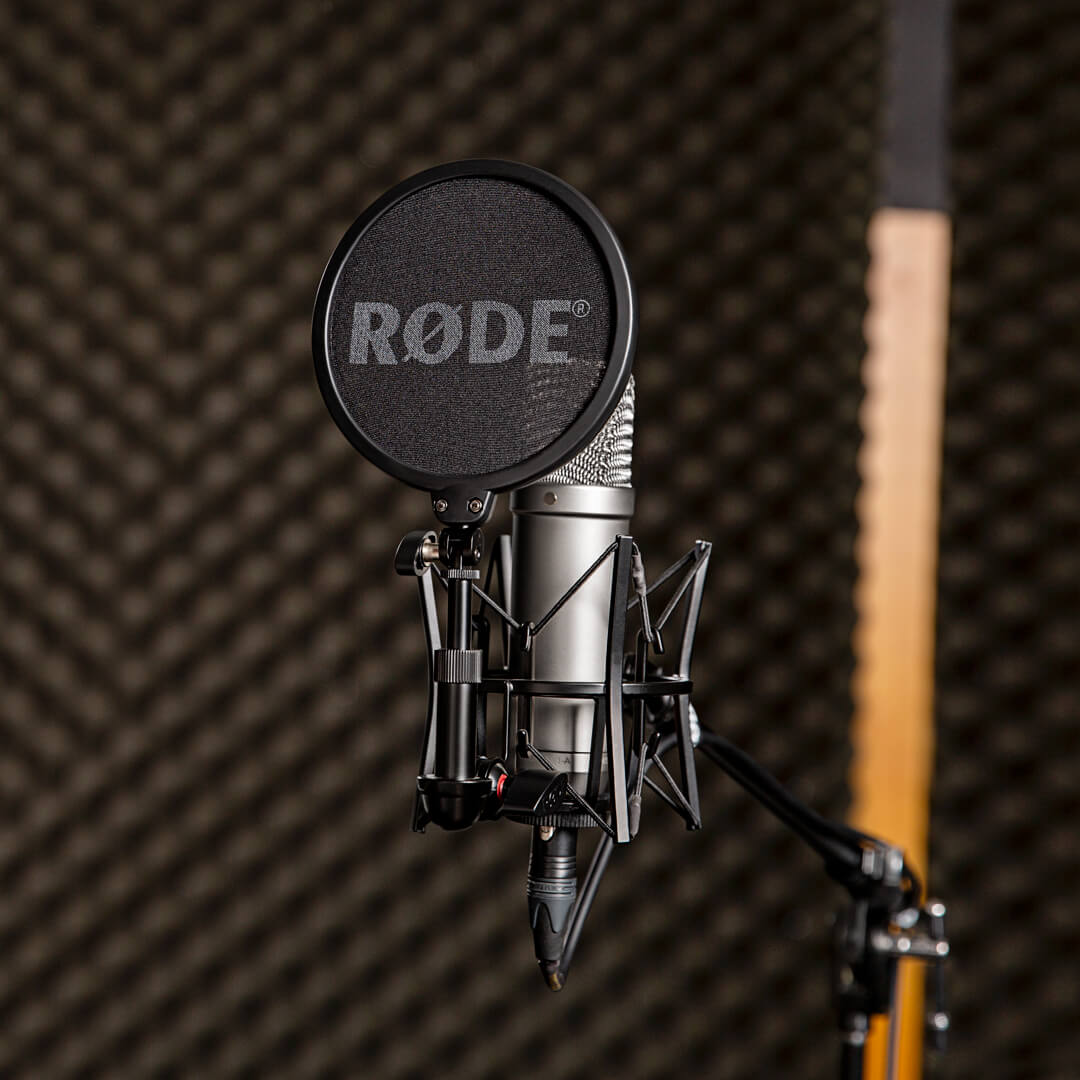
Although being closer to the microphone yields a great sound, it also increases the risk of plosives. This is a ‘popping’ sound that occurs on hard syllables such as ‘B’ and ‘P’, which can overload the microphone capsule. There are a number of ways to mitigate this if it is a problem. The first (and most effective) way is to practice performing whilst listening to yourself in headphones and moderate your voice to reduce plosives. Concentrate on how you say words like ‘pop’ and ‘bass’ to reduce the puff of air that comes from your lips. After a while, your vocal technique will naturally improve. However, sometimes plosives are unavoidable and there are other steps you can take to mitigate risk. The first is to use a pop filter – either a foam windshield over the microphone, or a separate mesh pop filter in front of the mic. Both of these are an effective way to reduce plosives. Another technique to try is to angle the microphone slightly so you are speaking across the front of it, rather than directly into the capsule.

The Proximity Effect
Getting closer to the microphone does not just make the sound clearer, it also affects the timbre of your voice. When you get in really close, bass frequencies are exaggerated. This is called the ‘proximity effect’. You can use this to your advantage as it helps give your voice a richer, more intimate sound. For example, if you lean into the microphone and speak quietly, your voice will gain additional low-end emphasis. Learning to moderate the volume of your voice whilst you move in and out from the microphone is a great skill to have, as you can use it for artistic effect when singing or podcasting. As always, wearing headphones and practicing are key to understanding how to leverage this effect.
Choosing the Right Recording Space
Your recording space will also have big impact on your end result. Whilst you don’t need a professional studio to record great audio, making a few changes to your space will help lift the quality of your recordings.
Choosing a Room
In general, you will get the best result in rooms that have as little reverberation as possible. Rooms such as kitchens have a lot of hard surfaces that create natural reverberation (or echo). In day-to-day life you probably don’t notice this, but in a recording, it will be immediately obvious and can be distracting for your audience. Record in a room such as a bedroom with lots of soft furnishings, carpet on the floor and curtains. Just this simple change will deliver a more professional result.
Acoustic Treatment
If you are still struggling with reverberant or echoey recordings, consider adding acoustic treatment to your space to minimise acoustic reflections. This could be mounting professional acoustic tiles on your walls, or it could be a simple as hanging heavy blankets around your recording area. Thick, heavy or padded materials will all help to reduce room reverb and can make a significant difference to your audio quality.
Eliminate Background Noise
Removing background noise from your recording is another way to deliver a more professional result. This means listening for any noise in your room prior to starting your recording and eliminating them as much as possible. For example, you may consider turning off air conditioners, fridges and other electrical items that might rumble or buzz, or close windows to reduce noises from outside. If there is a temporary sound source – for example, your neighbour mowing their lawn – wait until it stops before starting to record.