Connecting Callers and Online Guests
Connecting USB-C Devices
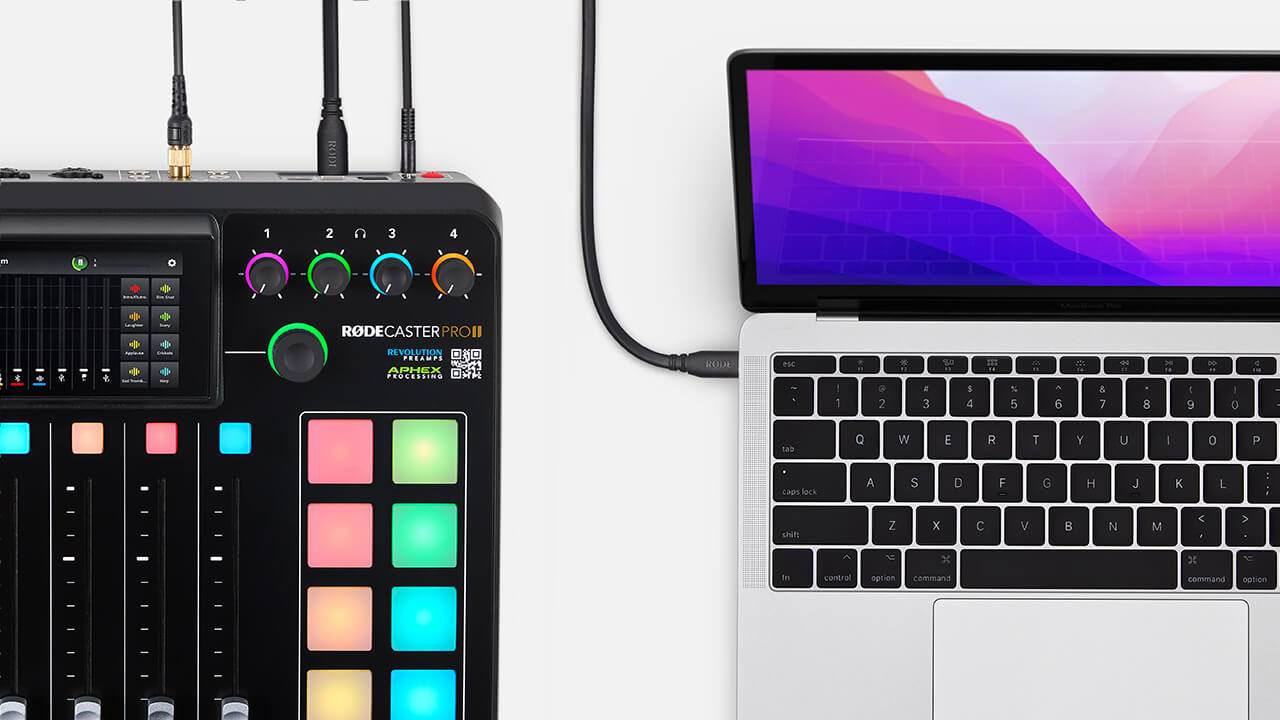
The RØDECaster Pro II features two USB-C connectors on the back of the unit. These are independent USB interfaces, allowing you to connect two computers or mobile devices simultaneously. Use the supplied USB-C to USB-C cable to connect your device to the unit. If your device does not have a USB-C connector, you will need to use a different cable (see below). Whilst USB 2 can be used to connect any USB-C device, it is specifically optimised for mobile devices.
Connecting USB-A Devices
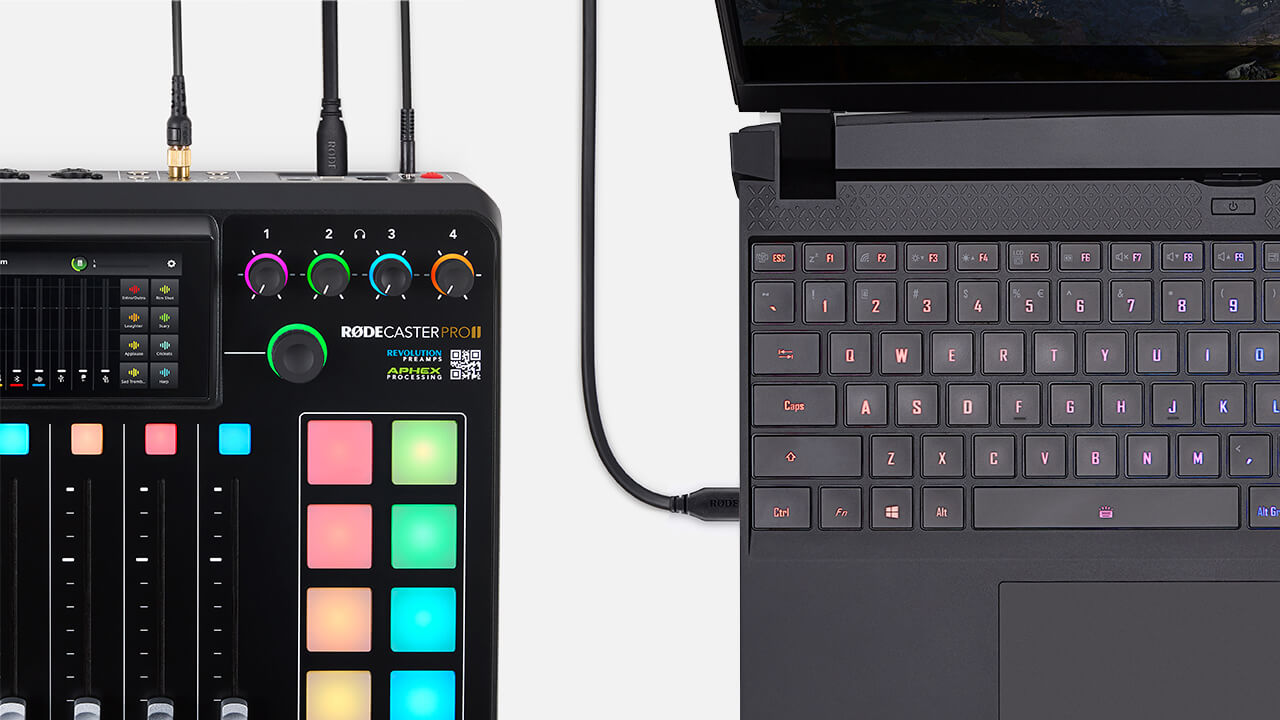
If your device has a USB-A connector, you will need to use a USB-C to USB-A cable such as the RØDE SC18 to connect it to the RØDECaster Pro II.
Connecting iOS devices
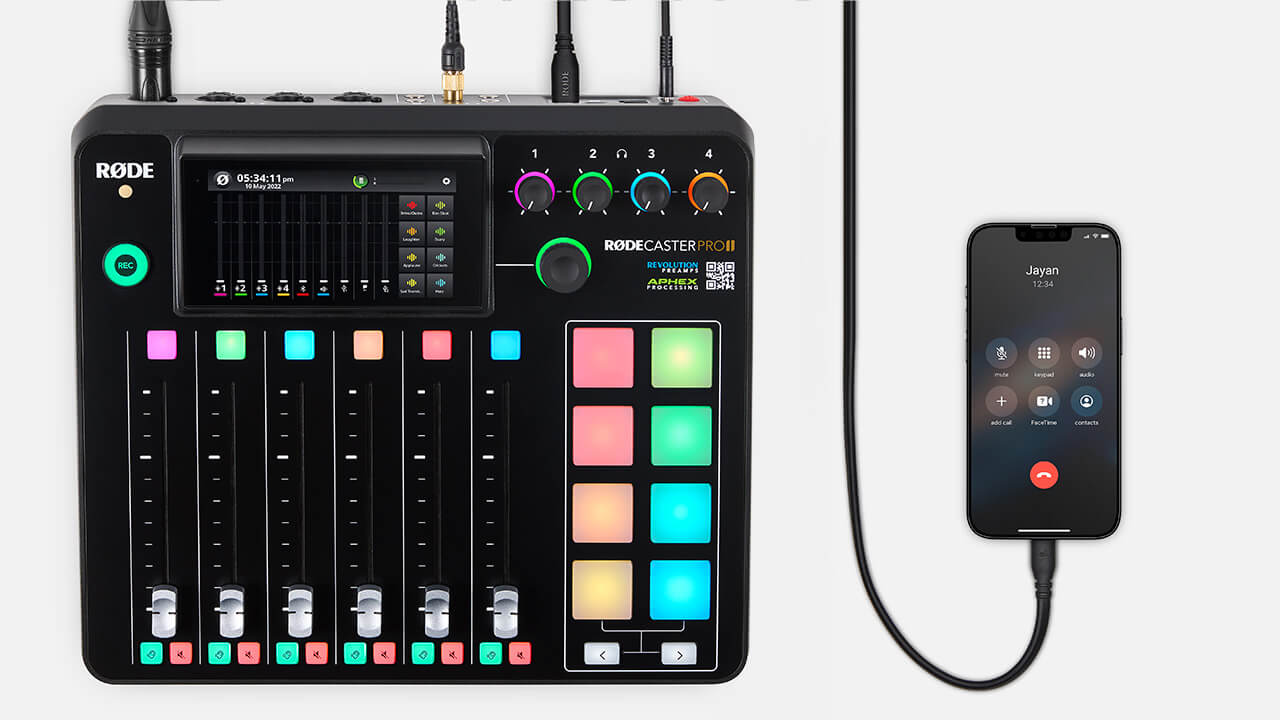
The RØDECaster Pro II is MFi-certified for seamless interaction with iOS devices (including iPhones and iPads). If your iOS device has a Lightning connector, you will need to use a Lightning Accessory Cable, such as the RØDE SC15 or SC19. Connect your device to USB 2 and ensure mix-minus is turned on in the USB 2 channel settings when making remote calls.
Note
Due to iOS limitations, native phone calls cannot be made on an iPhone or iPad via USB. Use the Bluetooth channel for making calls with your iOS device. Or use another communications app if using USB.
Connecting a Device via Bluetooth
The RØDECaster Pro II features advanced Bluetooth connectivity with wide-band speech for making high-quality phone or video calls with a mobile device or computer.
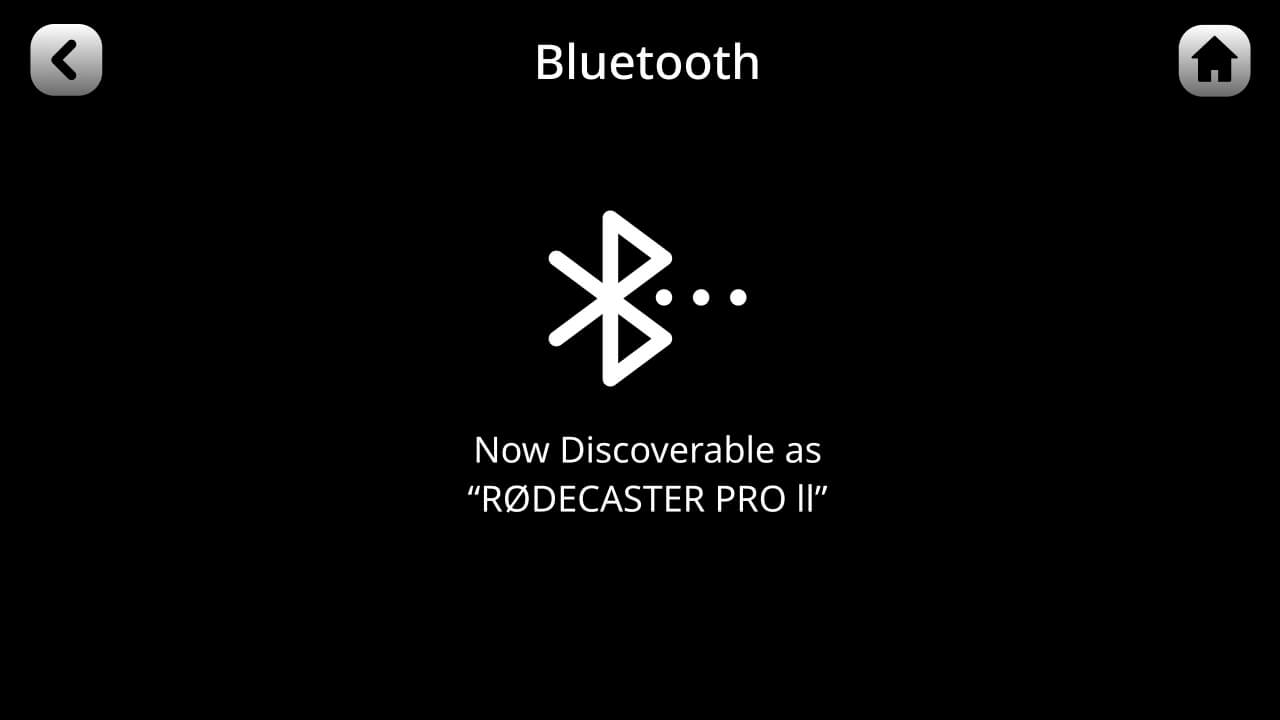
To connect your device to the RØDECaster Pro II via Bluetooth, tap the setting cog then ‘System’ > ‘Bluetooth’. When this page is open, the RØDECaster Pro II will be discoverable to all Bluetooth devices within range. Then simply open the Bluetooth settings on your device, select the RØDECaster Pro II and follow the prompts to pair.
Once connected, you will need to assign the Bluetooth channel to its own fader on the RØDECaster Pro II. See the section on 'Setting Up and Assigning Channels' for more information. Now when you make a call using your device, the audio from the RØDECaster Pro II will be heard by the caller and the audio from your device will be routed to the Bluetooth channel.
Setting up USB Connections on the RØDECaster Pro II
The RØDECaster Pro II offers an incredibly flexible feature set when it comes to connecting callers and online guests via USB. This includes two USB interfaces with three available USB audio devices, and a host of configurable options for mix-minus and custom routing. Learn more about the RØDECaster Pro II's USB interfaces, including how they work, what they should be used for, and how to streamline your workflow below.
Routing Computer Audio to the USB Channels
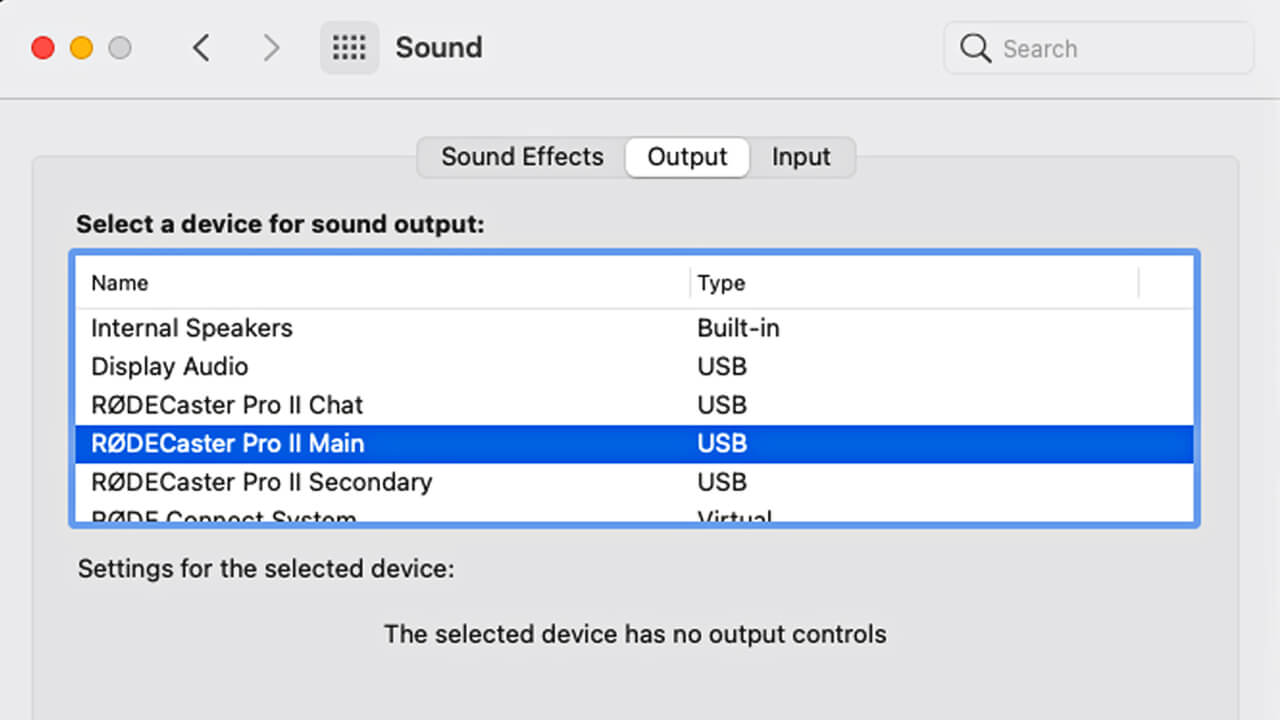
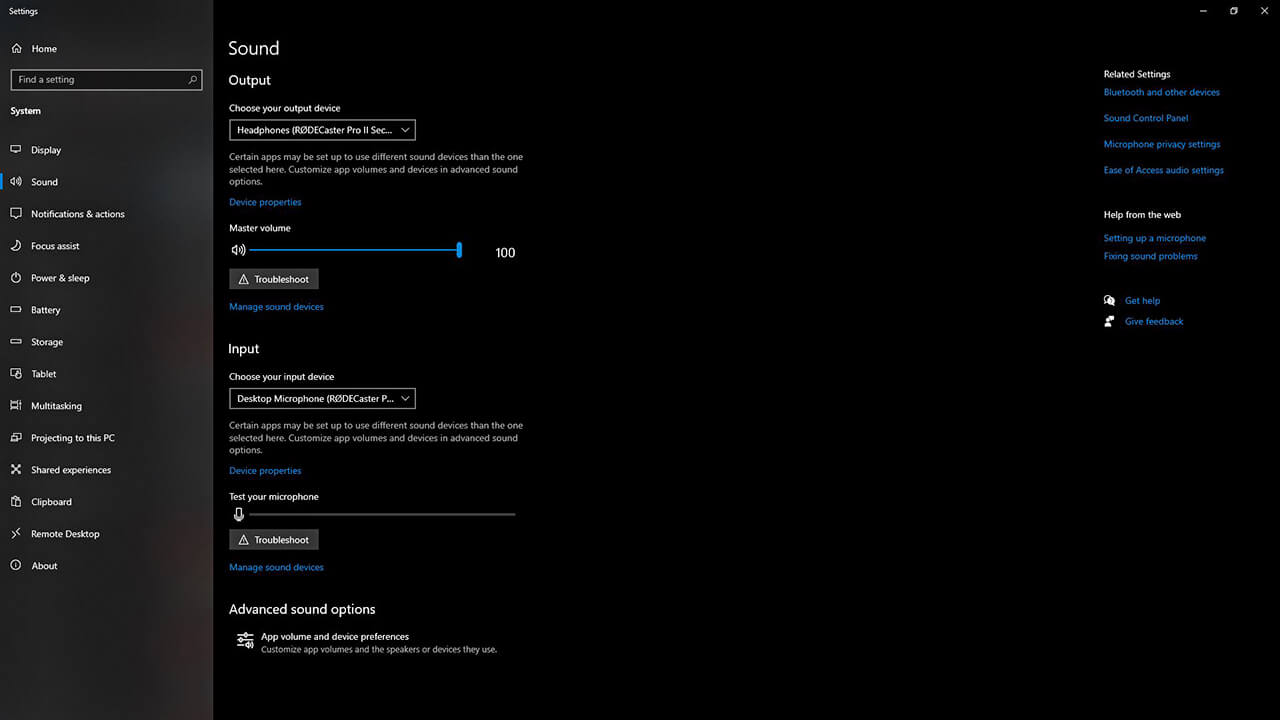
To route audio from your computer to your RØDECaster Pro II, you will need to select it as an audio device. When connected to a computer via USB 1, the RØDECaster Pro II will appear as two different audio devices: RØDECaster Pro II Main and RØDECaster Pro II Chat; when connected via USB 2, it will appear as one device: RØDECaster Pro II Secondary. You will need select the correct device on your computer to ensure the audio is routed to the corresponding fader on the mixer.
Selecting Audio Devices on Mac
To select the RØDECaster Pro II as an audio device on a Mac computer, go to your system preferences and click ‘Sound’, then select the USB channel you are using as both your ‘Input’ and ‘Output’ device. You will also need to do this in the sound settings of the communications app or software you are using.
Once your audio is routed correctly on your computer, you will need to assign the USB channel you are using to its own fader on the RØDECaster Pro II. See the section on 'Setting Up and Assigning Channels' for more information.
Selecting Audio Devices on Windows
To select the RØDECaster Pro II as an audio device on a Windows computer, go to ‘Settings’ > ‘System’ > ‘Sound’, then select the USB channel you are using as both your ‘Input’ and ‘Output’ device. You will also need to do this in the sound settings of the communications app or software you are using.
Once your audio is routed correctly on your computer, you will need to assign the USB channel you are using to its own fader on the RØDECaster Pro II. See the section on 'Setting Up and Assigning Channels' for more information.
Note
in some apps, your input and output device may be called something different, such as ‘Microphone’ (input) and ‘Speaker’ (output) in Zoom).
Pro Tip
If your Bluetooth channel is not receiving audio, ensure that the level on your device is turned up.
Using Processing, Effects and Setting Levels on the Bluetooth and USB Channels
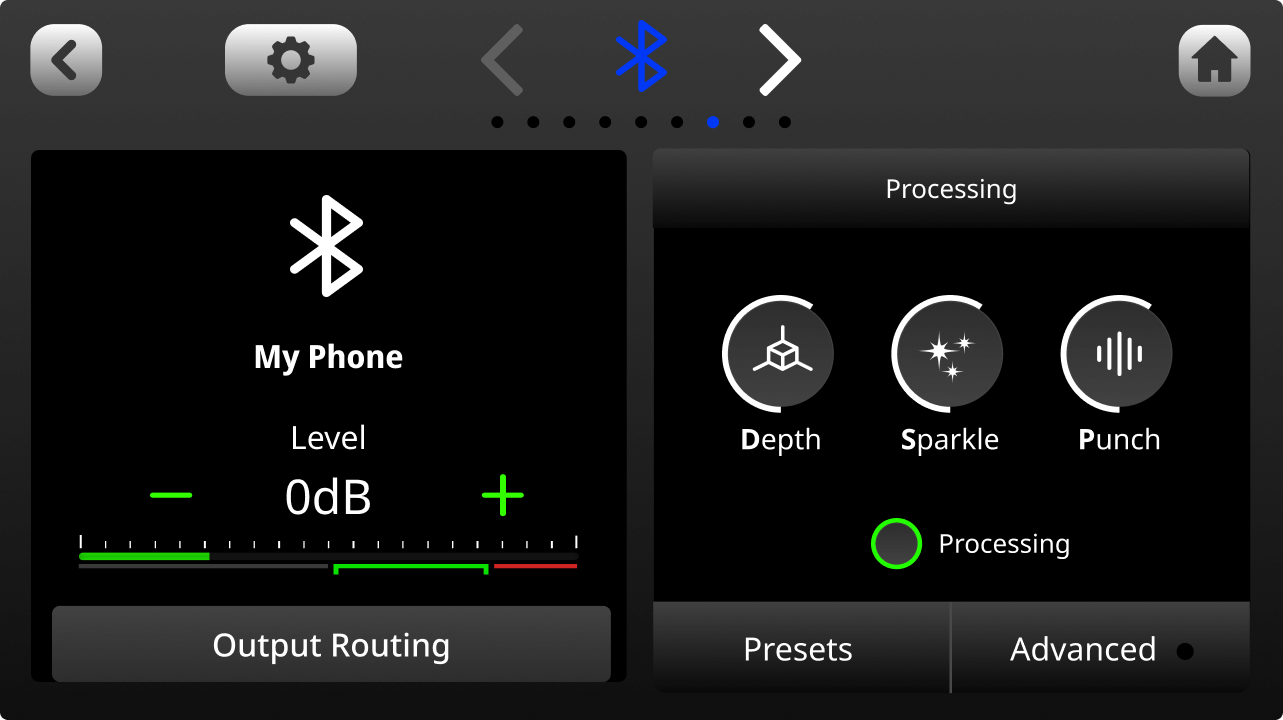
Just like the other audio channels, you can apply processing and effects and change the input level on the Bluetooth and USB channels via the channel settings page. By tapping ‘Output Routing’ on this page, you can also enable mix-minus or an entirely custom sub-mix for your USB and Bluetooth channels.
Using Mixer Actions When Making Remote Calls
The RØDECaster Pro II’s SMART pads can be used to trigger a variety of mixer actions that are useful when making remote calls, including Back Channel mode and Trash Talk.
Back Channel Mode
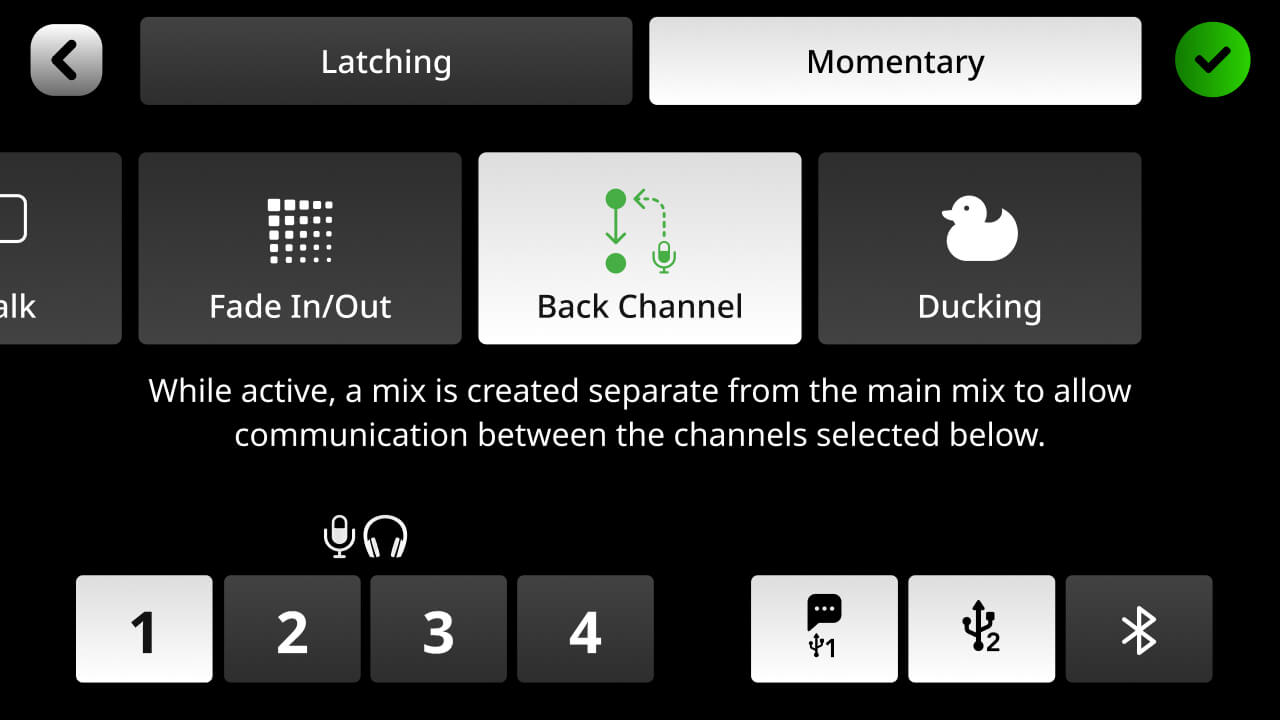
Back Channel mode is a function that allows you to communicate with remote guests “off-air”. This is useful in podcasting or livestreaming scenarios where the host needs to call and prep a guest live without the audio being recorded. This function can be assigned to a SMART pad which, when pressed, will remove the selected channels from the audio mix whilst still allowing communication between those channels.
To set this up, tap the settings cog, then ‘Settings’ > ‘SMART Pads’, select an empty SMART pad slot, ‘Mixer Actions’ and select ‘Back Channel’. On this page, you can select how Back Channel mode will behave, including the trigger type (‘Momentary’ – on while pressed, off while not pressed; or ‘Latching’ – on when pressed, off when pressed again). You can also choose which channels will be allowed to communicate with each other when Back Channel mode is activated. This could be every channel, or just the host and a single guest.
Pro Tip
You can also activate Back Channel mode by pressing the ‘Listen’ and ‘Mute’ buttons for the channels you want to be able to communicate. However, using the SMART pads is much quicker and easier.
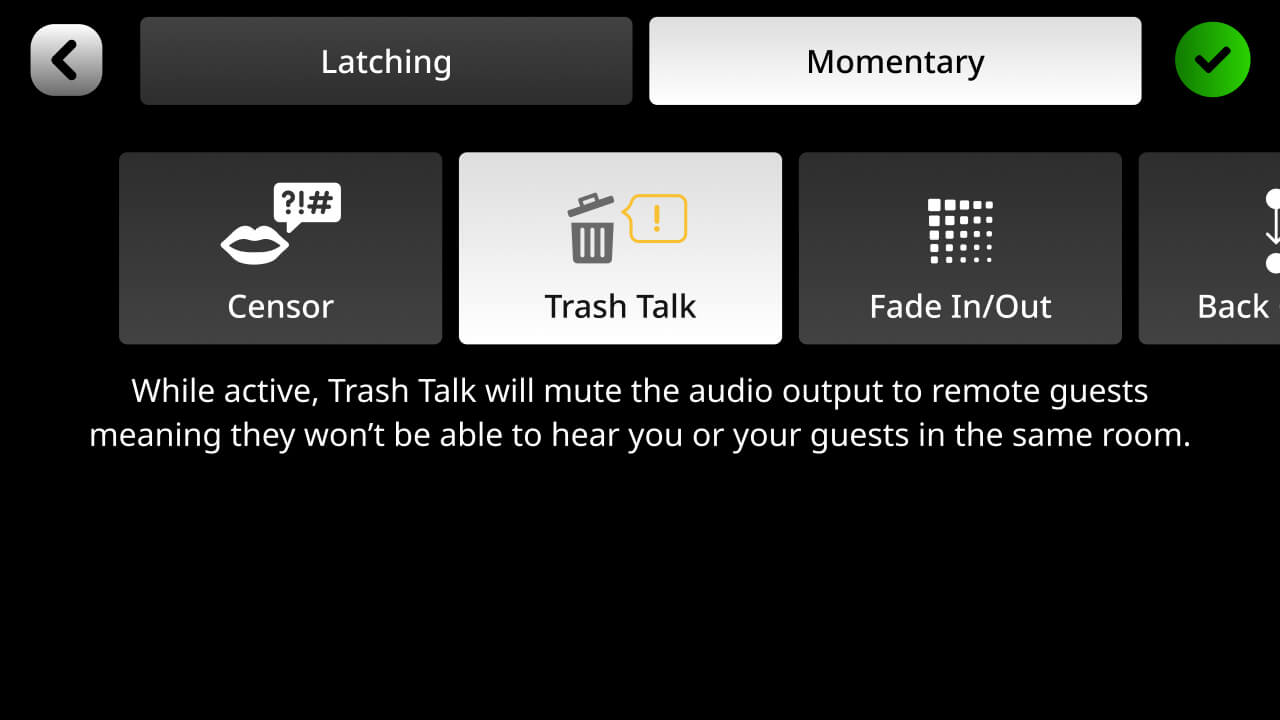
Trash Talk Mode
When Trash Talk mode is activated, the audio output will be muted for remote guests on the USB and Bluetooth channels. This is useful for quickly communicating with your physical guests without your callers hearing you.
