How To Get Better Sound on Your Zoom Video Calls
Video call and conferencing apps are increasingly becoming the go-to platform for staying in touch with friends, having meetings with colleagues while working remotely, and delivering important business communications.
While apps like Zoom, Skype, WebEx and Google Meetings make staying connected super easy, poor quality audio can often make these conferences difficult to get through. However, there are some simple steps you can take to get better sound on your video calls. Let’s take a look!

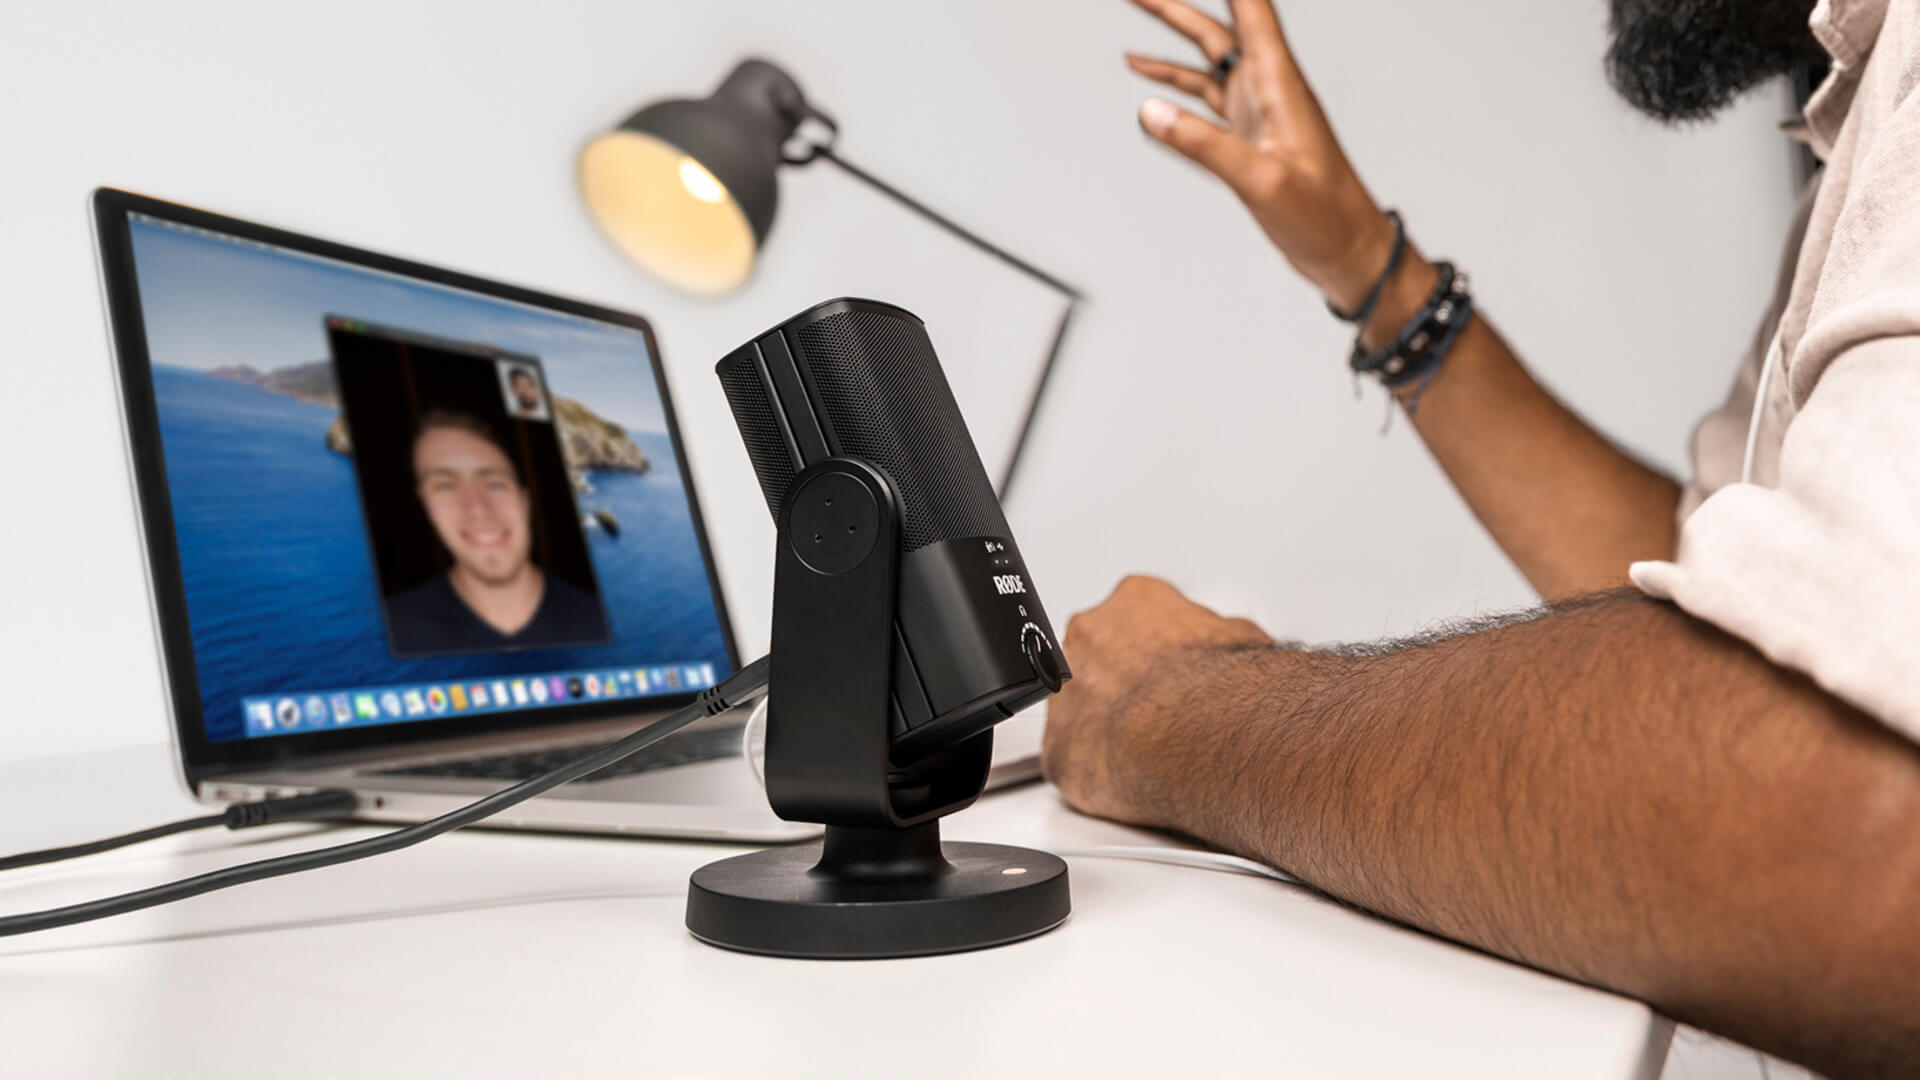
Adding the NT-USB Mini to your setup is one of simplest and most compact ways to get professional audio on your video calls.
Use an External Microphone
The single most effective way to vastly improve sound quality for your video calls is to use an external microphone. The mics built into computers aren’t designed for high-quality audio recording and will make your voice sound tinny and distant, pick up room sound, and generally make communicating more difficult. By using an external microphone, your audio will sound richer and clearer. There are a number of different options to choose from that are easy to set up and use right away.
A simple and easy solution is to plug a USB microphone directly into your computer. RØDE offers a number of incredible USB microphones that will elevate your audio significantly and are ideal for everything from video calls to making a podcast and recording music at home. The NT-USB+, NT-USB Mini, Podcaster, VideoMic GO II and VideoMic NTG are all great options. They are super easy to use and don’t require any additional software or drivers to run – simply plug it into your computer, select it as both your input and output device in your audio preferences and you’re ready to go.
Another great option is using the AI-Micro. This is a compact audio interface that allows you to connect virtually any microphone with a 3.5mm output to a computer smartphone or tablet. This includes lavalier microphones, which are great for video calls because you can clip them onto your shirt allowing you to sit further back from your screen. The AI-Micro even features a headphone output so you can easily monitor your audio.
Choose a Good Recording Space
As with any recording scenario – whether that’s recording a video tutorial, presenting a class from home, or recording music – taking a moment to think about your surroundings and how they might affect your audio is really important.
Rooms with lots of reflective surfaces, such as hardwood floors, concrete walls, or high ceilings, will introduce reverb or echo into your audio, which will make your video call hard to listen to on the other end.
If possible, pick a room with plenty of soft surfaces, such as carpets, curtains, or bookshelves. Smaller spaces like bedrooms and offices are also ideal.
Use Headphones
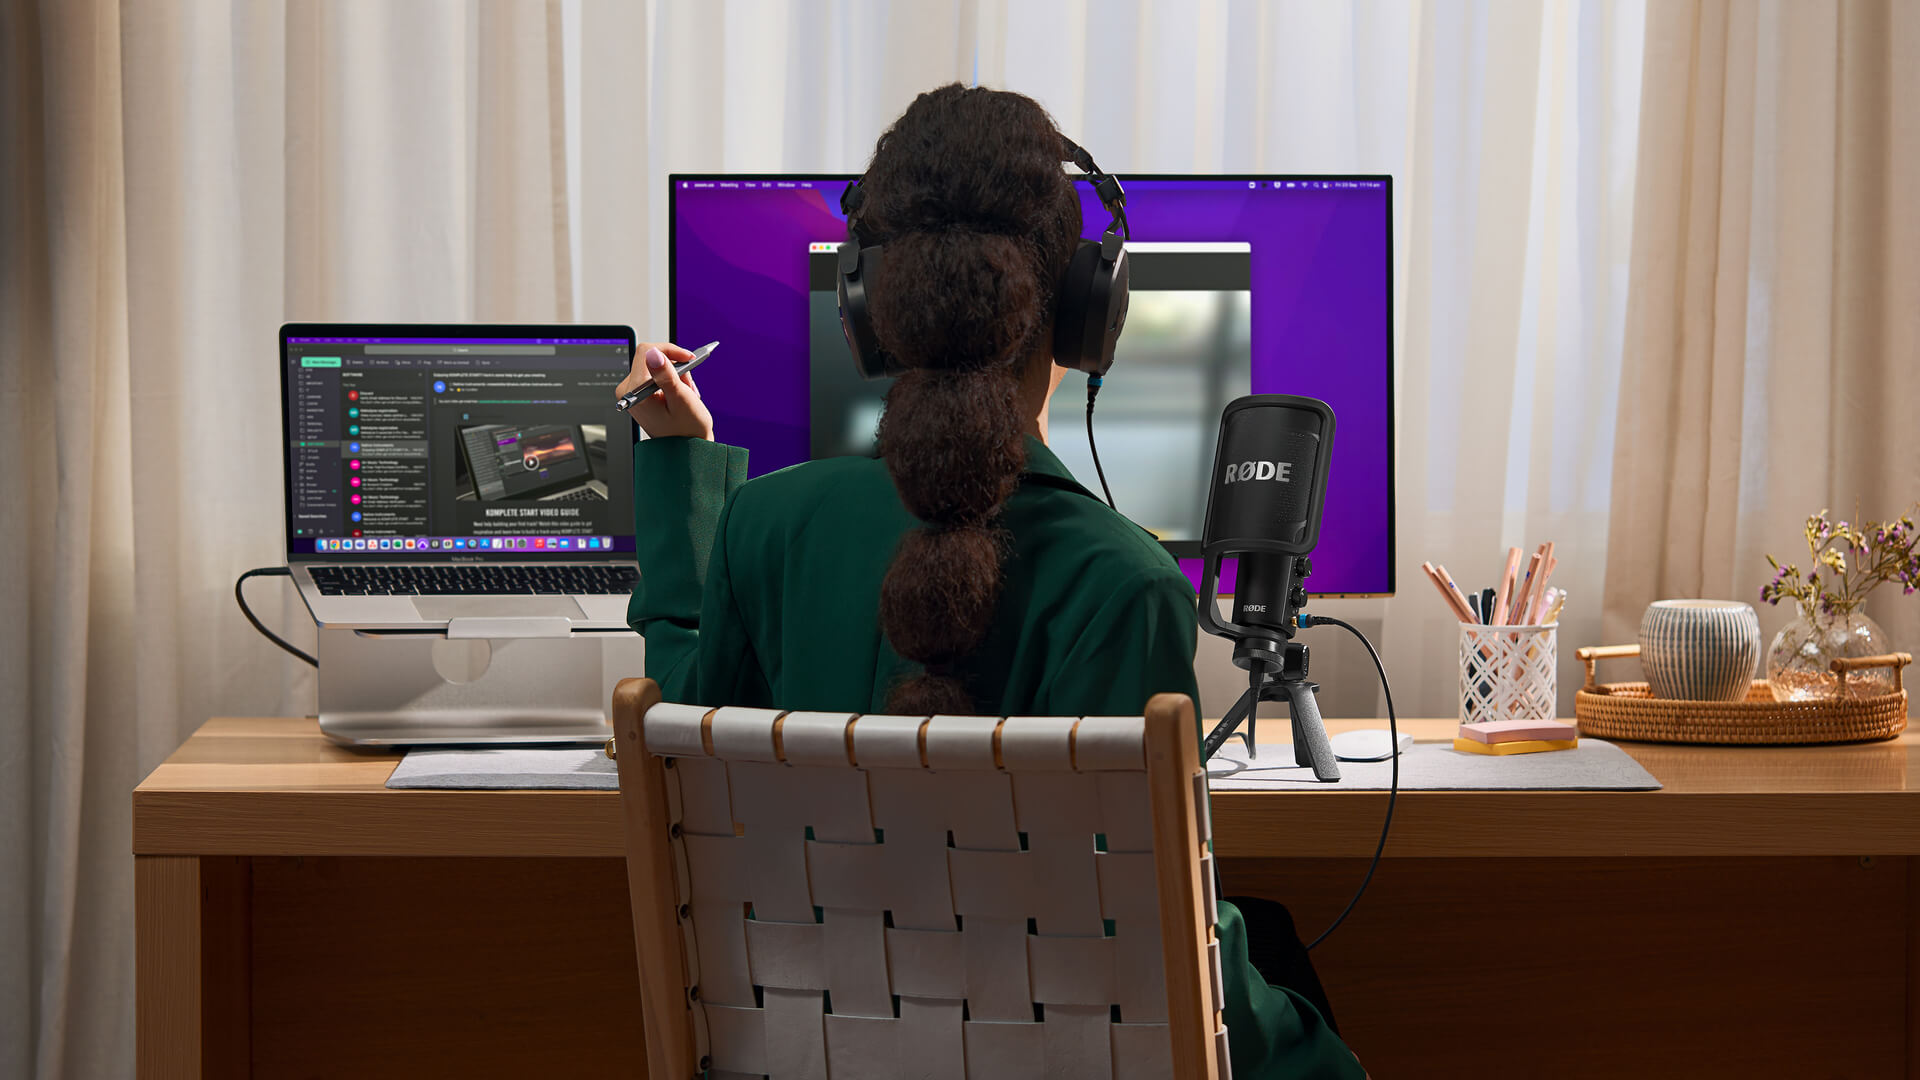
All RØDE USB mics feature a 3.5mm jack for plugging in headphones so you can monitor your audio (this is why it’s important to select the mic as both your input and output device). Wearing headphones during a video call will allow you to hear the person or people on the other end clearly, which will help keep the conversation flowing. Encourage your friends or colleagues to do the same!
All of our USB mics feature a zero-latency monitoring function. Engaging this will send the audio from your mic directly to your headphones so you can hear yourself talk as well. We recommend using this function when on a call.
On the NT-USB Mini, press the headphone level button to engage zero-latency monitoring; on the NT-USB+, you have the option to blend between the direct mic signal and the return signal from your computer; and on the Podcaster, zero-latency monitoring is always engaged. These microphones all feature a control for the headphone output level too.

The NT-USB+ professional USB microphone allows you to mix the volume coming from your computer audio and the microphone itself (via zero-latency monitoring).
Position Your Microphone Close To Your Mouth
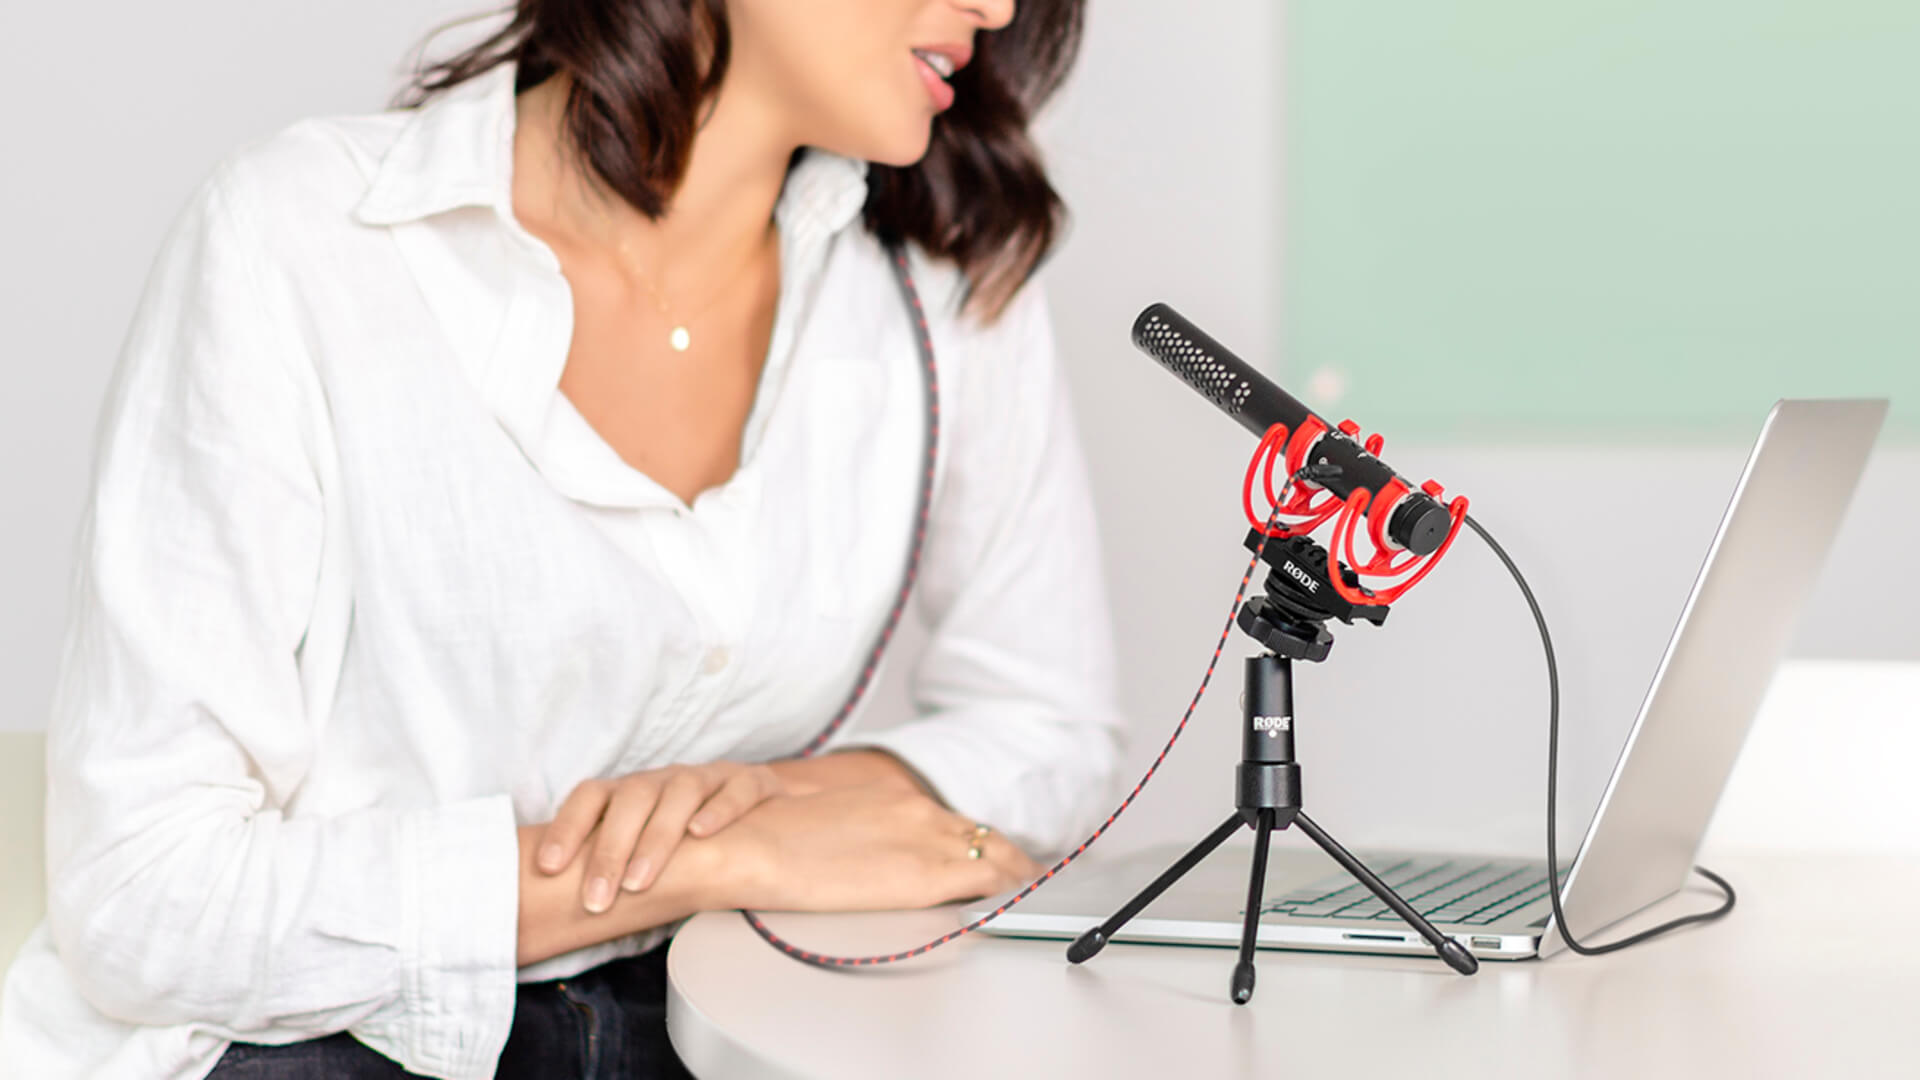
To get a clean, clear sound, it’s important to get your microphone nice and close to your mouth. The NT-USB and NT-USB Mini both come with a desk stand for positioning the mic. For a rich, broadcast-style sound, you can use a studio arm or desk stand like the PSA1+ or DS1 to mount your mic even closer to your mouth, but this isn’t necessary for a video call and may be distracting for those on the other end. As long as your mic is 20-30cm away from you and directed towards your mouth, you will get great sound.
Set Your Microphone Level Correctly
To adjust your microphone volume, you will need to access the level control either in your computer’s audio settings or in your conferencing app settings. It’s a good idea to check your volume before jumping on a call to make sure it isn’t too high or low – roughly 2/3 of the way across the level meter is a good place to be sitting. If you’re close to your microphone when talking and in a relatively quiet room, you shouldn’t need to adjust it at all.

The VideoMic NTG features a variable gain control which can be used for adjusting the headphone output level when in USB mode.
Mute Your Mic When Not Talking
A final tip is to mute your mic when you’re not talking and encourage the other participants to do the same. Most conferencing apps will have a mute button that is easy to access and will quickly turn the audio on and off.
If everybody on the call follows this rule, there will be a noticeable decrease in background noise, such as chairs scraping on the ground, knocks on a table, and air conditioners or traffic outside. When there are more than two people on a call, this ambient noise can become quite distracting and make the audio sound glitchy.
By following these steps, you can drastically improve audio quality for your video calls and conferences – and this can make all the difference between a call that is relaxed and flows smoothly, and one that is hard work for everybody.
If you’re looking to upgrade the audio quality of your video calls, the RØDE range has many solutions, including USB microphones, on-camera mics and mobile mics.