How to Update Your Wireless GO II Firmware
Since its launch, the Wireless GO II has been updated with a host of new features, upgrades and system enhancements. To make the most of your Wireless GO II and access these latest functions and improvements, we recommend keeping its firmware up to date. In this article, we’ll show you how that’s done.

1. Install RØDE Central
Firstly, you’ll need to download and install RØDE Central. This software is a companion app for a number of RØDE products and is available for both desktop (Mac and Windows) and mobile (iOS and Android).
For the Wireless GO II, RØDE Central allows you to update firmware, adjust a number of useful settings like on-board recording and channel management, and the desktop version of the app offers access to your on-board recordings as well.
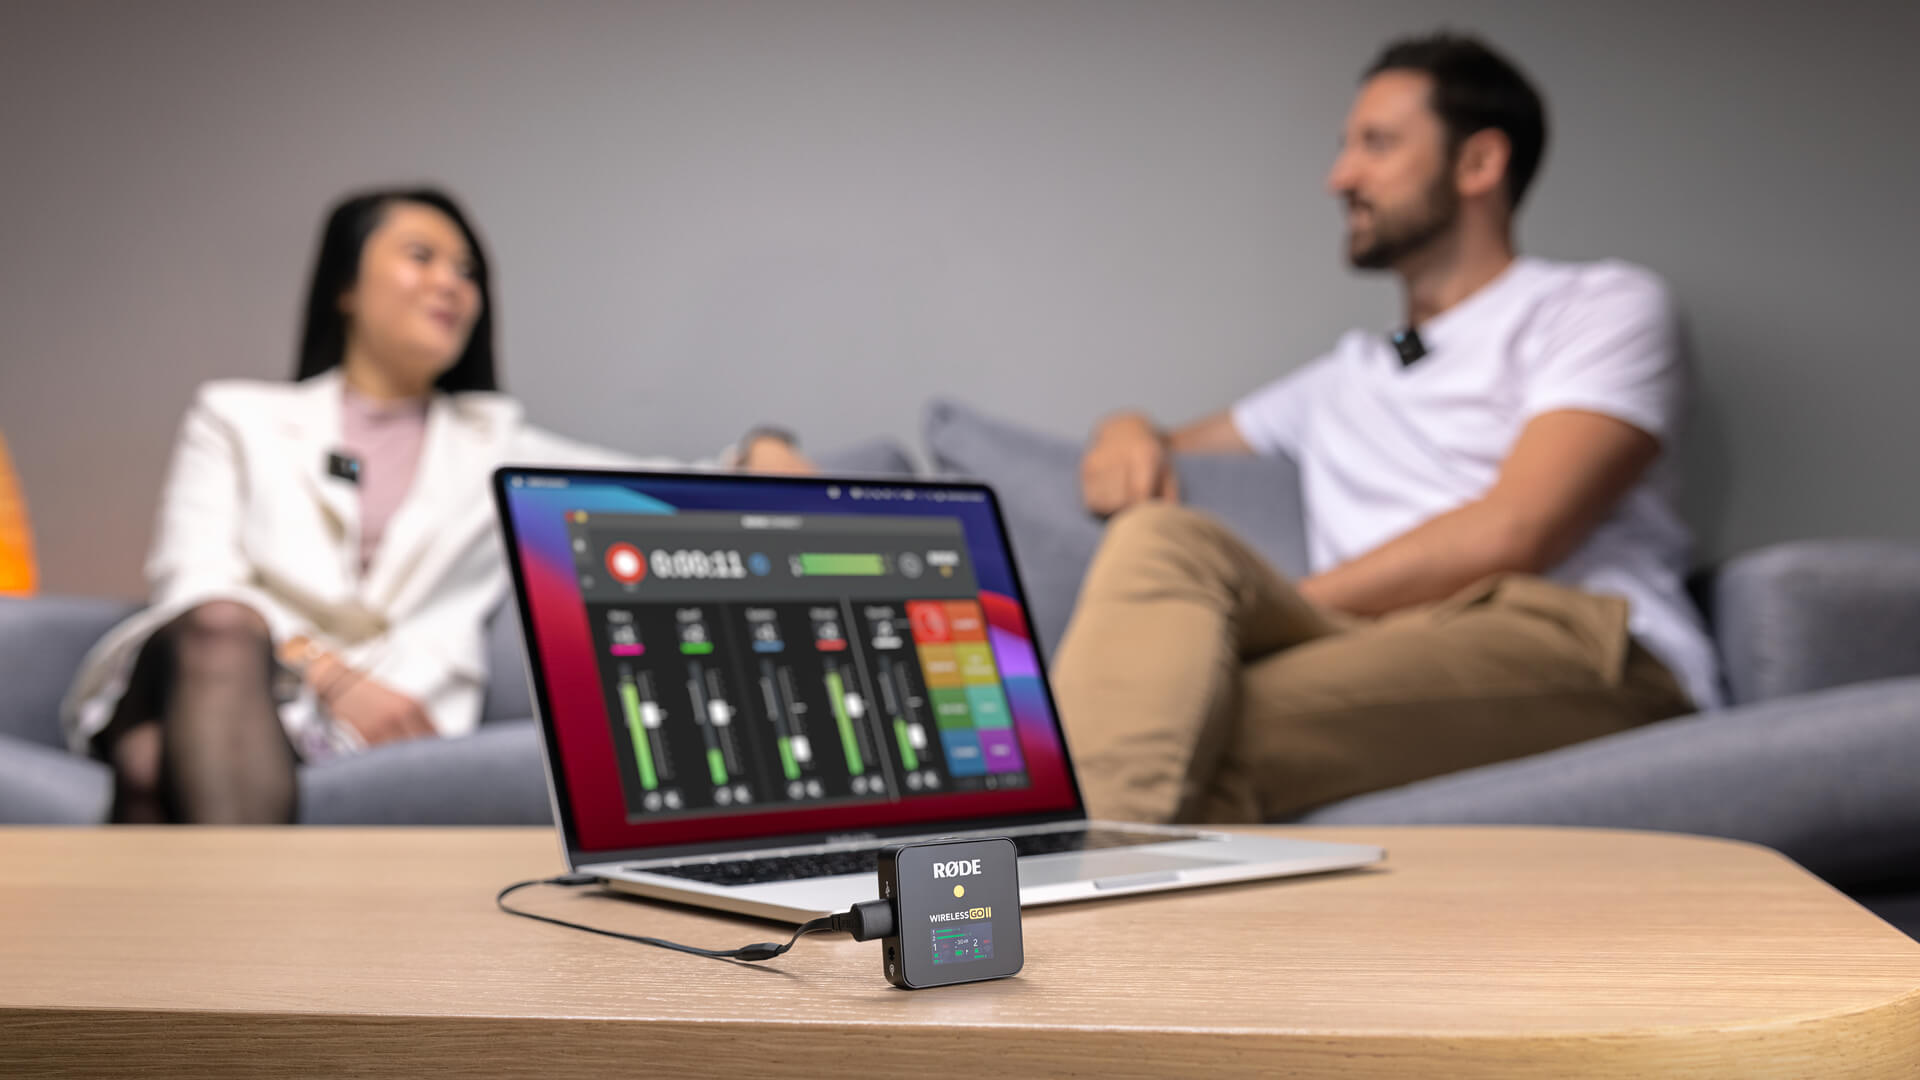
2. Connect the Wireless GO II to Your Computer or Mobile
Using the USB-C cable provided, connect your Wireless GO II receiver to your computer or mobile. If you have enough USB ports on your computer, and enough cables, you can connect all your transmitters and receivers at once in order to update them simultaneously, but you’ll need to update them one-by-one on mobile.
When opening RØDE Central on desktop, you’ll notice a red arrow appear next to “Wireless GO II” on the left of the app. Clicking on this will ask you to update your firmware to the latest version and walk you through the process – simply follow the prompts.
If you’re updating transmitters that have on-board recordings that you’d like to back up, you’ll need to use the desktop version of RØDE Central and follow the steps outlined in this article – How To Back Up Your Wireless GO II Recordings When Updating Your Firmware.
When opening RØDE Central on mobile with your Wireless GO II connected, you’ll get a prompt to update its firmware if required and you’ll be walked through the process.

3. Repeat With Each Transmitter and Receiver
It’s important to note that, if you can't connect all your transmitters and receivers to your computer at once, or if you’re using RØDE Central mobile, you will need to repeat this update process for each unit. This means that, once you’re done updating the first unit, you’ll need to disconnect it, plug in the next unit, and update it using the same process.
This is critical for your Wireless GO II system to operate correctly, as there can be transmission issues between receivers and transmitters that are operating on different firmware versions.
4. Keep Your Wireless GO II Updated
Here at RØDE, we’re dedicated to providing ongoing support for our products, constantly working to improve on them where possible. Be sure to check in from time to time to see if a new update is available so you can make the most of these improvements.
5. Enjoy The New Features!
The Wireless GO II was already a super useful and convenient wireless microphone system when it first launched, but with each firmware update since, it has become even more convenient and powerful.
Some of the features added in firmware updates include the ability to export your on-board recordings directly as WAV files, dozens of presets for gain settings based on popular camera models, a wide range of file management enhancements, RØDE Connect compatibility for streaming and podcasting, and plenty more.
On top of these new features, firmware updates also include other optimisations, bug fixes, enhancements and compatibility improvements, making the Wireless GO II as smooth and reliable as possible to operate.
Download RØDE Central and connect your Wireless GO II to update your firmware and unlock a range of incredible new features.