How to Use VideoMicro II with an iPhone or Android Smartphone
The VideoMicro II is an ultra-compact and lightweight microphone capable of capturing professional audio, making it an excellent option for pairing with a smartphone for a powerful and portable filmmaking or content creation rig.
In this article, we’ll cover everything you need to know about using the VideoMicro II with your smartphone, including how to mount it, how to connect it and how to use it with windshields.
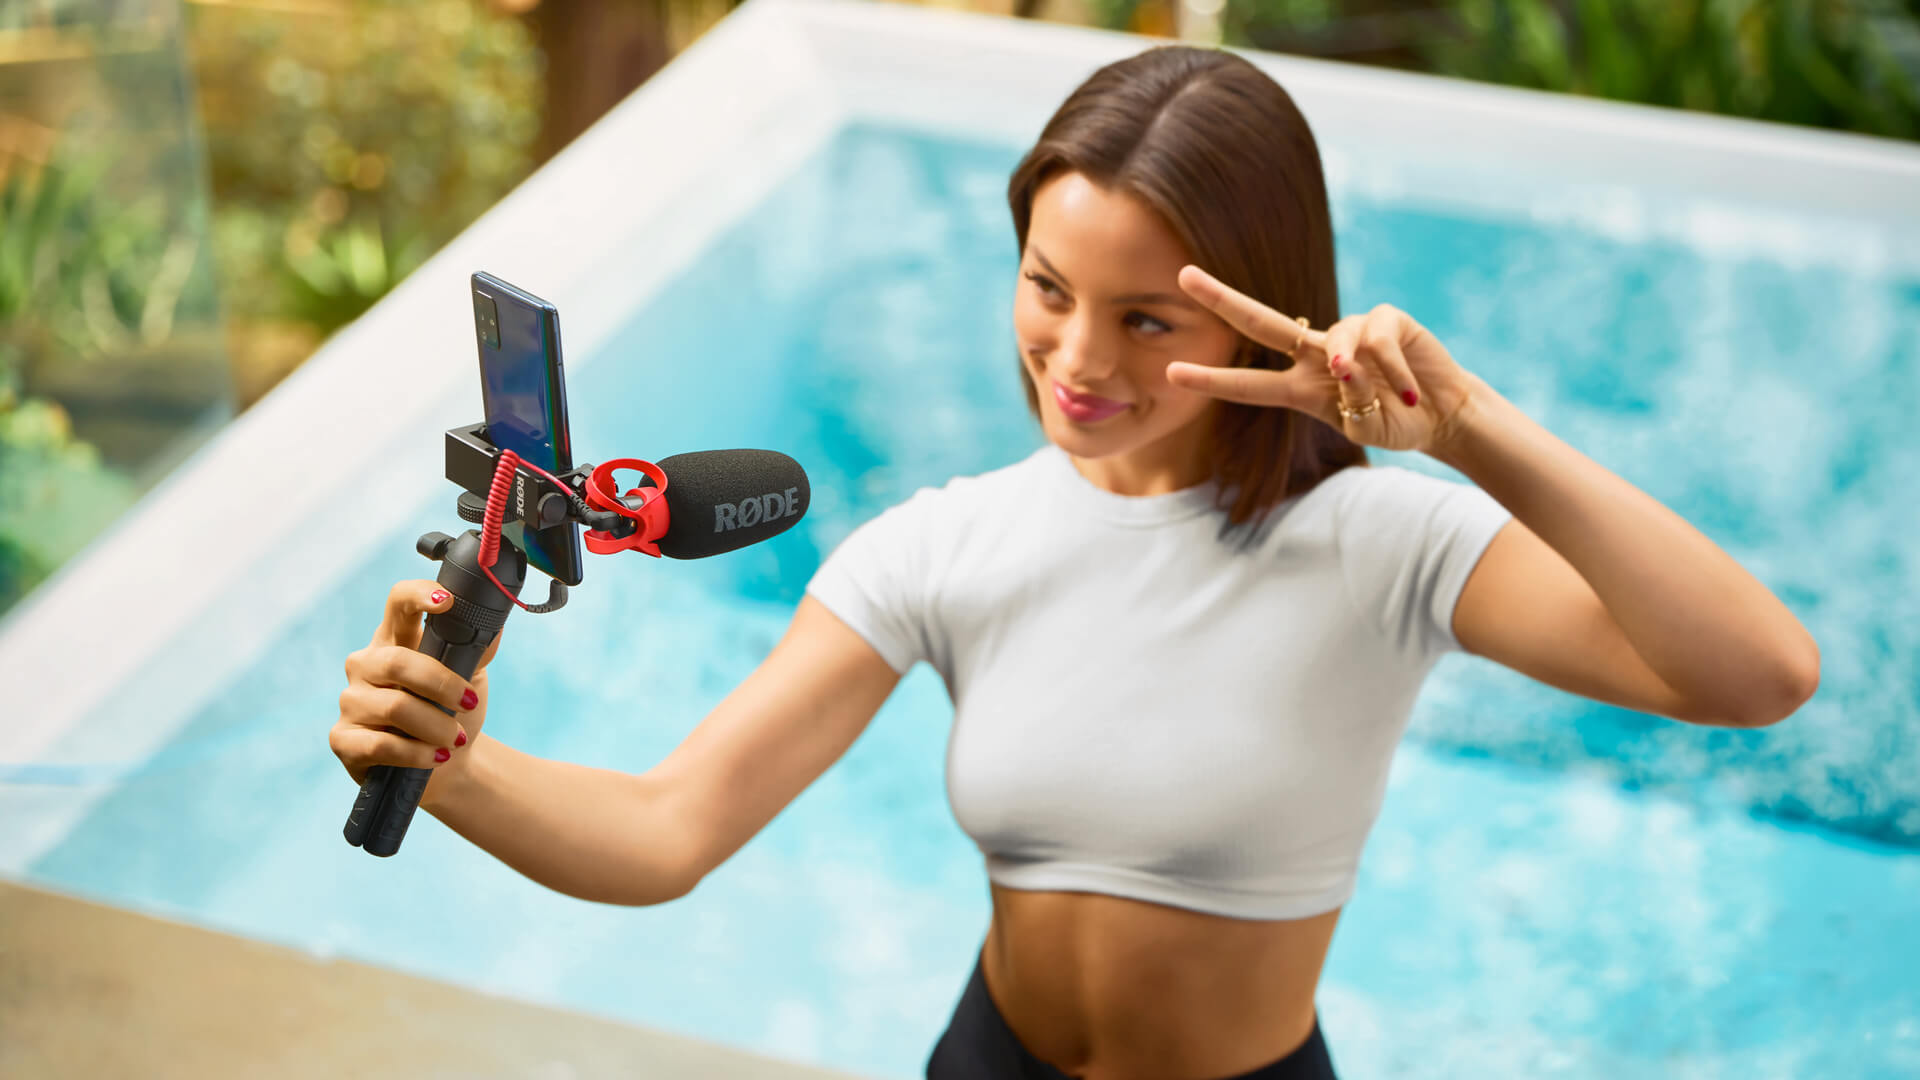
Pairing the VideoMicro II with a smartphone makes for a powerful and portable filmmaking or content creation setup.
Why Use the VideoMicro II With a Smartphone?
While the video recording capabilities of modern smartphones are increasingly impressive, their built-in microphones don’t record the best audio quality and can let down your otherwise stunning video.
With the simple addition of a compact professional microphone like the VideoMicro II, you can capture rich, crystal-clear audio to match the quality of your video footage and make some truly exceptional content, whether it’s a TikTok video, a documentary or a short film.
How to Mount the VideoMicro II Onto Your Phone
To mount the VideoMicro II on your phone, you’ll need to use some form of case, grip or tripod that securely houses your phone, and then attach the microphone to this grip. The VideoMicro II’s HELIX™ isolation mount features a built-in cold shoe – the type of mount that you’ll see on the top of most DSLR or mirrorless cameras – so you'll need to get a case, grip or tripod that features a cold shoe mount for attaching the microphone to your smartphone.
Firstly, slot the HELIX’s cold shoe into the cold shoe mount on your case, grip or tripod and tighten the securing ring clockwise to firmly lock the VideoMicro II in place. Next, you can place your phone in the grip.
The VideoMicro II’s HELIX mount features a cold shoe, allowing it to slot into smartphone grips, cases and tripods.
For the best results, position your phone in the grip so that the phone's camera is as far away from the VideoMicro II as possible. This means you’ll need to position the grip on the bottom of your phone and position the VideoMicro II on the opposite side of your phone to its cameras.
Taking these steps will help the VideoMicro II stay out of your shot when shooting with either the front or rear cameras on your phone. This is especially important if you choose to use ultra wide-angle cameras alongside a windshield, but more on that shortly.
How to Connect the VideoMicro II to Your Phone
To connect the VideoMicro II to your phone so it can record audio, you’ll need to use the included SC7 TRS to TRRS cable. If your phone does not have a 3.5mm headphone port – like most modern iPhones and Android devices – you’ll also need to use the 3.5mm-to-Lightning adaptor or 3.5mm-to-USB-C adaptor that came with your phone.
Connect the black end of the cable (with two rings on the plug) into the microphone, then connect the grey end of the cable (with three rings on the plug) into the adaptor, then plug this into your phone. If you’re using a phone that has a 3.5mm headphone port, you can simply plug the grey end of the cable directly into your phone without the need for the adaptor.
Once connected, your device should automatically detect the VideoMicro II and set it as the default microphone, replacing your device’s in-built microphone, instantly giving you high-quality audio.
To keep your setup tidy, you can push the SC7 cable into one of the cable management slots on the securing ring that you used to tighten the HELIX mount onto the cold shoe mount.

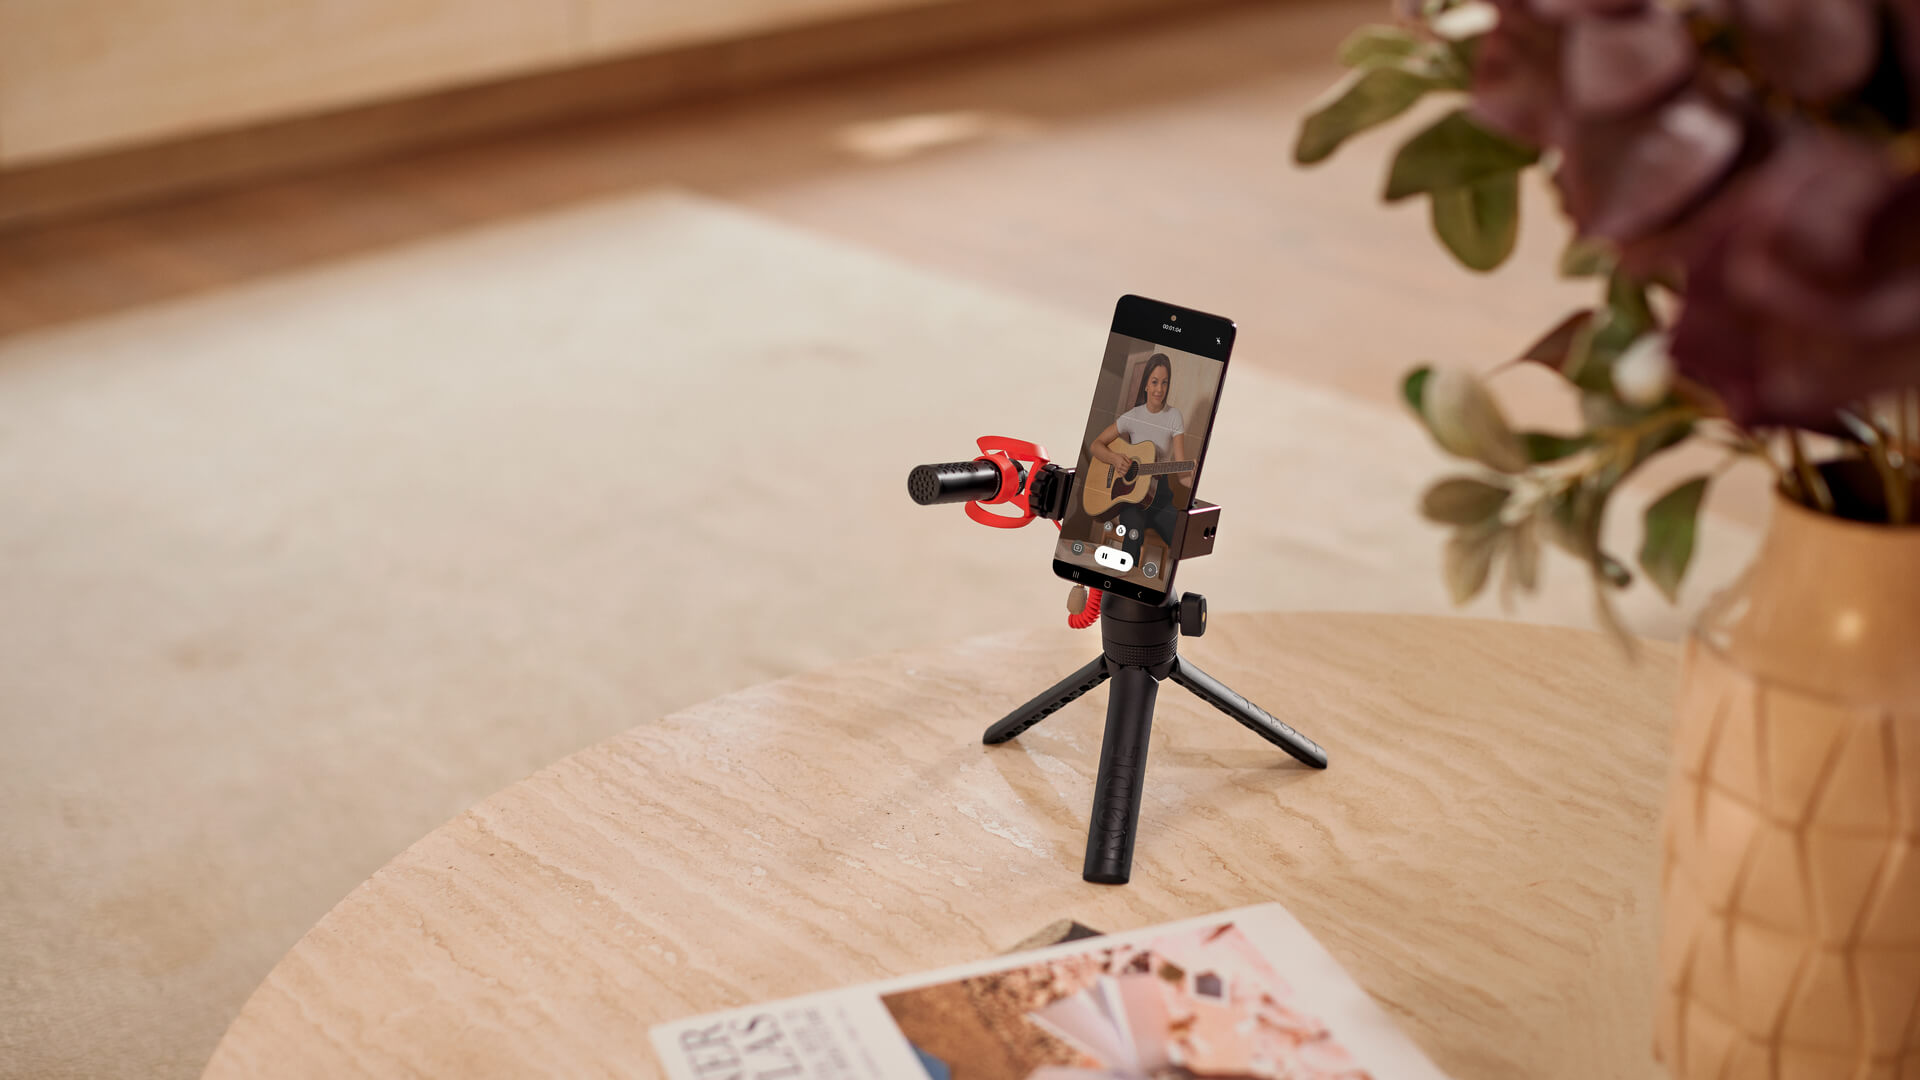
The professional audio quality captured by the VideoMicro II makes it great for recording music videos.
Using a Windshield
If you’re recording outdoors, moving around while recording, or speaking directly into the microphone, it’s best to use one of the windshields included with the VideoMicro II to mitigate any unwanted noise in your recordings. If you’re recording outside, the furry windshield is your best choice as it’ll block out the most wind noise and keep your recordings clean, but the foam windshield will help protect your audio in most other situations.
If you choose to shoot footage using your phone's ultra-wide mode rather than its default zoom level, there’s a chance the furry windshield might appear in the corner of your shot as these cameras capture a very wide field of view. This isn’t true for all smartphones (for example, the Google Pixel 6 ultra-wide mode [0.7x zoom] doesn’t capture the VideoMicro II with its furry windshield in frame, while the iPhone 14 Pro ultra-wide mode [0.5x zoom] does).
However, if you’re shooting in ultra-wide mode and the VideoMicro II is showing up in your frame, even after you’ve mounted it in a position as far from the camera as possible (as we outlined in the ‘How to Mount Your VideoMicro II’ section above), you can use your phone’s pinch-to-zoom function until you can no longer see it.
Using the iPhone 14 Pro as an example once more, the VideoMicro II with a furry windshield appears in the corner of the frame at the 0.5x zoom level, but it’s no longer visible when pinching in to the 0.6x zoom level.
The RØDE range features a wide selection of solutions for recording professional audio with your smartphone, including our USB microphones, wireless microphone systems and on-camera microphones.