Adjusting Gain and GainAssist
The Wireless PRO receiver’s 3.5mm output is incredibly flexible and able to connect to a number of different devices. To allow for this, there are several different gain modes available, and these modes will affect how you set your gain levels.
Gain Modes
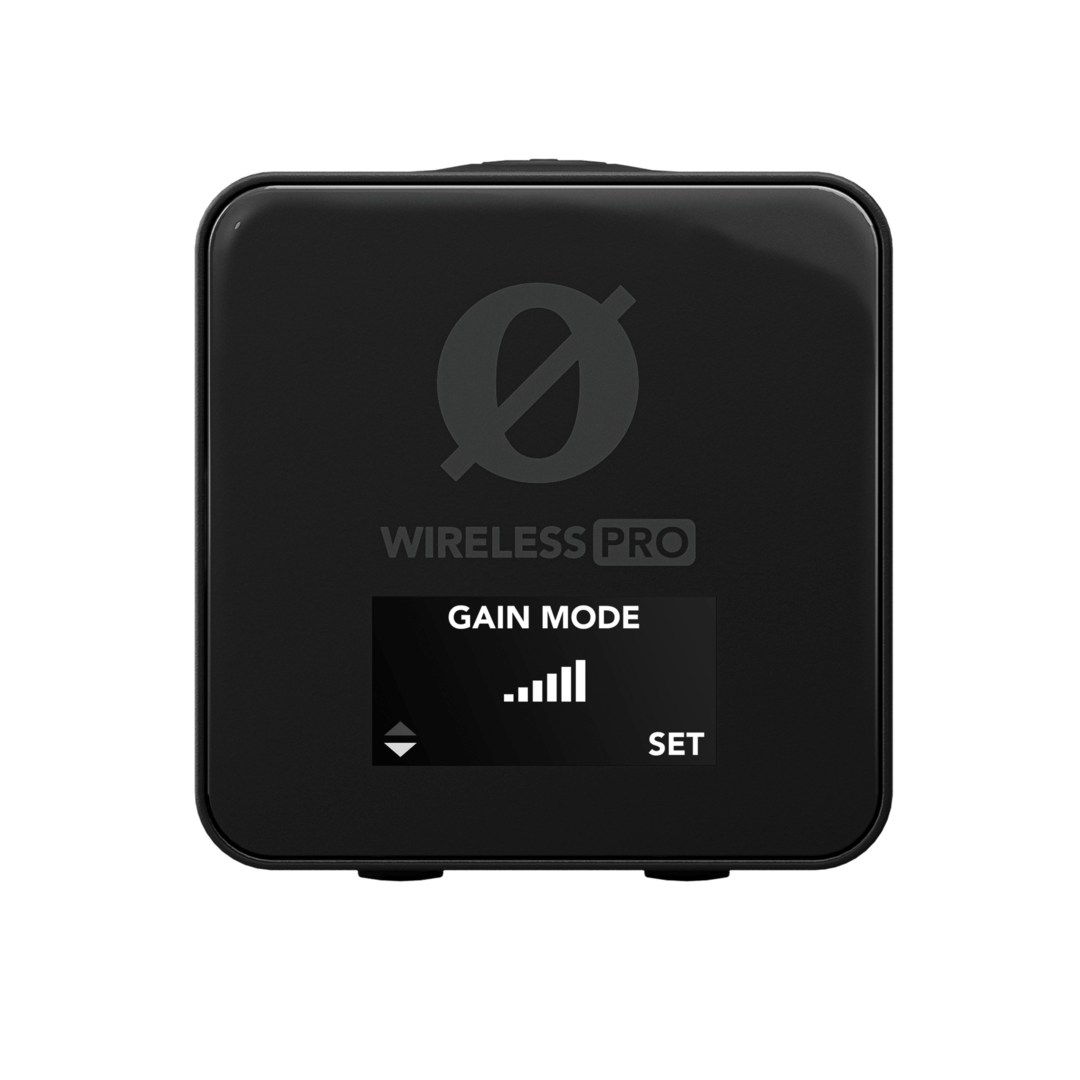
To change modes, press the Right Navigation button until you’re on the Gain Mode screen, press the Left Navigation button to cycle through the options, and press the Right Navigation button to select your preference. The different gain modes are:
Manual
This is the default mode and is tailored to provide cameras and other similar devices with the appropriate gain level to capture clear recordings at a reasonable volume level. You can adjust this gain level in 3dB increments (see the ’Adjusting Output Gain Levels’ section for more information).
Camera Preset
With this mode selected, you can cycle between any of the camera presets you have loaded into your Wireless PRO. For more information on loading camera presets, see the 'Configuring Camera Presets in RØDE Central' section.
Headphones
The Wireless PRO receiver has a dedicated headphone amplifier that you can activate by changing the gain mode to ‘Headphones’. This increases the output level to be suitable for monitoring audio.
The headphones output gain level will default to a low value to ensure it’s always at a safe level for listening. You will likely need to increase the level to be able to hear your audio clearly.
Headset
Just like the headphones output, the ‘Headset’ gain mode utilises the headphone amplifier, but also allows you to capture your headset microphone’s audio.
You can plug any microphone, such as a lavalier, into the RX Mic input on the receiver. However, as this is a TRRS connection, you must use a microphone with a TRRS connector such as the SmartLav+, a TRS to TRRS adaptor such as the SC4, or a TRS to TRRS cable as the SC7.
You will need to use the USB output to record the headset microphone’s audio, as the 3.5mm output is used to plug in the headset. See the ‘Audio Routing’ section for more information on this mode and how the RX Mic audio is routed.

Adjusting Output Gain Levels
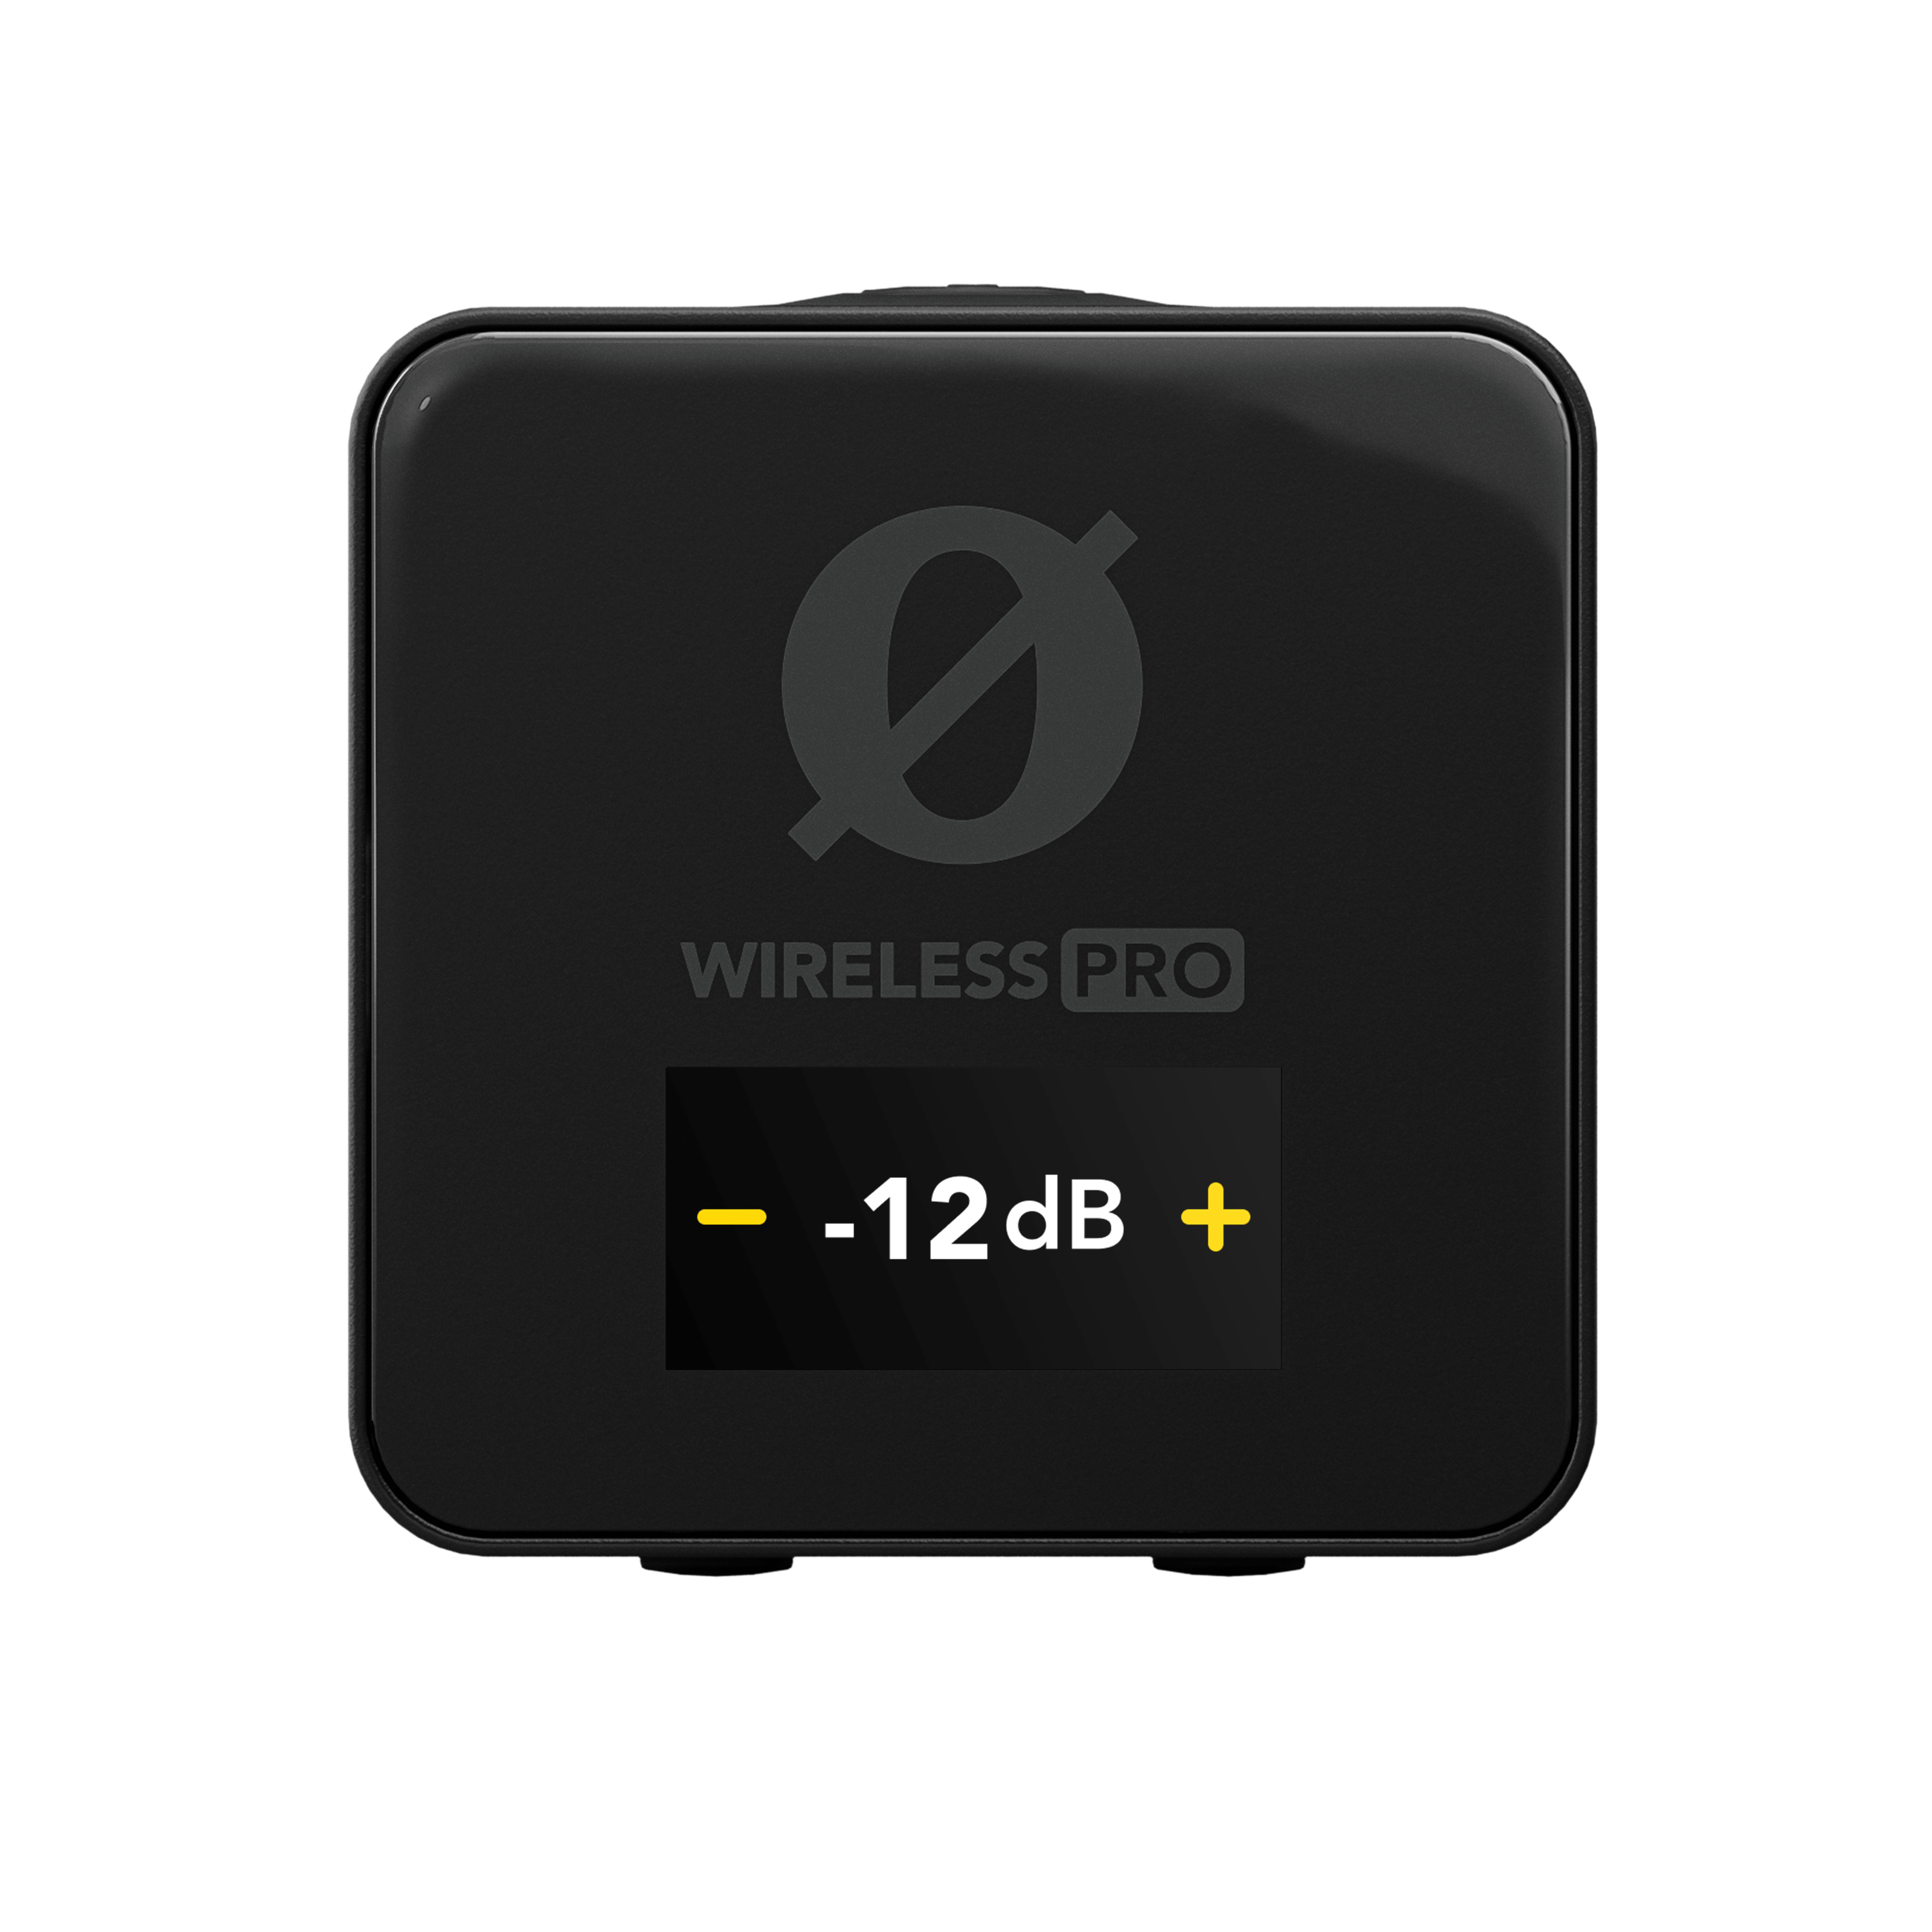
You can increase or decrease the output gain of the receiver’s 3.5mm output in the gain adjustment screen, allowing you to adjust the level of the audio being sent to your camera, headset, headphones or other device.
To access the gain adjustment screen, press the Left Navigation button on the receiver while on the home screen. When in this screen, the Left Navigation button decreases the output gain level, while the Right Navigation button increases it. If you're in Camera Preset mode, the Left and Right Navigation buttons will cycle through the different loaded camera presets.

Note
This gain adjustment doesn’t affect the Wireless PRO’s digital USB output.
GainAssist and Input Gain
The Wireless PRO features intelligent GainAssist technology, which automatically controls the microphone levels to ensure they are perfectly balanced. There are two different GainAssist modes available, Auto and Dynamic, and you can also turn it off to allow for granular control over your input gain (see next section). Each transmitter’s input (whether it's the built-in mic or an external mic like the Lavalier II) can have different modes selected, as can the headset mic (RX Mic).
Changing GainAssist Settings
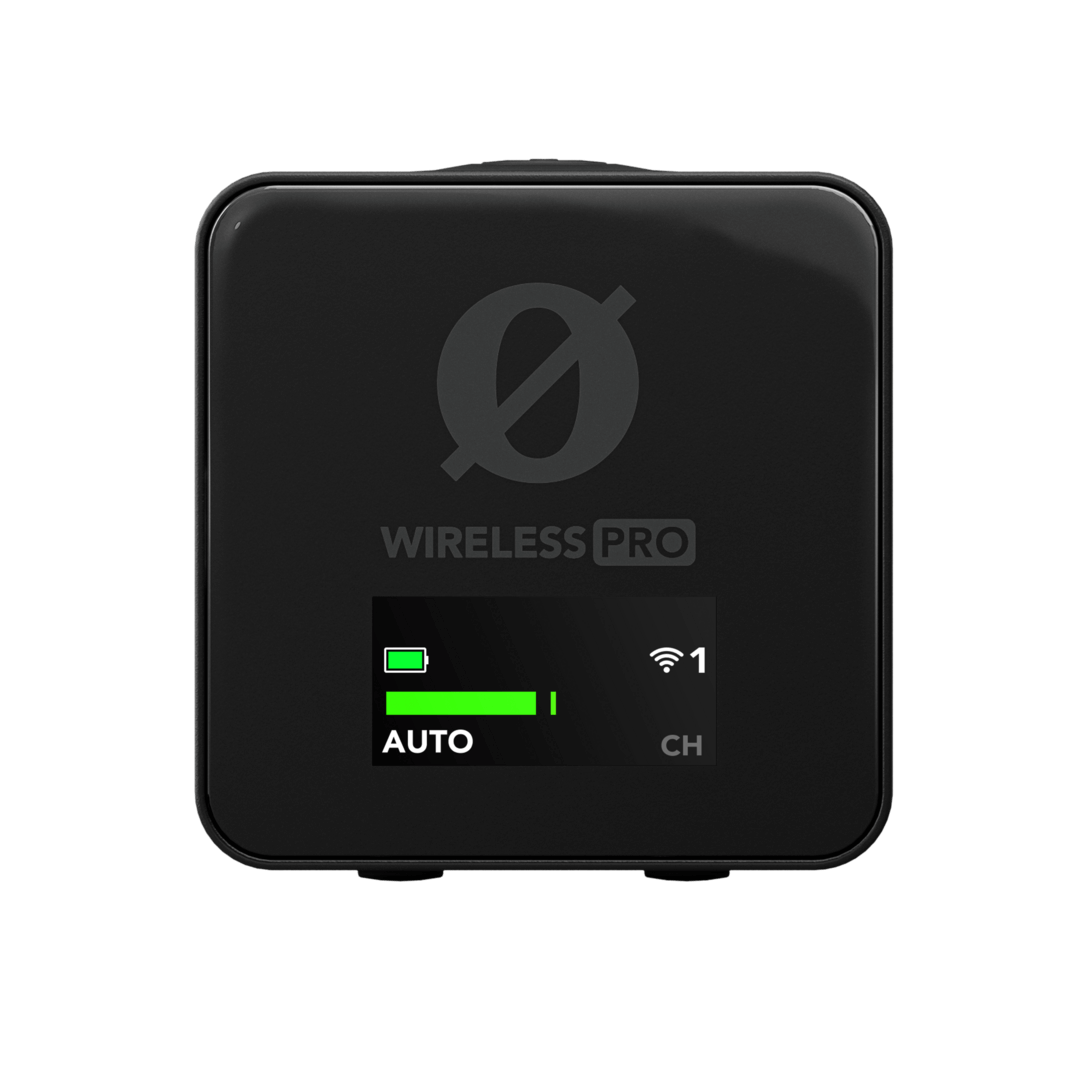
To configure the GainAssist mode, press the Right Navigation button until you arrive at the screen for the transmitter you wish to adjust. Short-press the Left Navigation button to cycle between Auto and Dynamic modes, or long-press it to toggle GainAssist on or off.
Auto
The Auto GainAssist mode will give you a smoother, more consistent sound, which can be better in a recording scenario like an interview where your audio levels are jumping around a lot.
Dynamic
The Dynamic GainAssist mode balances your audio while maintaining dynamics, resulting in a more “natural” sound. This can be better in a controlled recording environment where the sound you’re recording is more even.

Note
GainAssist does not apply to on-board recordings.
Manual Input Gain
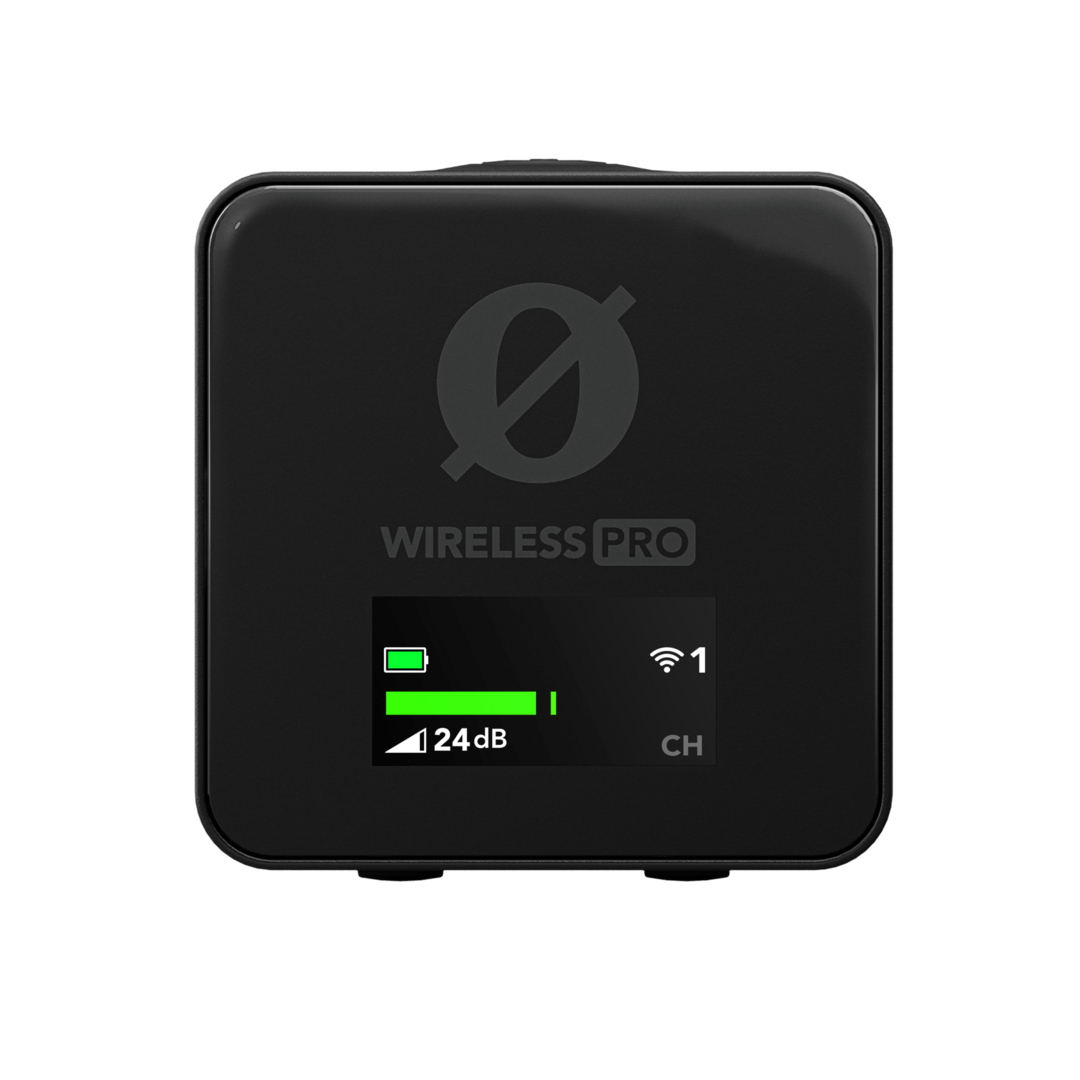
If you have the GainAssist setting disabled for your transmitters or RX Mic, you’re able to manually adjust the input gain for the built-in mic or connected external mic.
To disable GainAssist, long-press the Left Navigation button when in your desired transmitter screen until AUTO or DYNAMIC is replaced by a dB level. In the same screen, you can set the input gain level by short-pressing the Left Navigation button, and then adjusting the gain up or down (in 1dB increments) with the Left and Right Navigation buttons.
