How to Connect A Wireless Microphone to the RØDECaster Series Consoles
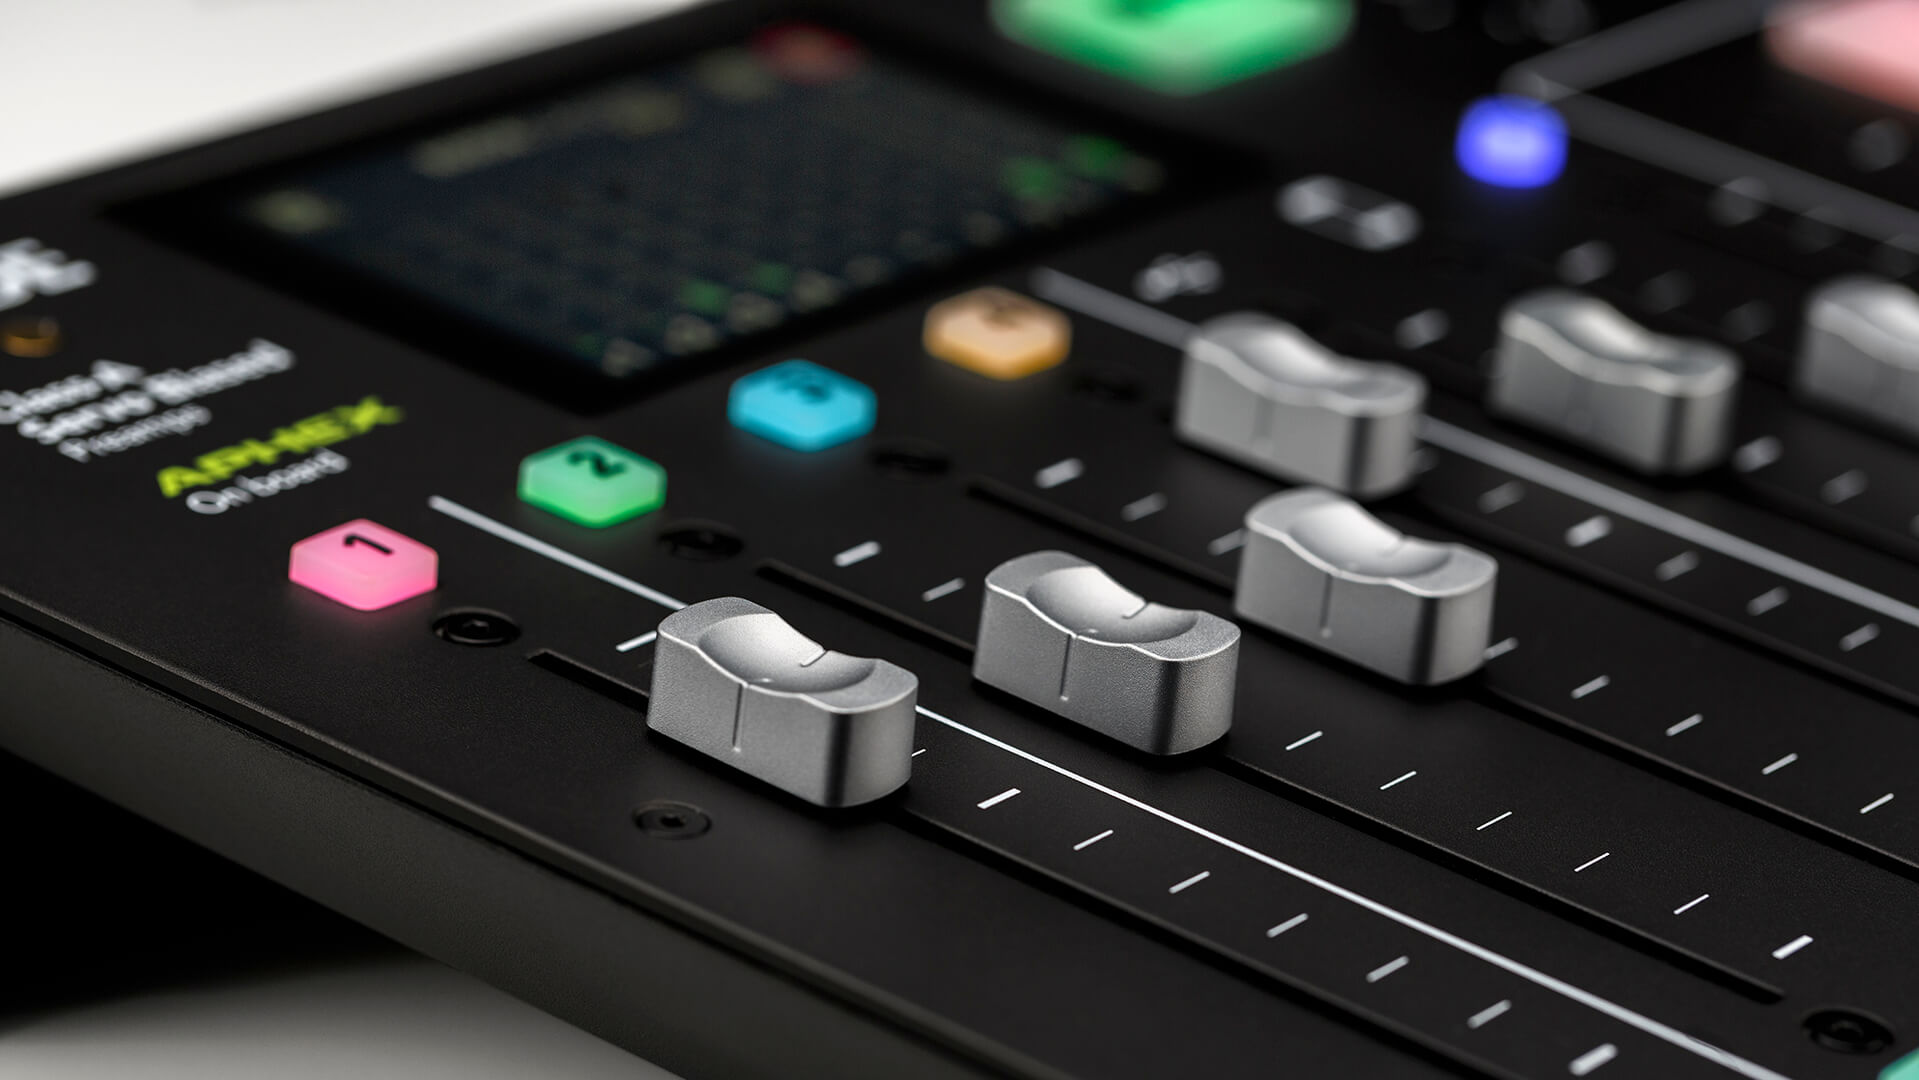
The RØDECaster all-in-one audio console series offer an immense amount of flexibility when it comes to capturing, processing and recording audio from a wide array of sources. In this article, we’ll be taking a look at how to record a wireless microphone with a RØDECaster console.
.jpg)
Both the RØDECaster Duo and – thanks to a recent firmware update – the RØDECaster Pro II can pair with up to two RØDE Series IV wireless transmitters, including the Wireless GO II and Wireless ME. This means you can record a cable-free podcast, capture a presenter’s audio from side-of-stage, and generally have way more flexibility in your audio setup. What’s more, the wireless inputs have access to all the exceptional APHEX® effects and granular processing that helps make the RØDECaster series such powerful, all-in-one audio production studios.
We’ll walk you through the process of pairing a RØDE Series IV wireless transmitter to the RØDECaster Pro II or RØDECaster Duo, but if you have an original Wireless GO or RØDECaster Pro, check out the section at the foot of the page for more information.
1. Update Your Firmware
Firstly, you’ll need to be using the latest firmware on your RØDECaster device. To make sure it’s up to date, connect your RØDECaster to the internet either via Wi-Fi or Ethernet. When connected, you should notice a prompt appear at the top of the screen, or you can manually search for an update by navigating to Settings > System > Information > Check for Update.
You can see our guide on updating your RØDECaster Pro II firmware for more information.
You’ll also need to make sure the firmware on your wireless units is up to date, which means you’ll need to plug them into a mobile or desktop, open RØDE Central and follow the prompts to update your firmware. Remember to update all of your Wireless GO II or Wireless ME units (both transmitters and receivers) as units running different firmware versions may not operate correctly.
Check out this guide on how to update your Wireless GO II firmware for more information (the process is the same for the Wireless ME).
2. Select the Wireless Input
On your RØDECaster console, access the channel setup screen by pressing the physical button above the fader you wish to assign your wireless device to. On this screen, you will see a list of microphone, instrument and other input options that you can scroll through. Scroll to the left to select the ‘Wireless’ option.
It’s worth noting that assigning any of the input channels to the ‘Wireless’ option will override the associated physical input (the combo XLR/TRS input), meaning that you won’t hear any audio coming from microphones or instruments connected to that channel.
 (5).png)
3. Pair Your Wireless Transmitter
Now you’ve assigned a channel to be a wireless input, tap ‘Pair New Device’ to enter your RØDECaster console into pairing mode, then follow the pairing process for your wireless device. To put either the Wireless GO II or Wireless ME transmitter into pairing mode, simply short-press its power button when the units are turned on and aren't already paired to another receiver.
Once connected, you’ll be able to see your device’s connectivity, recording, mute and battery status (where applicable) on the RØDECaster console’s screen. To unpair your device, simply access the channel setup screen again and tap the ‘Unpair’ button on the display.
You can repeat the above process to pair a second Series IV wireless transmitter to another channel of your RØDECaster console, giving you immense control over each channel’s level, processing and effect settings.
4. Enjoy Wireless Recording!
With up to two wireless transmitters connected to your RØDECaster console, you can create a super flexible audio recording setup that offers all the processing power and granular control over each of the inputs.
With the Wireless GO II transmitter paired to your RØDECaster console, you can activate the pad directly on the channel setup screen to quickly lower the input volume, and with the Wireless ME, you can access the GainAssist settings (check the Wireless ME user guide for more information on GainAssist).
Using an Original Wireless GO, RØDECaster Pro or Other Wireless Microphone
The built-in receivers in the RØDECaster Pro II and Duo are designed to pair with RØDE Series IV microphones, such as the Wireless GO II and Wireless ME, but if you’re using an earlier product like the original Wireless GO, RØDECaster Pro, or a different wireless microphone system, here’s how to connect them.

You will need to connect your wireless microphone receiver’s output to one of the inputs on your RØDECaster console. To do this, you’ll need to use an adapter like the VXLR+ or VXLR Pro plugged into the input of your RØDECaster console, and then connect the 3.5mm cable that came with your wireless microphone to the VXLR+ or Pro, and connect the other end to your wireless microphone receiver output.
From here, you’ll be able to use your microphone just like any other XLR microphone, with full access to the RØDECaster console’s on-board mixing, processing and recording functionality.
For more information, be sure to visit the RØDECaster Pro II user guide.