Configuration with RØDE Central
RØDE Central is an easy-to-use companion app for the Wireless PRO, available on Mac and Windows for desktop and iOS and Android for mobile. It allows you to configure all Wireless PRO settings, access on-board recordings (desktop only), pair and unpair your transmitters and receiver, and update firmware.
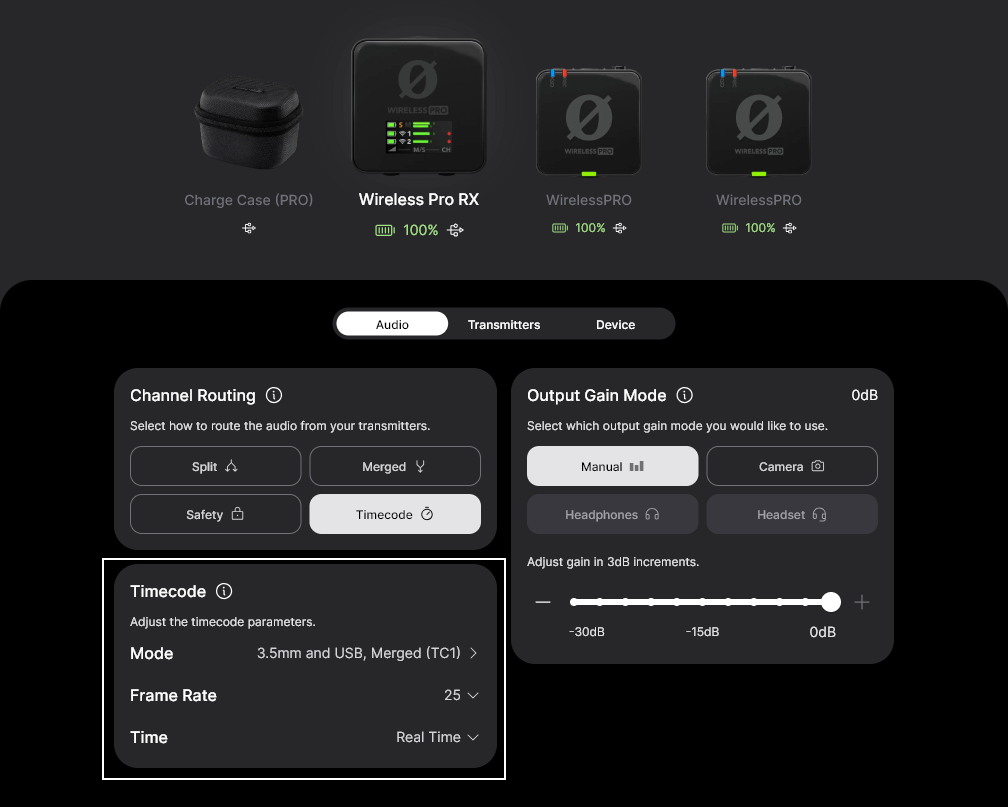
Configuring Routing Modes in RØDE Central
With your Wireless PRO receiver connected to your computer or phone, you can select between all of the available routing modes (as well as timecode modes, if enabled) by clicking the ‘Audio’ menu. See the 'Routing Modes' section for more information.
Configuring Camera Presets in RØDE Central
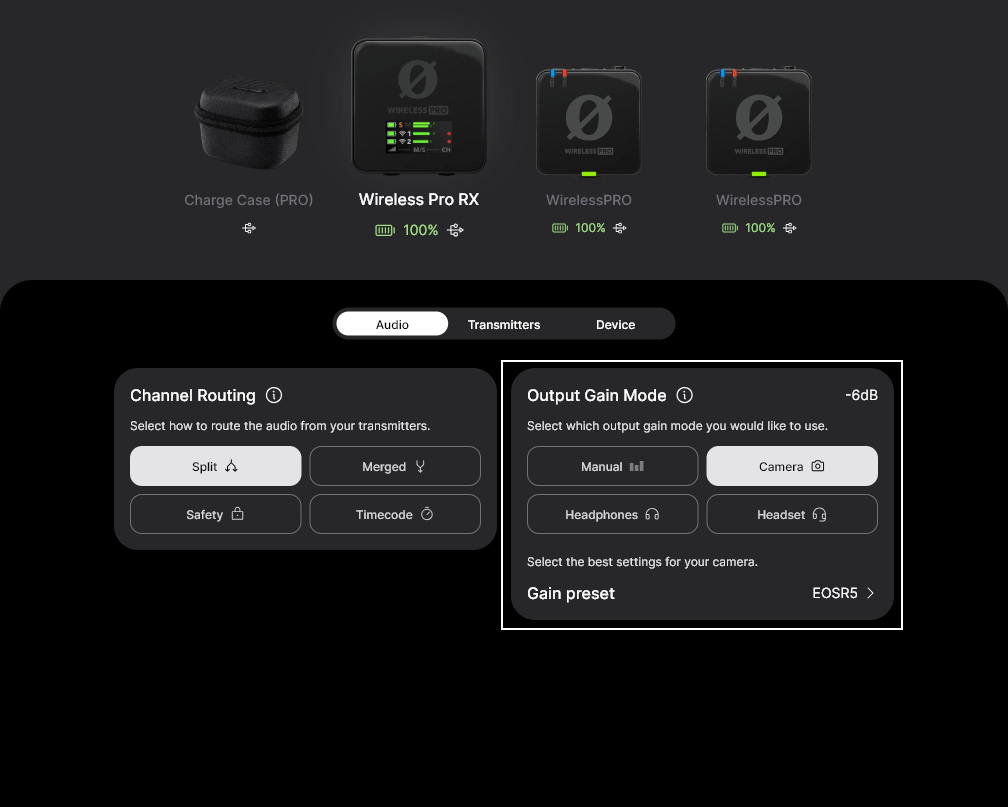
In RØDE Central, you can select from a list of presets for a wide range a popular camera models. These presets automatically set the gain levels of your Wireless PRO's output to best match the camera you’re using it with.
To access these presets, connect your Wireless PRO receiver to your computer and open RØDE Central (desktop). Click ‘Gain Mode’ and select 'Preset’ with the camera icon. Now you can click the next button labelled ‘Preset’, click the ‘+’ button, and select the manufacturer and model of camera you are using.
On the next screen, you’ll find a link to a guide on setting up your camera’s audio settings for optimal use with the Wireless PRO. Once you’ve followed these instructions, click ‘Add’ to load the preset onto your Wireless PRO. Repeat the process to add other presets (up to 10) for any other cameras you’ll be using with your Wireless PRO.
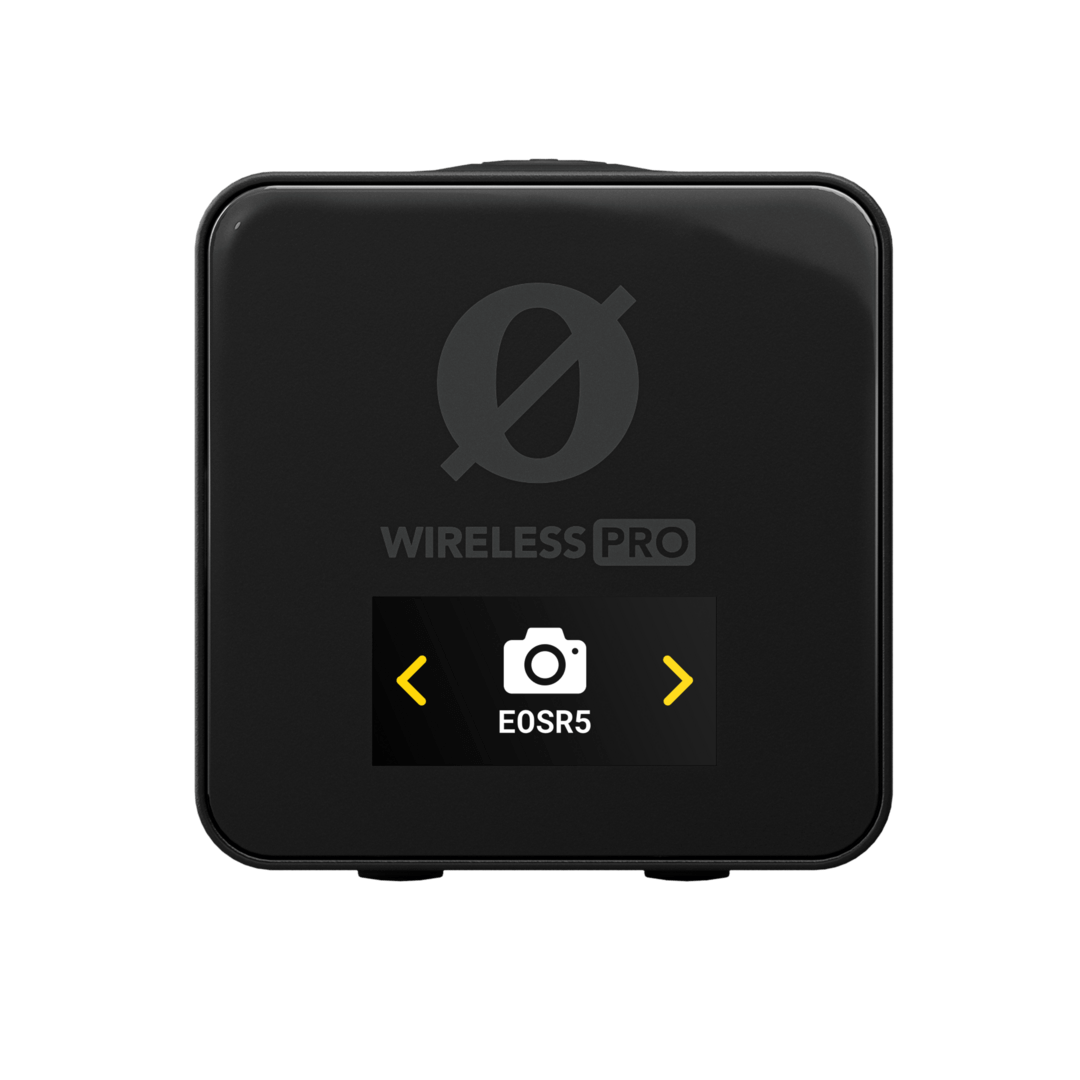
Selecting a Camera Preset on Your Receiver
With your camera presets loaded and your Wireless PRO in the Camera Preset gain mode, you can cycle through your saved presets by pressing the Left Navigation button on the receiver while on the home screen, and then using the Left and Right Navigation buttons.
Along with any camera and custom presets you have saved, there will also be a 'RØDE’ option that acts as a default preset. The gain level of this preset can be adjusted within the RØDE Central desktop app by clicking the three dots next to RØDE in the preset list.
Pro Tip
You can also create your own presets by selecting ‘Custom’ from the list of manufacturers. Here, you’ll be able to give your preset a label (that will show up on your Wireless PRO receiver display), set its gain level, and give it a description for easy selection within RØDE Central.
Configuring Backlight and LED Dimming
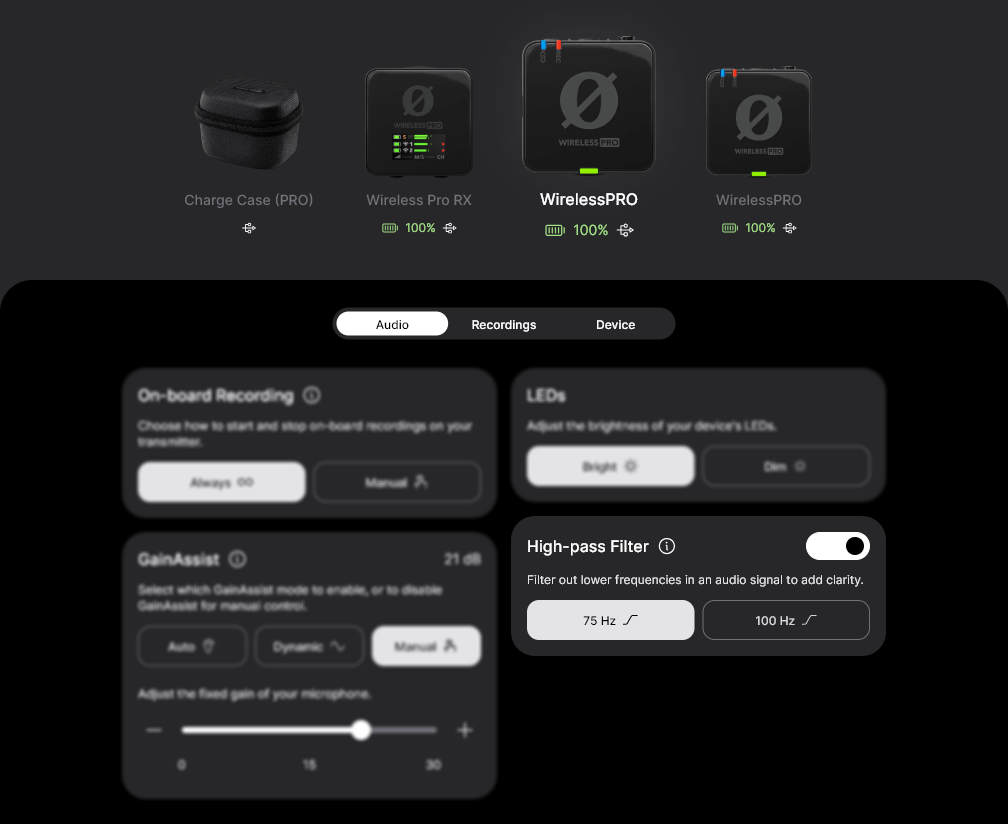
The Wireless PRO receiver’s screen features a backlight that you can set to automatically dim after 10 seconds of inactivity. To enable this, connect your receiver to a computer or phone, open RØDE Central, then toggle the ‘Dim (Backlight)’ setting to ‘Auto’. Toggle it to ‘Off’ to disable automatic dimming.
You can also adjust the transmitter’s LED brightness if you want a more discreet aesthetic. With your transmitter(s) connected to a phone or computer running RØDE Central, click the ‘LEDs’ toggle to switch between ‘Bright’ and ‘Dim’.

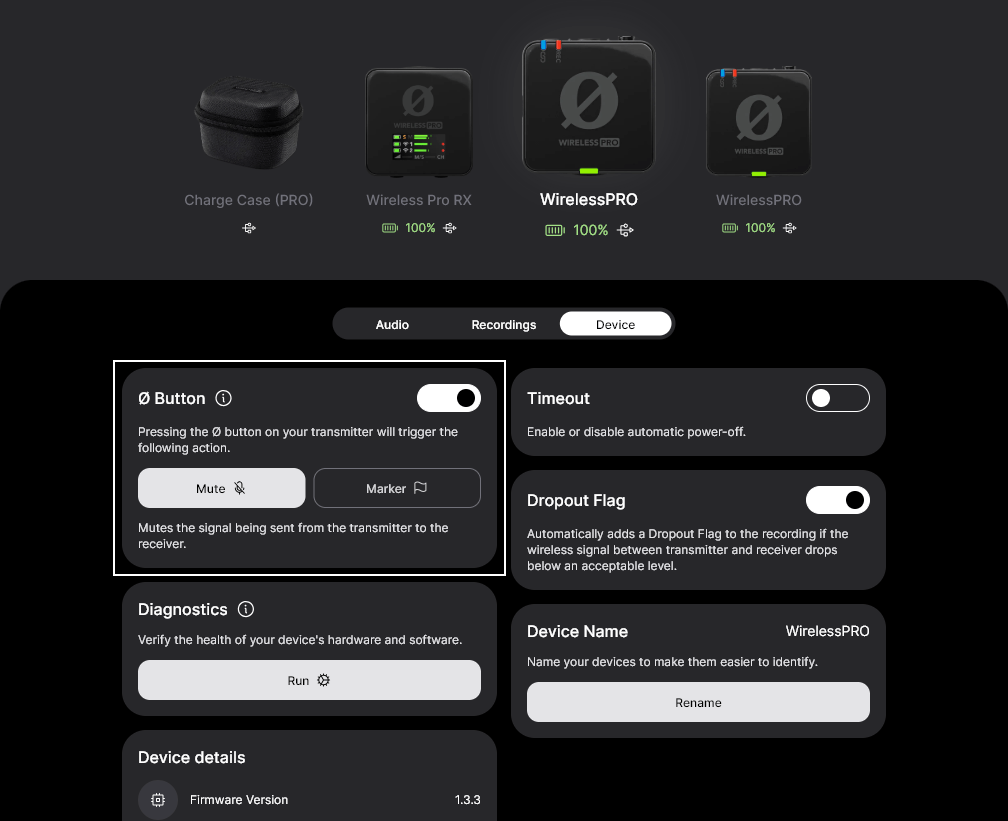
Configuring the Ø Button
Both the transmitters and receiver feature a Ø button, which when long-pressed functions as a power on and off for that unit, but you can also configure each button to perform a variety of short-press functions.
Receiver (RX)
- Marker – places a marker in the on-board recordings of both transmitters.
- Record – starts or stops on-board recording for both transmitters simultaneously.
Transmitter (TX)
- Marker – places a marker in the on-board recording of just the transmitter on which you press the button.
- Mute – mutes the signal being sent from the transmitter to the receiver (but doesn’t affect on-board recording).
Note
If a transmitter is unpaired, short-pressing the Ø button will enter pairing mode.
High-Pass Filters
The Wireless PRO features a two-stage high-pass filter for each of its transmitters. A high-pass filter, also known as a ‘low-cut’, removes lower frequencies in an audio signal, which can be useful for adding clarity to your audio and helping to tame any rumble caused by wind noise.
With your transmitter connected to RØDE Central, you can toggle the filter between 75Hz, 100Hz and off for each transmitter. These filters apply to both the transmitter’s in-built microphone and any connected external microphone, such as the included Lavalier II.
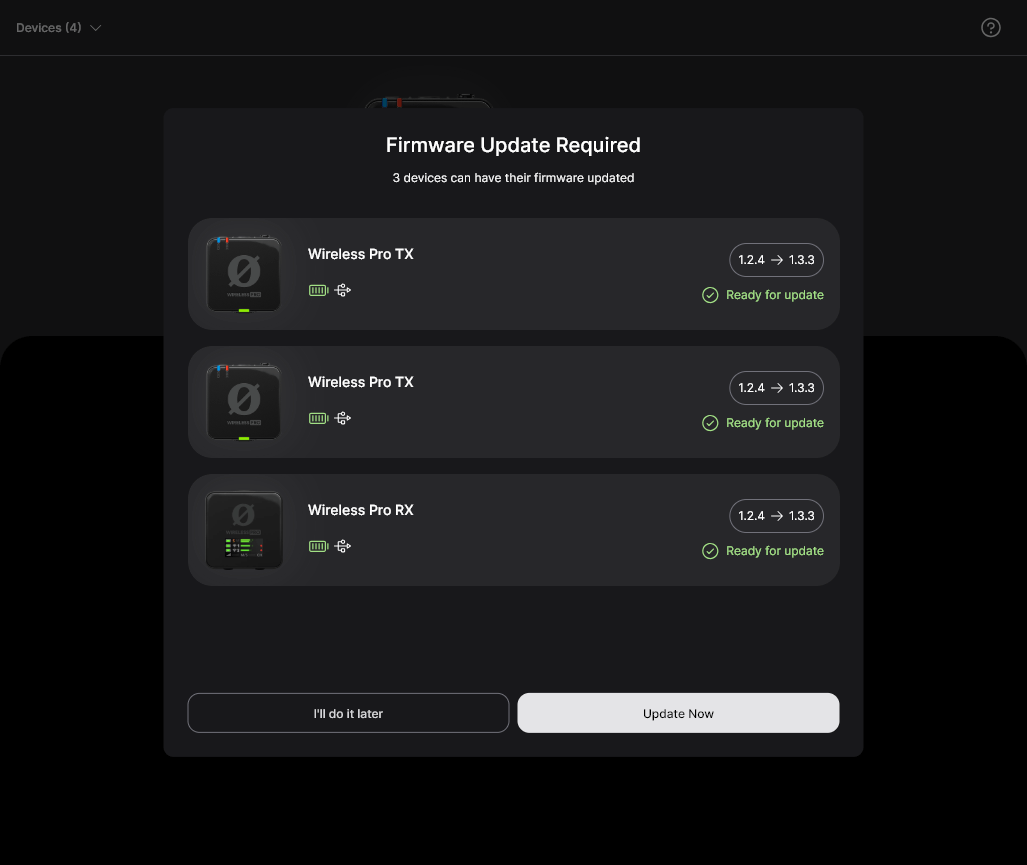
Updating Wireless PRO Firmware with RØDE Central
To update the firmware on your Wireless PRO, place the receiver and both transmitters in the charge case, connect it to your computer, and open RØDE Central. If a new firmware version is available for your Wireless PRO or the charge case, you will be prompted to update. Simply click ‘Update All’ to begin the process and follow the prompts.
Note
The Wireless PRO transmitters and receiver will need to have at least 15% battery to initiate the update process. The charge case firmware can’t be updated using the mobile version of Central, but it can update your transmitters and receivers one-by-one.